
Related Manuals for Digitus DN-80221-3


Summary of Contents for Digitus DN-80221-3
- Page 1 GIGABIT ETHERNET LAYER 2 SWITCH, 24 PORT, 2 x RJ45/SFP COMBO + 2 x SFP UPLINK PORTS Quick Installation Guide DN-80221-3...
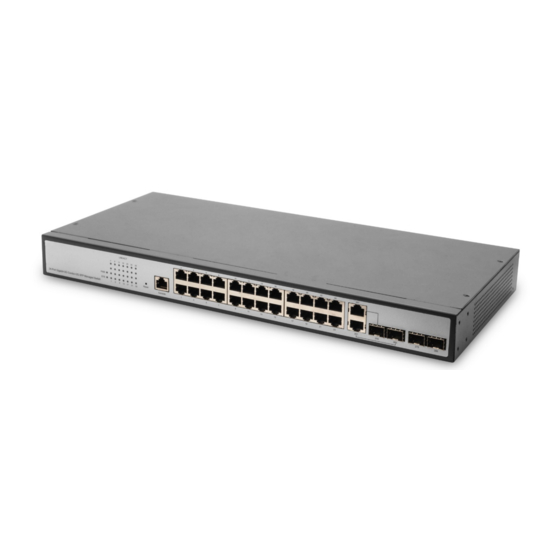
- Page 2 Package Contents Check the following contents of your package: Network Switch x 1 User’s Manual x 1 Power Cord x 1 Accessories (Rack Mount Accessory Kit x2, Rubber Feet x4, Screwx8) If any part is lost and damaged, please contact your local agent immediately. Product description Thank you for purchasing this managed Switch.
- Page 3 Power socket Connect the female connector of the power cord here, and the male connector to the AC (Alternating Current) power outlet. Please make sure the voltage of the power supply meets the requirement of the input voltage. Grounding column The switch already comes with lightning protection mechanism.
- Page 4 3 Turn on switch Please connect the AC power cord into the rear of the switch and to an electrical outlet (preferably one that is grounded). When the switch is power on, the LED indicators flash momentarily for one second which represents a resetting of the system.
- Page 5 This cable is used to connect the console port of the switch to the external monitoring terminal. One end of the RJ45 eight- pin plug, the other end is a 25-hole plug (DB25) and 9-hole plug (DB9), RJ45 head into the switch's console port socket, DB25 and DB9 can be used according to the requirements of the terminal serial port, the cable internal connection schematic as follows: RJ45 <===>...
- Page 6 After a successful login, the main page will appear as follows, and you can click the menu on the left side to configure the corresponding functions. Note: For more details about how to configure the switch, see the User Guide on the resource CD.
- Page 7 Specification Model DN-80221-3 IEEE 802.3、IEEE 802.3u、IEEE 802.3ab 、IEEE 802.3z、IEEE 802.3x、IEEE 802.1X、 Standard IEEE 802.1q 、IEEE 802.1p、IEEE 802.1d 、IEEE 802.1w、IEEE 802.3ad 24*10/100/1000Mbps RJ45 Port 2*10/100/1000Mbps Combo ports Interface 2* 100/1000Mbps SFP Slots 1 Console Port 10BASE-T: UTP category 3,4,5 cable(≤100m) 100BASE-TX: UTP category 5, 5e cable(≤100m)...
Need help?
Do you have a question about the DN-80221-3 and is the answer not in the manual?
Questions and answers