Table of Contents
Advertisement
Quick Links
Quick Guide
XX258-80-00
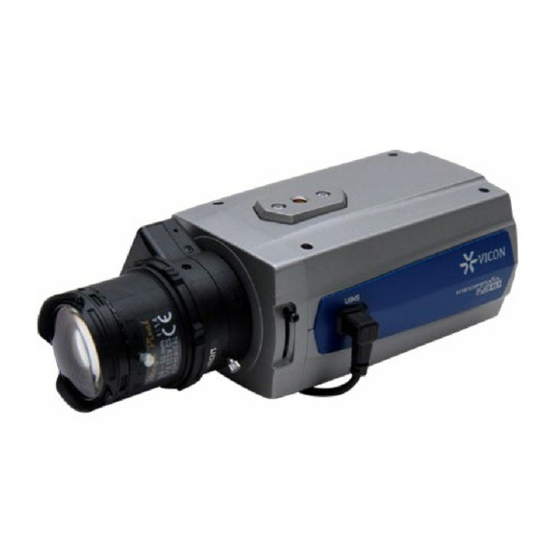
V923-N Network Camera
Vicon Industries Inc.
Tel: 631-952-2288 Fax: 631-951-2288 Toll Free: 800-645-9116
24-Hour Technical Support: 800-34-VICON (800-348-4266) UK: 44/(0) 1489-566300
Vicon Industries Inc. does not warrant that the functions contained in this equipment will meet your requirements or that the
operation will be entirely error free or perform precisely as described in the documentation. This system has not been designed
to be used in life-critical situations and must not be used for this purpose.
www.vicon-security.com
Document Number: 8009-8258-80-00
Issued: 913
Product specifications subject to change without notice.
Copyright © 2013 Vicon Industries Inc. All rights reserved.
Advertisement
Table of Contents

Subscribe to Our Youtube Channel
Summary of Contents for Vicon V923-N
- Page 1 24-Hour Technical Support: 800-34-VICON (800-348-4266) UK: 44/(0) 1489-566300 Vicon Industries Inc. does not warrant that the functions contained in this equipment will meet your requirements or that the operation will be entirely error free or perform precisely as described in the documentation. This system has not been designed to be used in life-critical situations and must not be used for this purpose.
- Page 2 The V923-N 3 Megapixel IP Camera is designed for demanding security installations. This network camera delivers crisp clear images that satisfy any installation need. The V923-N camera is fully compatible with all ViconNet® systems; its ONVIF certification provides an open-platform for integration into other video management systems.
-
Page 3: Installation
V923-N Quick Installation Guide 2. Installation For the network camera to operate, it is necessary to connect a network cable for data transmission and power connection from supplied power adapter. Depending on operation methods, it is possible to also connect an alarm cable. - Page 4 V923-N Quick Installation Guide • Connecting to the RJ-45 Connect a standard RJ-45 cable to the network port of the network camera. Generally a cross-over cable is used for directly connection to PC, while a direct cable is used for connection to a hub.
-
Page 5: Network Connection And Ip Assignment
V923-N Quick Installation Guide • ID and IP assignment To make changes in the OSD menu, the optional OSD controller (V920D-OSD) can be used to set the camera title and IP address. 1. Connect the OSD Controller to the Service Monitor port of the network camera. - Page 6 V923-N Quick Installation Guide Select the camera on the list and click right button of the mouse. The pop-up menu displays as below. Select Assign IP. The Assign IP window displays. Note: For more information, refer to the Smart Manger User’s...
-
Page 7: Operation
V923-N Quick Installation Guide 3. Operation The network camera can be used with Windows operating system and browsers. The recommended browsers are Internet Explorer®, Safari®, Firefox®, Opera® and Google® Chrome® with Windows. Note: Some screens may appear different (i.e., color scheme) depending on the firmware version, but the functionality is the same or similar. -
Page 8: Setting The Admin Password Over A Secure Connection
V923-N Quick Installation Guide 3.3 Setting the admin password over a secure connection To gain access to the camera, the password for the default administrator user must be set. This is done in the “Admin Password” dialog, which is displayed when the network... -
Page 9: Video And Audio Streams
V923-N Quick Installation Guide The Snapshot button takes a snapshot of the current image. The location where the image is saved can be specified. The Digital Zoom button activates a zoom-in or zoom-out function for the video image on the live screen. -
Page 10: Resetting To The Factory Default Settings
V923-N Quick Installation Guide 3.6 Resetting to the factory default settings To reset the network camera to the original factory settings, go to the Setup>System> Maintenance web page (described in “3.5.6 System > Maintenance in the complete User’s manual”) or use the Reset Button on the network camera, as described below: •... - Page 11 V923-N Quick Installation Guide...
- Page 12 Vicon Industries Inc. For office locations, visit the website: www.vicon-security.com 50303592A...

Need help?
Do you have a question about the V923-N and is the answer not in the manual?
Questions and answers