Advertisement
DT122-GH Installation Guide
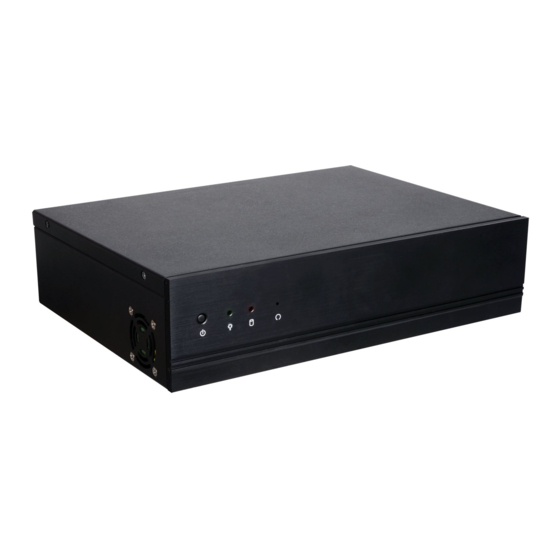
Panel
Power LED
Front View
Power Button
DP++_0 DP++_2
DP++_1 DP++_3
Rear View
Note:
DFI reserves the right to change the specifications at any time prior to the product's release. For
the latest revision of product documentation, please contact your sales representative.
Reset Button
(green)
HDD LED
(red)
LAN 1 LAN 2 COM 1
COM 2
USB 3.0_2 USB 2.0_2
USB 3.0_1 USB 2.0_1
www.dfi.com
1
Line-in
Line-out
Mic-in
AC Socket
Advertisement
Table of Contents

Related Manuals for DFI DT122-GH


Summary of Contents for DFI DT122-GH
- Page 1 USB 3.0_2 USB 2.0_2 Mic-in USB 3.0_1 USB 2.0_1 AC Socket Note: DFI reserves the right to change the specifications at any time prior to the product's release. For the latest revision of product documentation, please contact your sales representative. www.dfi.com...
- Page 2 Removing the Chassis Cover Make sure the system and all other peripheral devices connected to it have been powered-off. Disconnect all power cords and cables. The 4 mounting screws on the left and right sides of the system are used to secure the cover to the chassis.
- Page 3 Place the HDD bracket with the installed SATA drives back in the chassis and use the provided mounting screws to attach the HDD bracket to the drive bay. Mounting Screws Mounting Screw Drive Bay Installing a 3.5" SATA Drive To install a 3.5" HDD, please spacer directly mount the HDD on the drive bay as shown on the right.
- Page 4 Board Layout and Jumper Settings 4-pin Right DC-in System Fan Angle Jack (opt.) Type (opt.) 4-pin Vertical Type Buzzer SATA Standard/Power DP++ 0 (Top) Select (JP5) DP++ 1 (Bottom) DP++ 2 (Top) DP++ 3 (Bottom) SATA 0 SATA 3.0 SATA 0 Ryzen LAN 1 Power...
Need help?
Do you have a question about the DT122-GH and is the answer not in the manual?
Questions and answers