Advertisement
Quick Links
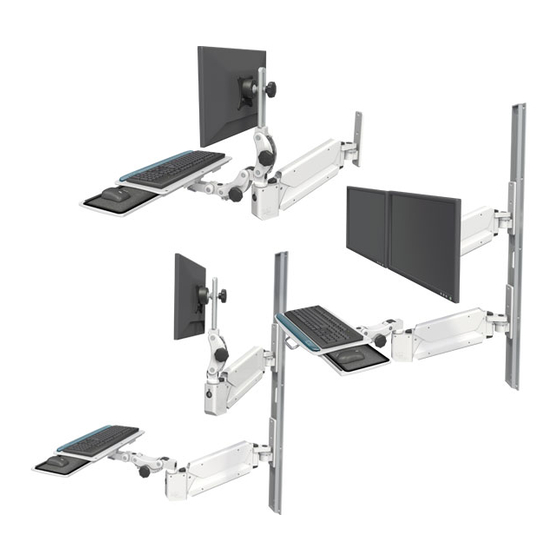
MAXIMUM LOAD CAPACITY:
35 LBS (15.9 KG)
If Mounting To Wall Track
ATTACH WALL PLATE TO TRACK
Lift the wall mount up to the
bottom of the TMD track,
or lower over the top of
the track if it's easier. Slide
the clamp plates into the
groove in the TMD track.
Cable Management
REMOVE COVERS FROM ARM
Front
cover
Using a Phillips head screwdriver, remove 3 screws
and slide front cover forward. Remove 4 screws from
the upper cover, and lift it off.
Remove the lower cover by lowering the arm into the
down position, removing the screws and sliding the
cover forward off of the arm.
WARNING - PINCH POINT:
Keep fingers away from the inner arm area where
the gas spring is located.
Page 1 of 2
MD ARM INSTALLATION INSTRUCTIONS
Clamp
Track
screws
clamp
plates
Once the wall plate is
at the desired height,
lock into place by
turning the 3 clamping
screws clockwise with
provided 5/32 hex key.
Upper
cover
Lower
cover
If Mounting Directly To Wall
ATTACH WALL PLATE TO WALL
RUN WIRES & REATTACH ARM COVERS
Run monitor wires through top channel.
Run keyboard
wire through
lower channel
Slip wires from lower channel through
end cover port, then reattach cover to
the front of the arm. DO NOT use a
power tool to tighten screws.
Snap black plastic bushing around exiting wires and
push bushing firmly into end cover port.
Replace upper and lower covers on the arm. DO NOT
use a power tool to tighten screws.
Locate a stud in the wall
where the arm will be
mounted. Mark the top hole
and drill a 11/64 pilot hole.
Insert a provided #14 screw
and tighten slightly. Using
a level, mark the two lower
holes and drill pilot holes.
Insert #14 screws and, with
the mount level, tighten all
screws securely.
MD ARM INSTALLATION - 12/3/19
Advertisement

Subscribe to Our Youtube Channel
Related Manuals for ICW MD ARM


Summary of Contents for ICW MD ARM
- Page 1 Replace upper and lower covers on the arm. DO NOT Keep fingers away from the inner arm area where use a power tool to tighten screws. the gas spring is located. Page 1 of 2 MD ARM INSTALLATION - 12/3/19...
- Page 2 / integrator to ensure that the screws and fasteners have the When cleaning your ICW mounting unit please follow the points below. Proper cleaning of the mounting device will help assure proper function and extend the life of the unit.
Need help?
Do you have a question about the MD ARM and is the answer not in the manual?
Questions and answers