
Related Manuals for Fimap iMx


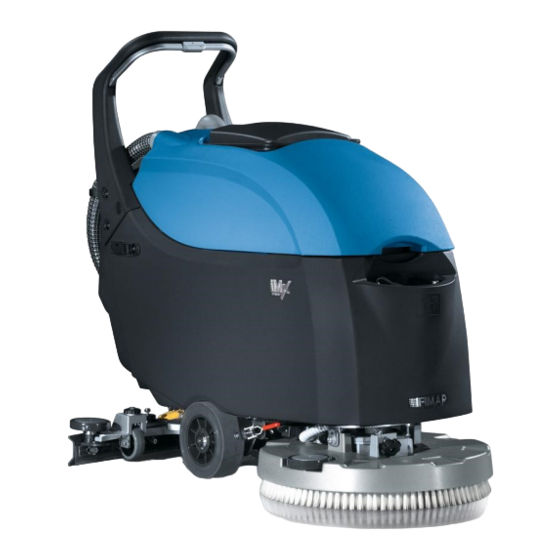
Summary of Contents for Fimap iMx
- Page 1 Instruction Manual for Fimap iMx GUIDE INCLUDES Setting up for use Using the machine Cleaning after use Care & maintenance © Copyright A+D Supplies 2017 A+D Supplies, Marsh House, Brunel Road, Newton Abbot, Devon, TQ12 4PB...
- Page 2 Setting Up the Machine Before Use 1. Choose your 2. Unscrew the 3. Attach the Floor 4. Tighten Centre Floor Pad Centre Cap Polished floors and delicate areas Blue As red but slightly more abrasive for heavier soiled Place the Drive Board on Remove the centre from Fit and tighten the centre floors...
- Page 3 Setting Up the Machine Before Use 5. Pull out the fill- 6. Attach filling 7. Fill the tank 8. Add Chemical ing hose hose to tap Take out the chemical filling container (Next to the filling hose) Start filling the tank with Make sure the machine is cold water back on it’s rear wheels.
- Page 4 Setting Up the Machine Before Use 9. Place Drive 10.Place Machine 11. Switch the 12. Engage Drive Board on Floor Over Drive Board Machine On Board Place the drive board on Place the machine over the Switch the machine on by Push the handle forward to the floor in front of the drive board and push...
-
Page 5: Brush Motor
Setting Up the Machine Before Use 13. Switch on 14. Lower the 15. Switch on 16. Start Cleaning vacuum Squeegee brush motor Switch on the vacuum switch Start moving forward Lower the squeegee bar Squeeze the D handle to onto the floor by pulling the start the brush motor release lever on the back of the machine out and... -
Page 6: Using The Machine
Using the Machine Standard Cleaning Deep Cleaning Deep Cleaning Part 1 Part 2 For c Then lower the squeegee, For deep cleaning, lift the switch the vacuum switch squeegee up, then switch on, switch off the solution Move up and down in straight lines, overlapping off the vacuum. -
Page 7: Cleaning After Use
Cleaning After Use 1. Emptying Recovery Tank 2. Emptying the Solution If you need to empty the solution tank, take the machine to a suitable floor drain. After every use, always empty the recovery Unscrew the yellow tank bung in the side. tank and rinse out with clean water Allow the solution the drain out. - Page 8 Cleaning After Use 3. Remove and 4. Check hose 5. Clean bowl filter 6. Check the floor clean Squeegee bar cover Tip the machine back onto Take the squeegee bar off the rear wheels. the machine by unscrewing the two plastic nuts and With the machine switched drawing the bar backwards Check the squeegee hose.
-
Page 9: Charge Level
Charging Battery and Storage 1. Check the Battery 2. Charge Battery charge level IMPORTANT! ONCE THE BATTERY HAS STARTED CHARGING IT MUST NEVER BE DISTRUPTED When the batteries are UNTIL THE GREEN LIGHT To charge the battery fully charged and the green SHOWS ON THE unplug in the main cable light is showing on the... - Page 10 A+D Supplies Marsh House Brunel Road Newton Abbot TQ12 4PB 01626 355177 sales@adswsupplies.com www.adswsupplies.com...
Need help?
Do you have a question about the iMx and is the answer not in the manual?
Questions and answers