Table of Contents
Advertisement
Quick Links
IQ plus
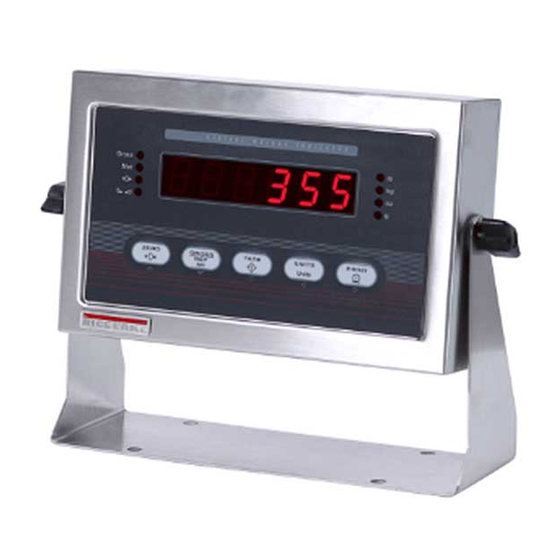
355 Digital Weight Indicator
®
PN 43381
IQ plus 355 Analog Output Module Installation
To install or replace the analog output module, ensure
power to the indicator is disconnected, then place the
indicator face-down on an antistatic work mat. Loosen
all in-use cord grips and remove the screws that hold
the backplate to the enclosure body. Lift the backplate
away from the enclosure and set it aside.
Use a wrist strap to ground yourself and
Caution
protect components from electrostatic
discharge (ESD) when working inside
the indicator enclosure.
NOTE:
Ensure jumpers JP1 and JP2 on analog output
board are installed in position 1 (POS1) as shown in
Figure 1.
EEPROM
POS1 POS2
JP1
To setup switch
JP4
J5
–EXC
6
JP2
JP1
+EXC
5
–SENSE
4
+SENSE
3
–SIG
2
J1
+SIG
1
December 2004
Microprocessor
X2
U4
ANALOG OUTPUT
MODULE
JP2
ON
OFF
SET/ISP
A / D C o n v e r t e r
Figure 1. Analog Output Module Installation on IQ plus 355 Board
Mount the analog output module on its standoffs in
the location shown in Figure 1 and plug the module
input into connector J5 on the IQ plus 355 board.
Connect output cable to the analog output module as
shown in Table 1, then reassemble the enclosure as
described on page 2.
Pin
1
2
3
4
Table 1. Analog Output Module Pin Assignments
1
2
3
4
5
J4
SERIAL COMM & DIGITAL IN
1
2
J1
U5
3
4
Tr a n s f o r m e r
GND
F2
J7
Keypad Connector
Signal
+ Current Out
– Current Out
+ Voltage Out
– Voltage Out
6
7
JMP4
VR1
+
C23
DIGITAL
+5V
TEST
GND
C24
MECCA1
VR2
ANALOG
GND
C25
ANALOG
+5V
TEST
C66
+
F1
JP7
45774
+
+
ANALOG
–5V
TEST
Advertisement
Table of Contents

Summary of Contents for Rice Lake IQ plus 355
- Page 1 Tr a n s f o r m e r +EXC –SENSE +SENSE A / D C o n v e r t e r –SIG ANALOG +SIG –5V TEST Keypad Connector Figure 1. Analog Output Module Installation on IQ plus 355 Board December 2004 45774...
- Page 2 Tor que ba c k p la t e s c r e w s t o 15 in - lb ( 1. 7 N -m ) Se t u p s w it c h a c c e s s s c r e w Fillister head screws Figure 2. IQ plus 355 Enclosure Backplate Analog Output Calibration NOTE:...
- Page 3 IQ plus 510/710 Digital Weight Indicators ® Analog Output Option PN 43381 IQ plus 510/710 Analog Output Module Installation To install or replace the analog output module, ensure Mount the analog output module on its standoffs in power to the indicator is disconnected, then place the the location shown in Figure 4 and plug the module indicator face-down on an antistatic work mat.
- Page 4 Enclosure Reassembly Once cabling is complete, position the backplate over the enclosure and reinstall the backplate screws. Use the torque pattern shown in Figure 5 to prevent Fillister head screws distorting the backplate gasket. Torque screws to 10 S et u p s w it ch acc ess s crew in-lb (1.13 N-m).
- Page 5 IQ plus 350 Digital Weight Indicator ® Analog Output Option PN 43381 IQ plus 350 Analog Output Module Installation To install or replace the analog output module, ensure Mount the analog output module on its standoffs in power to the indicator is disconnected, then place the the location shown in Figure 7 and plug the module indicator face-down on an antistatic work mat.
- Page 6 Enclosure Reassembly Once cabling is complete, position the backplate over the enclosure and reinstall the backplate screws. Use To r q u e p a t t e r n the torque pattern shown in Figure 8 to prevent distorting the backplate gasket. Torque screws to 15 in-lb (1.7 N-m).


Need help?
Do you have a question about the IQ plus 355 and is the answer not in the manual?
Questions and answers