Advertisement
Quick Links
IQ plus
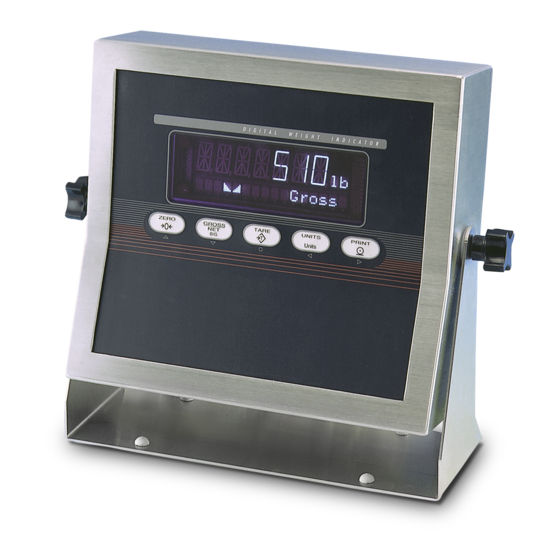
510/710 Digital Weight Indicators
®
Relay Rack Option
PN 45408
Use the following procedure to install the IQ plus
510/710 relay rack option:
1. Ensure power to the indicator is disconnected,
then place the indicator face-down on an
antistatic work mat. Remove the screws that
hold the backplate to the enclosure body.
Loosen all in-use cord grips then lift the
backplate away from the enclosure and set it
aside.
Use a wrist strap to ground yourself and
Caution
protect components from electrostatic
discharge (ESD) when working inside
the indicator enclosure.
2. Assemble relays onto the relay board
(4-channel) or boards (8-channel).
3. Install standoffs onto the studs on the
indicator backplate. Mount U-brackets on the
standoffs, place protective shield on top of
brackets, and secure with kep nuts (see
Figure 3 on page 2).
J8-1 (GND)
J8-5 (DIGOUT 4)
J8-4 (DIGOUT 3)
J8-3 (DIGOUT 2)
J8-2 (DIGOUT 1)
J8-10 (+5V)
J2
From Digital Outputs
(J8 connector on
IQ plus 710 CPU board)
J7-1 (GND)
J7-5 (DIGIN 4)
J7-4 (DIGIN 3)
J7-3 (DIGIN 2)
J7-2 (DIGIN 1)
J8-10 (+5V)
J2
To Digital Inputs
(J7 connector on
IQ plus 510/710 CPU board)
August 1998
R4
R3
R2 R1
OUTPUT RELAYS
Figure 1. IQ plus 710 Output Relay Wiring
R4
R3
R2 R1
INPUT RELAYS
Figure 2. IQ plus 510/710 Input Relay Wiring
4. For IQ plus 710 indicators using output
relays, remove connector J8 from the CPU
board and wire the relay board to the
connector as shown in Figure 1.
For IQ plus 510 or 710 input relays, remove
connectors J7 and J8 from the CPU board and
wire as shown in Figure 2.
NOTE:
For indicators using Rev. 1 CPU boards,
digital input and output connections are made to
the interface board. See the IQ plus 510/710
Interface Board addendum, PN 46204, for
connector information.
5. Loosen cord grips and route cables for
external equipment into the enclosure as
shown in Figure 3 on page 2. Attach cables to
relay board as shown in Figure 1 or Figure 2.
RELAY_D1
RELAY_B1
RELAY_D1
RELAY_B1
(Continued on back...)
RELAY_C1
J1
A.C.
D
C
B
A
A.C.
RELAY_A1
Relay output
to equipment
RELAY_C1
J1
A.C.
D
C
B
A
A.C.
RELAY_A1
Relay input
from equipment
45893
Advertisement

Related Manuals for Rice Lake IQ plus 510


Summary of Contents for Rice Lake IQ plus 510
- Page 1 1. Ensure power to the indicator is disconnected, connector as shown in Figure 1. then place the indicator face-down on an For IQ plus 510 or 710 input relays, remove antistatic work mat. Remove the screws that connectors J7 and J8 from the CPU board and hold the backplate to the enclosure body.
- Page 2 10 in-lb (1.13 N-m). 10. Ensure no excess cable is left inside the enclosure and tighten cord grips. Make cable connections to external equipment as required. Figure 4. Torque Pattern for Backplate Screws IQ plus 510/710 Relay Rack Option...
Need help?
Do you have a question about the IQ plus 510 and is the answer not in the manual?
Questions and answers