
Subscribe to Our Youtube Channel
Related Manuals for PEERLESS DMU50SM


Summary of Contents for PEERLESS DMU50SM
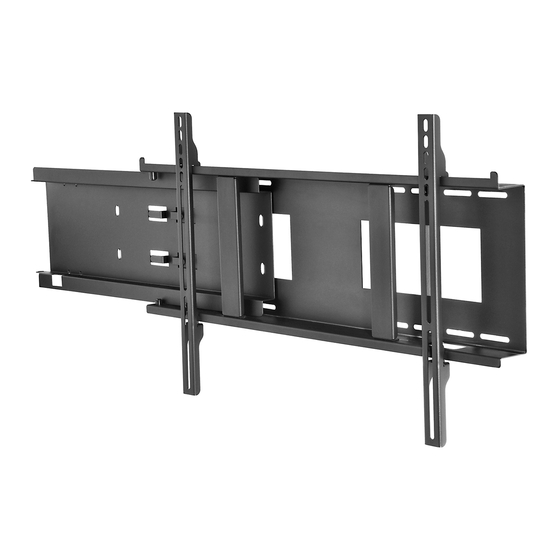
- Page 1 Installation and Assembly: Models: DMU50SM SLIDE OUT WALL MOUNT Max Load Capacity:125 lb (56.6 kg) Visit the Peerless Web Site at www.peerlessmounts.com ISSUED: 03-26-09 SHEET #: 125-9060-5 07-26-13...
- Page 2 M6 x 30 mm (4) (520-1101) (520-1067) multi-washer (6) M8 x 40 mm (4) (580-1036) (520-1152) I.D. .22” (5.6 mm) (4) I.D. .34” (8.6 mm) (4) (540-1057) (540-1059) Visit the Peerless Web Site at www.peerlessmounts.com ISSUED: 03-26-09 SHEET #: 125-9060-5 07-26-13...
- Page 3 2-1/2” (65 mm) deep. Secure wall plate (A) to wood stud using four #14 x 2-1/2” wood screws (I) as shown. Skip to step 3 on page 5 Visit the Peerless Web Site at www.peerlessmounts.com ISSUED: 03-26-09 SHEET #: 125-9060-5 07-26-13...
-
Page 4: Installation To Solid Concrete Or Cinder Block
WARNING • When installing Peerless wall mounts on cinder block, verify that you have a minimum of 1-3/8” of actual concrete thickness in the hole to be used for the concrete anchors. Do not drill into mortar joints! Be sure to mount in a solid part of the block, generally 1”... -
Page 5: Lock Installation
Secure lock (N) into wall plate (A) by using parts (provided with lock) and 3/4” EMT nut (M) as shown. Note: Lock will NOT function properly if lock parts are in wrong position. Visit the Peerless Web Site at www.peerlessmounts.com ISSUED: 03-26-09 SHEET #: 125-9060-5 07-26-13... -
Page 6: Installing Adapter Brackets
LARGE HOLE FOR M6 SCREWS washer that matches your screw size. NOTE: For flat back screens proceed to step 4-1. For bump-out or recessed back screen skip to step 4-2. Visit the Peerless Web Site at www.peerlessmounts.com ISSUED: 03-26-09 SHEET #: 125-9060-5 07-26-13... - Page 7 SCREEN MULTI-WASHER SCREW ADAPTER BRACKET (C) If you have any questions, please call Peerless customer care at 1-800-865-2112. For Bump-out or Recessed Back Screen Refer to Screen Compatibility Chart to determine the proper fastener to use. Visit www.peerlessmounts.com/2 for a full screen compatibility chart for this mount.
-
Page 8: Mounting And Removing Flat Panel Screen
To remove screen from mount, loosen M5 x 25 mm socket pin serrated washer head screws (F) and swing screen away from mount, and lift screen off of mount. fig 5.1 fig 5.2 Visit the Peerless Web Site at www.peerlessmounts.com ISSUED: 03-26-09 SHEET #: 125-9060-5 07-26-13... - Page 9 Visit the Peerless Web Site at www.peerlessmounts.com ISSUED: 03-26-09 SHEET #: 125-9060-5 07-26-13 © 2013 Peerless Industries, Inc. All rights reserved. Peerless is a registered trademark of Peerless Industries, Inc. All other brand and product names are trademarks or registered trademarks of their respective owners.
Need help?
Do you have a question about the DMU50SM and is the answer not in the manual?
Questions and answers