Table of Contents
Advertisement
Quick Links
STAR ARMOR
BEFORE INSTALLATION
READ INSTRUCTIONS CAREFULLY BEFORE STARTING INSTALLATION. REMOVE
CONTENTS FROM BOX AND VERIFY ALL PARTS ARE PRESENT. FAILURE TO
IDENTIFY DAMAGE BEFORE INSTALLATION COULD LEAD TO A REJECTION OF
ANY CLAIM. IF MISSING PARTS OR ANY DAMAGE FOUND, PLEASE TAKE A
PICTURE FOR THE CLAIM PURPOSE. TO FILE YOUR CLAIM, PLEASE VISIT:
WWW.TYGERAUTO.COM/CONTACT
TORQUE VALUES
Fastener Size
Class 8.8 Torque (ft-lbs)
6mm
8mm
10mm
12mm
14mm
Passenger/right Side
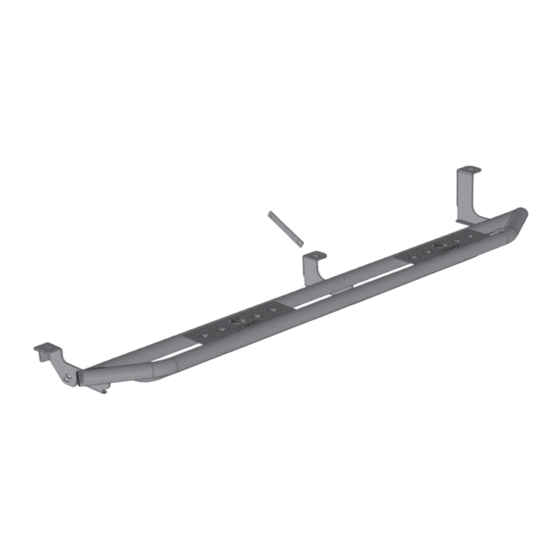
Armor Assembly
Center Support
Bracket
10mm Nut Plate
Driver Side Front
Support Bracket
®
Class 10.9 Torque (ft-lbs)
6-7
15-16
31-32
54-55
87-88
125-126
Center Support
Bracket
Passenger Side Front
Support Bracket
Customer Support: www.TygerAuto.com/Contact
Parts List
6-7
22-23
44-45
78-79
10mm Nut Plate
Driver/left Side
Armor Assembly
1/4
TG-AM2C20218
Driver/Left Side Armor Assembly
x1
Passenger/Right Side Armor Assembly
x1
Driver/Left Front Support Bracket
x1
Passenger/Right Front Support Bracket
x1
Center Support Brackets
x2
10mm Nut Plates
x2
12-1.75mm x 30mm Hex Bolts
x2
12mm x 32mm x 3mm Flat Washers
x4
12mm Lock Washers
x2
12mm Hex Nuts
x2
10-1.50mm x 30mm Hex Bolts
x6
10mm x 20mm OD x 2mm Flat Washers
x10
10mm Lock Washers
x6
10mm Hex Nuts
x4
Advertisement
Table of Contents

Summary of Contents for Tyger STAR ARMOR TG-AM2C20218
- Page 1 STAR ARMOR ® TG-AM2C20218 Parts List BEFORE INSTALLATION READ INSTRUCTIONS CAREFULLY BEFORE STARTING INSTALLATION. REMOVE Driver/Left Side Armor Assembly CONTENTS FROM BOX AND VERIFY ALL PARTS ARE PRESENT. FAILURE TO IDENTIFY DAMAGE BEFORE INSTALLATION COULD LEAD TO A REJECTION OF ANY CLAIM.
- Page 2 TYGER Armor up in place against the bottom of the body mounts. Reuse the factory body bolts to attach the TYGER Armor to the body mounts, (Fig 3). Do not (Fig 5) Line up Nut Plate with small hole in frame tighten hardware at this time.
- Page 3 • 25-3500 Models only Note that the Front Support Bracket will not reach up STEP 4 to the lower slot in the Mounting Bracket, (Fig 8). Tighten the Support Bracket to the Nut Plate in the frame. Carefully push up on the Support Bracket until Select the passenger side front Support Bracket, (Fig it reaches the lower slot, (Fig 8 &...
- Page 4 11). Do not tighten at this time. 10mm Hex Nut 12mm Hex Nut STEP 8 Front Level and adjust the TYGER Armor and tighten all hardware. Repeat Steps 2 - 8 for driver/left Side Armor installation. Fig 10 STEP 9...


Need help?
Do you have a question about the STAR ARMOR TG-AM2C20218 and is the answer not in the manual?
Questions and answers