Advertisement
TG-AM2T20208
Parts List
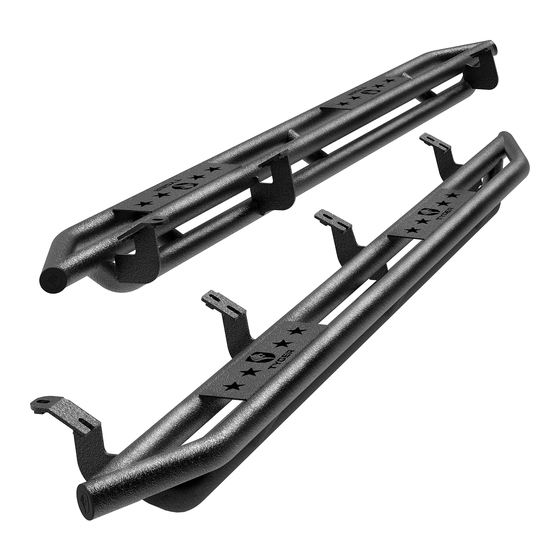
Driver Side Armor
x1
Passenger Side Armor
x1
Before Installation
REMOVE CONTENTS FROM BOX. VERIFY ALL
PARTS ARE PRESENT. READ INSTRUCTIONS
CAREFULLY. ASSISTANCE IS HIGHLY RECOM-
MENDED.
Warning
To protect your investment, wax this product
after installing. Regular waxing is recom-
mended to add a protective layer over the
nish. Do not use any type of polish or wax
that may contain abrasives that could
damage the nish. Use mild soap to clean
the Side Armor assembly.
support@tygerauto.com
8-1.25mm x 30mm Hex Bolts
x16
8mm x 24mm OD x 2mm Flat Washers
x16
Passenger/Right Side Armor Illustrated
Front
www.tygerauto.com
Customer Support 1-866-340-3038
TYGER ARMOR
8mm Lock Washers
x16
Passenger/Right Side Armor Illustrated
Front
Driver/left Side Armor Illustrated
1/3
TM
TM
Driver/left Side Armo
1-866-340-3038
Advertisement
Table of Contents

Subscribe to Our Youtube Channel
Summary of Contents for Tyger Armor TG-AM2T20208
- Page 1 Customer Support 1-866-340-3038 TYGER ARMOR TG-AM2T20208 Parts List Driver Side Armor 8-1.25mm x 30mm Hex Bolts 8mm Lock Washers Passenger Side Armor 8mm x 24mm OD x 2mm Flat Washers Passenger/Right Side Armor Illustrated Passenger/Right Side Armor Illustrated Before Installation REMOVE CONTENTS FROM BOX.
- Page 2 STEP 1 Starting on the passenger side of the vehicle, locate and remove the plastic plugs or hex bolts from the (4) factory mounting location along the bottom of the body, (Figures 1 & 2). Brackets Front must sit at against the oor panel, remove any excess sealant as necessary.
- Page 3 STEP 4 8mm x 30mm Hex Bolts 8mm Lock Washers 8mm Flat Washers Adjust the position as necessary and tighten all hardware. Front STEP 5 Repeat Steps 1-4 for driver/left Side Armor installation. STEP 6 Do periodic inspections to the installation to make sure that all (Fig 4) Passenger/right Center Bracket installed hardware is secure and tight.


Need help?
Do you have a question about the Armor TG-AM2T20208 and is the answer not in the manual?
Questions and answers