Table of Contents
Advertisement
Available languages
Available languages
Quick Links
π
H-3542
RUBBERMAID
®
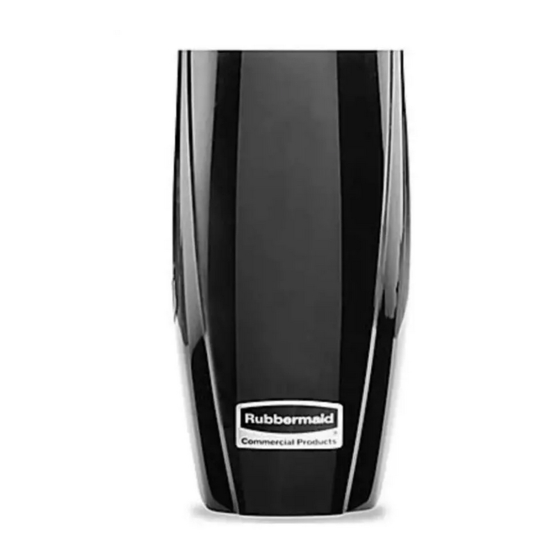
AIR FRESHENER DISPENSER
TOOLS NEEDED
Phillips Screwdriver
Wall Anchor x 2
Position dispenser where moving air will disperse
fragrance and neutralizer throughout the entire area,
approximately 3-6' from entrance. Recommended
mounting height is 6' from the floor.
NOTE: This product is designed for commercial
restrooms and is effective in areas approximately
20 x 30' with a ceiling height of 10' (1-4 stall
restrooms, up to 6,000 cubic feet).
MOUNTING WITH ADHESIVE STRIP
1.
Peel one side of adhesive strip and adhere to the
rear side of the dispenser. (See Figure 1)
2. Peel other side of adhesive strip and adhere to wall
at desired location. (See Figure 1)
MOUNTING WITH SCREWS
1.
Unlock dispenser cover by inserting prongs of key
into two white square holes in bottom of dispenser.
(See Figure 2)
2. Hold the opened dispenser to the wall and mark
screw holes with a pen or pencil. Only mark top
portion of the top hole. (See Figure 3a)
3. Using a 3mm drill bit, drill holes into wall at marked
locations. (See Figure 3b)
PAGE 1 OF 6
CONTINUOUS
Drill
3 or 6mm Drill Bit
(Depends on mounting method)
Screw x 2
1-800-295-5510
uline.com
Hammer
PARTS
Dispenser x 1
MOUNTING
Figure 1
Figure 2
Figure 3
Para Español, vea páginas 3-4.
Pour le français, consulter les pages 5-6.
Dispenser Key x 1
2
3
2
1
Figure 3a
Figure 3b
1014 IH-3542
Advertisement
Table of Contents

Subscribe to Our Youtube Channel
Summary of Contents for U-Line Rubbermaid H-3542
- Page 1 Para Español, vea páginas 3-4. Pour le français, consulter les pages 5-6. π H-3542 1-800-295-5510 uline.com RUBBERMAID CONTINUOUS ® AIR FRESHENER DISPENSER TOOLS NEEDED Drill 3 or 6mm Drill Bit Hammer Phillips Screwdriver (Depends on mounting method) PARTS Wall Anchor x 2 Screw x 2 Dispenser x 1 Dispenser Key x 1...
- Page 2 MOUNTING CONTINUED 4. Screw top screw in about halfway and stop. Guide MOUNTING WITH SCREWS AND WALL ANCHORS screw through top hole in dispenser and let Unlock dispenser cover by inserting prongs of key dispenser drop down so screw sits in the narrow part into two white square holes in bottom of dispenser.
- Page 3 π H-3542 800-295-5510 uline.mx RUBBERMAID ® DESPACHADOR DE AROMATIZANTE CONTINUO HERRAMIENTAS NECESARIAS Taladro Broca de Taladro de 3 o 6 mm Martillo Desarmador Phillips (Depende del método de montaje) PARTES 2 Anclajes de Pared 2 Tornillos 1 Despachador 1 Llave de Despachador MONTAJE Posicione el despachador donde la corriente de aire pueda dispersar la fragancia y el neutralizador por...
- Page 4 CONTINUACIÓN DE MONTAJE 4. Atornille el tornillo MONTAJE CON TORNILLOS Y ANCLAJES DE PARED Diagrama 4 superior hasta la mitad y 1. Abra la cubierta del despachador insertando las pare. Guíe el tornillo a puntas de la llave en los dos orificios cuadrados través del orificio blancos ubicados en la parte inferior del superior del...
- Page 5 π H-3542 1-800-295-5510 uline.ca RUBBERMAID – DISTRIBUTEUR D'ASSAINISSEUR D'AIR EN CONTINU OUTILS REQUIS Perceuse Mèche de perceuse de 3 ou 6 mm Marteau Tournevis cruciforme (En fonction de la méthode d’installation) PIÈCES Dispositif d’ancrage x 2 Vis x 2 Distributeur x 1 Clé...
- Page 6 MONTAGE SUITE 4. Vissez la vis supérieure à moitié et arrêtez. Guidez la MONTAGE AVEC DES VIS ET vis dans le trou supérieur du distributeur et laissez le DES DISPOSITIFS D’ANCRAGE distributeur descendre de sorte que la vis repose sur Déverrouillez le couvercle du distributeur en insérant la portion étroite du trou supérieur.


Need help?
Do you have a question about the Rubbermaid H-3542 and is the answer not in the manual?
Questions and answers