Table of Contents
Advertisement
Quick Links
TC-444-IP
Rev A, Feb 2017
www.commscope.com
Contents
Cold applied Inline Splice Closure for small Fiber
Optic Cables (maximum 48 splices)
1 Introduction
1.1 Product description
2 General
2.1 Tools
3.1 Loose tube
3.2 Central core
A
Loose tube
1
Introduction
1.1
Product Description
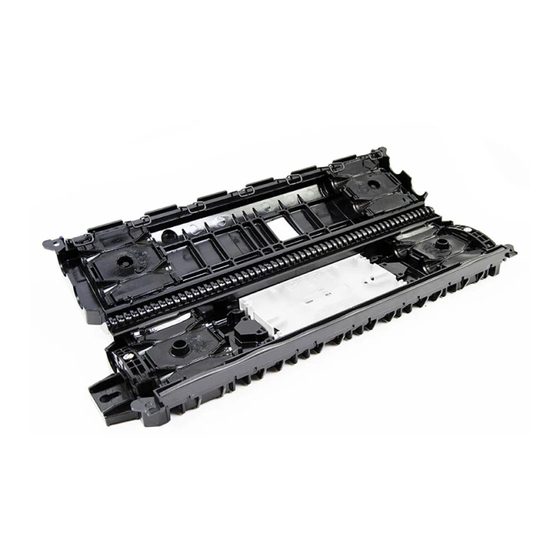
The FOSC-500-AA is a cold applied re-enterable splice closure for small fiber optic cables. It provides a
mechanical and environmental protection for fiber optic splices and permits easy access by the customer. The
closure is applicable underground, direct buried and aerial. The closure can handle maximum 48 splices and
can be used in-line and in butt configuration. The closure has 4 cable entry ports (two on each side). The cable
sealing is secured by gel-end pieces under compression on both of the closure ends.
2
General
2.1
Tools
Flat screwdriver
Marker pen
Fiber guiding pin
FACC- TUBE STRIPPER-02
FOSC-500-AA
I N S T A L L A T I O N
A
B
to strip the loose tubes
1
I N S T R U C T I O N
Advertisement
Table of Contents

Related Manuals for CommScope FOSC-500-AA


Summary of Contents for CommScope FOSC-500-AA
-
Page 1: Table Of Contents
Introduction Product Description The FOSC-500-AA is a cold applied re-enterable splice closure for small fiber optic cables. It provides a mechanical and environmental protection for fiber optic splices and permits easy access by the customer. The closure is applicable underground, direct buried and aerial. The closure can handle maximum 48 splices and can be used in-line and in butt configuration. -
Page 2: Kit Contents
Cable preparation Kit contents Cable diameter: minimum 5 mm (0.20”), maximum 15 mm (0.60”). Loose tube cable preparation Depending on the network layout and the construction of the cables, the kit content may be different. Some of the components will be pre-assembled in the closure depending on the selection and the ordering. -
Page 3: Cable Installation
Central core cable preparation Turn the top part of the outer strain relief clamps 90 degrees to 25 (1.0”) facilitate the cable fixing on the cable termination point. 35-40 (1.5”) 1000-1300 (40”/50”) 3.2.1 Prepare the cable according to the drawing. Strip the cable over a length of 1000 mm (40”) for the 24 splice tray, 1300 mm (50”) for the 48 splice tray and remove the central core up to 35 mm (1.5”) from the cable cut. -
Page 4: B Central Core
Fiber organisation 24 splice tray Install the cable with the cable attachment plate in the closure body on the cable termination point. Central core cable Splicing cable 1 to cable 2. Hold the cable in the correct position and secure the cable attachment bracket with the stainless steel cable clamp to the cable. - Page 5 Install the splice protectors in the splice holder and route the Install the splice protectors in the splice holder (2) and route the fibers underneath the splice holders and around the tabs (1) in the tray, fiber underneath the splice holders and around the tabs (1) in the tray, first one side and then the other side.
-
Page 6: Splice Tray
48 splice tray Bottom, non-hinged side 5.10 Splice the fibers, maximum 12 at once. 5.11 Install splices in the SMOUV holder (the non-hinged side). Route the incoming fiber into the groove behind the hinge of the tray to the storage area. Top side 5.12 Route the fibers, starting at the SMOUV leaving no slack, to the... - Page 7 5.13 Both sides. Bottom, hinged side 5.15 Install the splices in the SMOUV holder. Route the fiber inside the tray and behind the SMOUV holder at the non-hinged side to the storage area. 5.16 Both sides. 5.14 Turn the splices 180° if using the SMOUV holder at the hinge side.
- Page 8 Top, non-hinged side 5.17 Install the splices in the SMOUV holder (non hinged side). 5.19 Place the fibers underneath the lips. Top, hinged side 5.20 Turn the splices 180° and install the splices in the SMOUV holder (hinged side). 5.18 Route the fiber from the SMOUV holder to the storage area over the edge of the cassette leaving no slack through the opening (1).
-
Page 9: Shield Continuity/Grounding
Shield continuity or grounding Loose tube and central core cable 5.21 Route the fibers inside the tray and behind the SMOUV holder to the storage area. Repeat steps 5.18 en 5.19 to go to the storage 6.1.1 Remove 15 mm (0.6”) extra of the outer jacket as shown on the area. -
Page 10: Closing The Closure
6.1.4 Installation of the cables: see section 4 “Cable installation”. Write down the installation date on the re-entry label in the cover of the closure. Grounding Close the cover by closing the latches starting with the middle latch of the closure. 6.2.1 Secure the grounding wire with the eyelet to the grounding bolt. -
Page 11: Re-Opening
Re-opening Push the locking lip and turn the knob till all the tension is released from the knob. Using a screwdriver release all the latches, start in the middle and work out to the end of the closure. Important steps during installations •... - Page 12 To find out more about CommScope® products, visit us on the © 2017 CommScope, Inc. All rights reserved. web at www.commscope.com FOSC, SMOUV and all trademarks identified by ® or ™ are registered trademarks or trademarks, respectively, of CommScope, For technical assistance, customer service, or to report any Inc.
Need help?
Do you have a question about the FOSC-500-AA and is the answer not in the manual?
Questions and answers