Advertisement
Quick Links
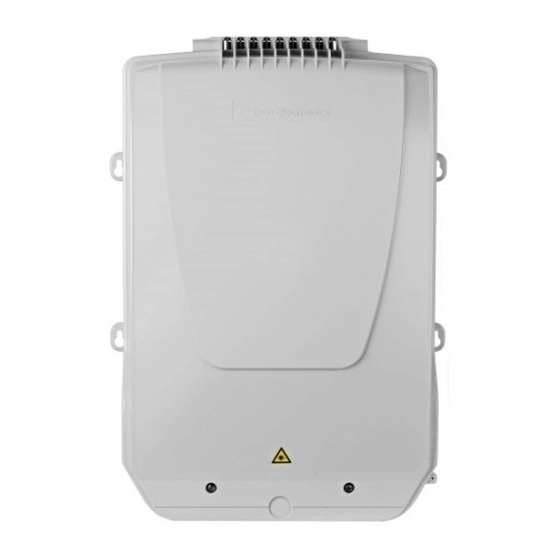
TC-965-IP
Rev A, Feb 2017
www.commscope.com
Introduction
Suitable for FTTH applications where easily pre-connectorized splitters
modules can be build in. The box is designed In such a way that it is
suitable for both spliced and connectorized solutions of the riser cable.
Kit content
•
Box
•
Base tray
•
Base tower
•
Termination units
•
Inserts for SMOUV and ANT
Accessories
•
Tray kit
BUDI-M
I N S T A L L A T I O N
Building distributor
Seals
Wrap around cable seals
Sealblock 6 x 10 mm
Cable diameter (mm)
3
4
5
6
7
8
9
10
Sealblock 6 x 15 mm
Cable diameter (mm)
9
10
11
12
13
14
15
Sealblock 3 x 20 mm
Cable diameter (mm)
14
15
16
17
18
19
20
Sealblock 24 x 8 mm
Cable range
Sealblock rubber 1 x 18
To use in ports S6-S7 only
Cable range 3 – 8 mm
Standard seals
PG 16
PG 21
PG 29
PG 29 (PTS 24)
I N S T R U C T I O N
Foam (± 5 mm)
95
90
80
75
70
60
50
40
Foam (± 5 mm)
125
115
105
95
85
70
60
Foam (± 5 mm)
155
140
125
110
95v
85
75
A 1.8 – 5 mm
B
5 – 7 mm
Advertisement

Related Manuals for CommScope BUDI-M


Summary of Contents for CommScope BUDI-M
- Page 1 BUDI-M I N S T A L L A T I O N I N S T R U C T I O N TC-965-IP Rev A, Feb 2017 Building distributor www.commscope.com Introduction Seals Suitable for FTTH applications where easily pre-connectorized splitters Wrap around cable seals modules can be build in.
- Page 2 Preparation of the box Install the bracket if loop storage is needed. Install the cable bracket depending the cable seal.. Cut out plastic part, in case of installing a cable Use a hacksaw to reach the onion rings, which can be opened with a plier to open the in-line ports (S6/S7).
- Page 3 Tie wraps / cable clamps Install the bracket and terminate the looped cable. Take out the loose tube(s) from the basket for further use. Install the wrap-around rubber seal into the port. Looped cable Store the looped tubes in the basket. Cable installation into the wrap around ports.
- Page 4 Store the unused looped fibers in the storage area. Route the loose tubes to the base tray. Mark left and right side of the loose tube at their position on the base tray. Store the fibers which will be used later. 1: Storage area (looped storage shaved LT) 2: Splicing to splitter modules 3: Point-to-point applications...
- Page 5 Store the fibers which will be spliced day 1 to the splitter modules. Wrap one layer of foam (20 mm) on the securing position if needed. Terminate the aramid strength member by securing the cable/ pigtail onto the bracket with tie-wrap. Depending the amount of aramid strength member, it needs to be wrapped twice around the bracket.
- Page 6 Splitters Install the splitter holder Splice the fibers from the drop cable to the fibers from the looped cable. In case of SMOUV, use the insert. Click Slide Install the cover onto the tray.
- Page 7 OCM6 butt OCM6 in-line Click Slide Install the splitter into the holder and route the pigtails via the bend control. Route the incoming pigtails of the splitter (marked with red flag) to the base tray (area nr. 2). Remove the outer jacket from the mark over a distance of 1.2m.
- Page 8 Patching trays To release the splitter module out of the splitter holder. Install the patch tray onto the tower. Splice the incoming of the splitter to the fibers coming from the looped cable. In case of SMOUV, use the insert. Store the overlength in the tray.
- Page 9 Install the drop seals and push the PICO cable through the seals. Remove the outer jacket over a length of 1.5 m. Secure the cable onto the bracket with foam and tie-wraps. Install the foam at the position on the patch tray and secure with 2 tie-wraps as shown on the picture.
- Page 10 Routing pigtails from the splitter Route the pigtails through the bend control towards the patch Install the cover onto the tray. trays. Hook and loop fastener can be used to keep them bundled. Mini-PICO (pre-conectorized) Route the pigtails through the cable clips for pigtail 5.10 In case of pre-connectorized MINI PICO cable, fibers are also management.
- Page 11 Secure the patch trays with the rubber flex part, as shown. Parkin place for pigtails from the splitter which are not used day Close the box.
- Page 12 © 2017 CommScope, Inc. All rights reserved. web at www.commscope.com All trademarks identified by ® or ™ are registered trademarks or trademarks, respectively, of CommScope, Inc. For technical assistance, customer service, or to report any This document is for planning purposes only and is not intended to modify or supplement any specifications or warranties relating to missing/damaged parts, visit us at: CommScope products or services.
Need help?
Do you have a question about the BUDI-M and is the answer not in the manual?
Questions and answers