Table of Contents
Advertisement
Quick Links
Advertisement
Table of Contents

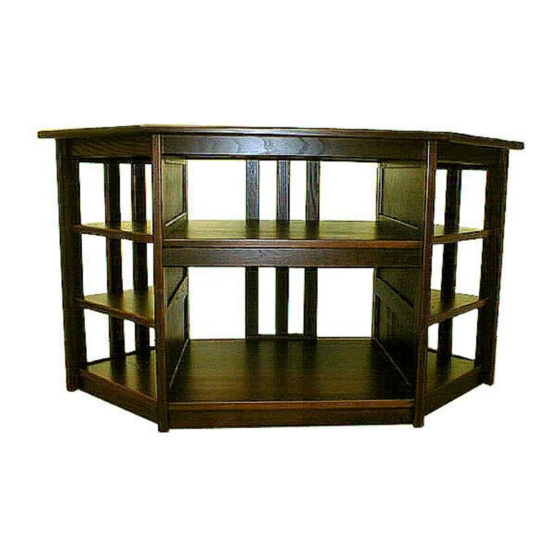
Summary of Contents for L.L.Bean MISSION CORNER ENTERTAINMENT STAND
- Page 1 MISSION CORNER ENTERTAINMENT STAND Thank you for purchasing our Mission Corner Entertainment Stand. Assembly of this product requires a Phillips screwdriver and a hammer. We have found it helpful to have a second person present in at least one step of the assembly.
- Page 2 STEP 1 Read through these instructions thoroughly before beginning assembly. We have found this to be of great value when first assembling this product. STEP 2 Remove all parts and hardware from packing material. Wooden pieces should be placed on a non-abrasive surface (like the carton or carpet) to prevent damage to the finish.
- Page 3 STEP 5 Attach 6 cam pegs to the outside face of Left Divider (A) and Right Divider (B) as shown at right. STEP 6 Lay Top (C) with cleats facing up on non-abrasive surface (carpet or carton). Align predrilled holes in Right Divider (B) with pilot holes in ends of middle cleats on underside of Top (C).
- Page 4 STEP 8 Have second person hold shelf (D) in place between center Dividers. Align predrilled holes in Left Divider (A) with pilot holes in shelf cleats. Ensure that back panel pilot holes in edge of shelf face back edge of the Top (C).
- Page 5 STEP 11 Insert two camlocks into the underside of each Right Wing Shelf (E) and Left Wing Shelf (H). Ensure that the arrow on the face of the camlock ’points’ to the hole in the edge of the shelf. Press firmly into place. There are two wing shelves for each side of the unit.
- Page 6 STEP 15 Using same technique as in Step 13, attach first Right Wing Shelf (E) to Right Divider (B) Repeat for other Right Wing Shelf (E). Attach Right Base Wing (F) to Right Divider (B) using same technique as in Step 14. STEP 16 Align predrilled holes in back support of Left Divider (A) with pilot holes in edge of Left Side...
- Page 7 STEP 18 Align predrilled holes in Back Panel (K) with pilot holes in cleat on back edge of Top (C) and shelf (D). Secure using four #8 screws. Tighten screws securely. STEP 19 Conceal screw holes on side panels using wood plugs. Tap plugs gently with a hammer to seat them firmly.


Need help?
Do you have a question about the MISSION CORNER ENTERTAINMENT STAND and is the answer not in the manual?
Questions and answers