Table of Contents
Advertisement
Quick Links
Advertisement
Table of Contents

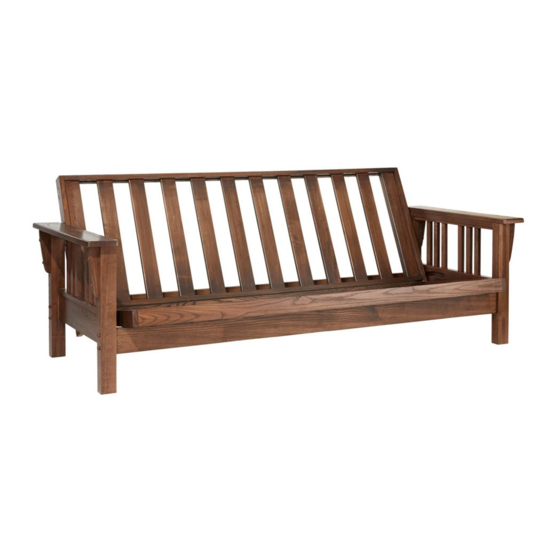
Summary of Contents for L.L.Bean Mission Futon
- Page 1 L.L.Bean Mission Futon Thank you for purchasing our Mission Futon. Assembly of this product requires a Phillips Head Screwdriver and Flat Head Screwdriver. We have found it helpful to have a second person present in at least one step of the assembly.
- Page 2 Step 1 Read through these instructions thoroughly. We have found this to be of great value when first assembling this product. Step 2 Remove all parts and hardware from packing material. Wooden pieces should be placed on a non-abrasive surface (like the carton or carpet) to prevent damage to the finish. Step 3 Identify all parts using the diagrams below.
- Page 3 Step 5 Identify seat deck (smaller section) and back deck of frame. Lay on carpet face up (rounded edges on slats will face up). Step 6 Stand the back deck upright. Slide seat deck inside back deck. Line up the first hole in the sides of the back deck with the slotted end of the seat deck sides.
- Page 4 Step 8 Slide a clevis pin through each roller as shown. Step 9 Locate the two holes on each side of the back deck. Push a clevis pin/roller assembly through each of the two holes on the back deck, keeping the roller on the outside of the frame.
- Page 5 Step 12 This step is easier with two people. Gently place assembled seat deck and back deck into the arms, being careful not to mar the arms. If this is difficult, loosen the bolts slightly so there is more space between the stretchers and the arms. Make sure that the rollers on the back deck fit into the channels in the arms.
- Page 6 (this will have released the angled position lock). Reach to the back of the frame and gently lower it to rest on the back stretcher. IMPORTANT-DO NOT LET THE BACK OF THE FRAME FALL DOWN ON ITS OWN. L.L.Bean www.llbean.com Product Support 1 800 341 4341...


Need help?
Do you have a question about the Mission Futon and is the answer not in the manual?
Questions and answers
I’m looking for the Manuel for a 2000 Bean mission style futon.