Quantum Scalar i40 Replacement Manual
Bezel replacement
Hide thumbs
Also See for Scalar i40:
- Maintenance manual (474 pages) ,
- User manual (404 pages) ,
- Quick start manual (44 pages)
Advertisement
Bezel Replacement Kit Contents
© 2014 Quantum Corporation. All rights reserved. Quantum, the Quantum logo, DLT, DLTtape, the DLTtape logo, SuperLoader,
Scalar, DXi, StorageCare, StorNext, GoProtect, and Vision are registered trademarks of Quantum Corporation and its affiliates
in the United States and/or other countries. All other trademarks are the property of their respective owners. Quantum
specifications are subject to change.
6-66553-03 Rev B, February 2014
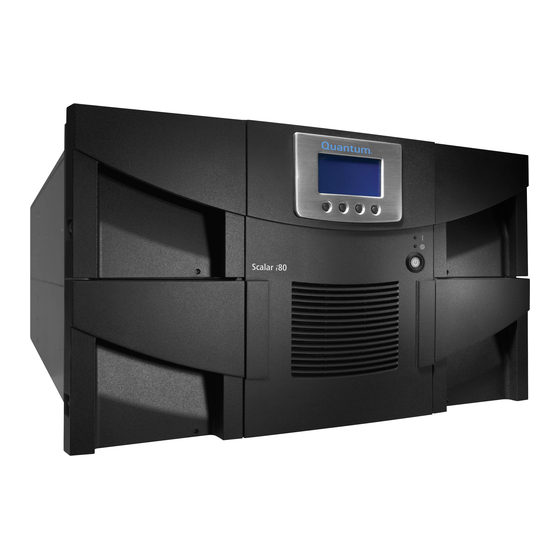
Scalar i40 and Scalar i80:
The bezel replacement procedure is similar for the Scalar
library. Pictures of the Scalar i40 also apply to the Scalar i80.
Read these instructions completely before beginning.
To replace the bezel, refer to the following sections:
•
Bezel Replacement Kit Contents
•
•
•
The bezel replacement kit contains the following items:
• 1 Bezel
• 4 screws
Required Tools:
• Phillips #1 screwdriver
Bezel Replacement
on page 1
on page 2
on page 6
®
i40 and the Scalar i80
on page 2
*6-66553-03*
Advertisement
Table of Contents

Related Manuals for Quantum Scalar i40


Summary of Contents for Quantum Scalar i40
- Page 1 © 2014 Quantum Corporation. All rights reserved. Quantum, the Quantum logo, DLT, DLTtape, the DLTtape logo, SuperLoader, Scalar, DXi, StorageCare, StorNext, GoProtect, and Vision are registered trademarks of Quantum Corporation and its affiliates in the United States and/or other countries. All other trademarks are the property of their respective owners. Quantum specifications are subject to change.
- Page 2 Alternatively, take a screen capture of the report and save or print it, or copy the map by hand. Removing the Bezel These instructions explain how to remove the bezel from the Scalar i40 and Scalar i80 libraries: 1 Stop all library operations.
- Page 3 Follow these steps... Installed in a rack high Unscrew all the thumbscrews that secure the enough to access to the library to the rack (the Scalar i40 has two bottom bezel screws thumbscrews; the Scalar i80 has four). See Figure 2 on page 5.
- Page 4 Quantum Scalar i40 and Scalar i80: Bezel Replacement 6-66553-03 Rev B February 2014 5 Slide the library one to two inches forward out of the rack, or over the edge of the table or desk, to access the two bottom bezel screws.
- Page 5 Screws 8 Remove the bezel as follows: • Scalar i40: Grasp the bezel gently at the top and bottom and pull the bezel straight out and off of the library. Do not tip or twist the bezel as you pull it off.
- Page 6 Quantum Scalar i40 and Scalar i80: Bezel Replacement 6-66553-03 Rev B February 2014 Figure 3 Scalar i80 Pull/Push Locations Pull in this area Pull in this area when removing when removing bezel. Push in bezel. Push in this area when this area when installing bezel.
Need help?
Do you have a question about the Scalar i40 and is the answer not in the manual?
Questions and answers