Quantum Scalar i40 Replacement Manual
Power supply filler plate replacement
Hide thumbs
Also See for Scalar i40:
- Maintenance manual (474 pages) ,
- User manual (404 pages) ,
- Quick start manual (44 pages)
Advertisement
Removing a Power Supply Filler Plate
© 2014 Quantum Corporation. All rights reserved. Quantum, the Quantum logo, DLT, DLTtape, the DLTtape logo, SuperLoader,
Scalar, DXi, StorageCare, StorNext, GoProtect, and Vision are registered trademarks of Quantum Corporation and its affiliates
in the United States and/or other countries. All other trademarks are the property of their respective owners. Quantum
specifications are subject to change.
6-68063-01 Rev A, February 2014
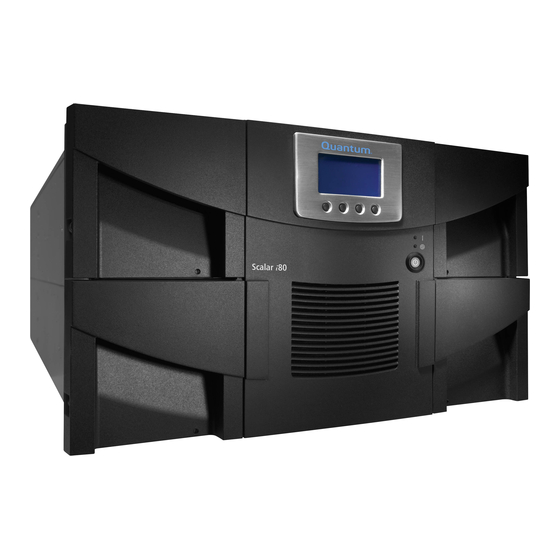
Scalar i40 and Scalar i80:
Power Supply Filler Plate
To maintain proper library cooling, filler plates are required on all empty power
supply slots in the rear of the Scalar
To remove a power supply filler plate or to replace the power supply with a filler
plate, refer to the following sections:
•
Removing a Power Supply Filler Plate
•
1 Unscrew the two captive thumbscrews (see
2 Pull out on the thumbscrews so the filler plate is at a slight angle, and the
bottom of the filler plate is still attached in the slot.
3 Lift the filler plate up to disengage the catch at the bottom, and pull the
filler plate out of the slot.
Replacement
®
i40 or Scalar i80 library.
on page 1
on page 2
Figure 1
on page 2).
*6-68063-01*
Advertisement
Table of Contents

Related Manuals for Quantum Scalar i40


Summary of Contents for Quantum Scalar i40
- Page 1 © 2014 Quantum Corporation. All rights reserved. Quantum, the Quantum logo, DLT, DLTtape, the DLTtape logo, SuperLoader, Scalar, DXi, StorageCare, StorNext, GoProtect, and Vision are registered trademarks of Quantum Corporation and its affiliates in the United States and/or other countries. All other trademarks are the property of their respective owners. Quantum specifications are subject to change.
- Page 2 Quantum Scalar i40 and Scalar i80: Power Supply Filler Plate Replacement 6-68063-01 Rev A February 2014 Figure 1 Power Supply Filler Plates Single power supply installed in top slot Power supply filler plate Captive thumbscrews Replacing a Power Supply Filler Plate 1 Hold the filler plate with the thumbscrews at the top.
Need help?
Do you have a question about the Scalar i40 and is the answer not in the manual?
Questions and answers