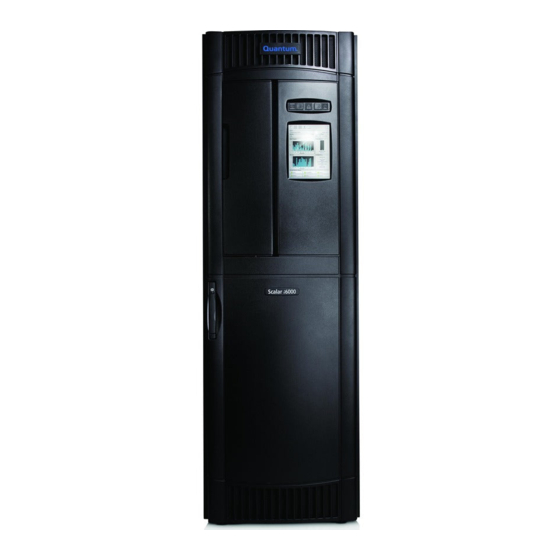
Quantum Scalar i6000 Replacement
Drive
Hide thumbs
Also See for Scalar i6000:
- User manual (738 pages) ,
- Installation manual (384 pages) ,
- Planning manual (92 pages)
Advertisement
Quick Links
© 2013 Quantum Corporation. All rights reserved. Quantum, the Quantum logo, DLT, DLTtape, the DLTtape logo, SuperLoader,
Scalar, DXi, StorageCare, StorNext, GoProtect, and Vision are registered trademarks of Quantum Corporation and its affiliates
in the United States and/or other countries. All other trademarks are the property of their respective owners. Quantum
specifications are subject to change.
6-67999-01 Rev A, October 2013
Quantum Scalar i6000 Drive
Use this procedure to replace a tape drive in a Scalar i6000 library.
If a drive fails, the library will issue a ticket. From the Details screen, write down
the Repair Link or Error Code number. You'll need it when you contact
Quantum Service.
WARNING: Before performing any of the steps listed in this document,
contact Quantum Service for help diagnosing the problem.
WARNING: To use this procedure, all drives must be connected to an Ethernet
Expansion Blade (EEB) or an FC I/O blade.
Refer to the following sections and follow the steps in the document to replace
a drive in your Scalar i6000 library:
•
Locating a Drive
on page 2
•
Remove and Replace the Drive
•
Update the Drive Firmware Using Firmware Images
Replacement
on page 4
on page 8
*6-67999-01 A*
Advertisement

Summary of Contents for Quantum Scalar i6000
- Page 1 © 2013 Quantum Corporation. All rights reserved. Quantum, the Quantum logo, DLT, DLTtape, the DLTtape logo, SuperLoader, Scalar, DXi, StorageCare, StorNext, GoProtect, and Vision are registered trademarks of Quantum Corporation and its affiliates in the United States and/or other countries. All other trademarks are the property of their respective owners. Quantum specifications are subject to change.
- Page 2 The drive coordinate system has six (6) numbers, for example: 1, 2, 1, 7, 1, 1. The first number identifies the aisle. The Scalar i6000 is a single aisle library only so this number is always 1.
- Page 3 Quantum Scalar i6000: Drive Replacement 6-67999-01 Rev A October 2013 The third number in the sequence represents the rack. Since drives can only be contained in rack 1, this number will always be 1. The fourth number indicates the section. Each module can contain 12 drives so with drives, this number can range from 1-12.
- Page 4 Note: This procedure is used to replace a drive with the same drive model. Drive upgrades must be performed by Quantum service personnel. If the failed drive is an EDLM drive, it must be replaced by Quantum service personnel. Caution: Before starting this procedure, verify that you have received the same make and model drive as the drive you are replacing.
- Page 5 Select Operations > Drives > Unload. This will eject the tape from the drive and return it in its storage slot in the library. Note: If a tape is in the drive and cannot be ejected, call Quantum support before proceeding.
- Page 6 Quantum Scalar i6000: Drive Replacement 6-67999-01 Rev A October 2013 c Click Yes. d Go to the rear of the module containing the drive to be replaced, open the back door, locate the drive using the coordinates from the ticket and observe the blue LED on the rear of the drive.
- Page 7 Quantum Scalar i6000: Drive Replacement 6-67999-01 Rev A October 2013 16 If the LEDs are displaying properly, you can vary on the drive. From the Drives screen: a Select the newly installed drive. b Click the Vary On button. c Click Cancel.
- Page 8 Quantum Scalar i6000: Drive Replacement 6-67999-01 Rev A October 2013 Update the Drive Firmware Using Firmware Images Note: This procedure should only be used if drive auto-leveling is turned off. Note: If you are viewing a partition, drive firmware update operations affect drives that are within the partition only.
- Page 9 See the library's Release Notes for compatibility information or contact Quantum technical support. For details on downloading drive firmware, see Chapter 15, Maintaining Your Library - Maintenance Actions in the Scalar i6000 User’s Guide. 8 Click Start. A warning dialog box displays stating the operation cannot be canceled.
- Page 10 Quantum Scalar i6000: Drive Replacement 6-67999-01 Rev A October 2013 Note: On the back of the drive, the Green LED 2 will flash rapidly while the firmware update is in progress. 10 The library updates the firmware on the selected drive.
- Page 11 17 From your applications, bring the replacement drive online and perform any necessary tests to ensure it is working properly. 18 Call Quantum Service to confirm that drive replacement was successful and to perform any further troubleshooting. Note: When the drive replacement is complete, refer to the documentation that was included in the drive packaging for how to return the failed drive to Quantum.
- Page 12 Quantum Scalar i6000: Drive Replacement 6-67999-01 Rev A October 2013 Update the Drive Firmware Using Firmware Images...


Need help?
Do you have a question about the Scalar i6000 and is the answer not in the manual?
Questions and answers