Table of Contents

Related Manuals for LNS QUICK LOAD SERVO S2


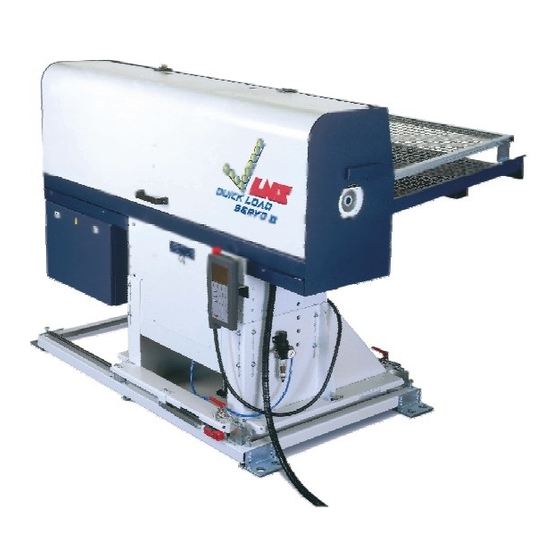
Summary of Contents for LNS QUICK LOAD SERVO S2
- Page 1 MADE IN USA...
-
Page 2: Table Of Contents
MECHANICAL SETTINGS AND OPTIONAL ACCESSORIES Replacement of the feeding pusher 11-13 Calibration of the loading table Slope of the magazine table Loading fingers up 15-16 PUTTING THE LATHE INTO OPERATION Spindle reduction tubes Shaped bars (hex and square) QUICK LOAD SERVO S2... -
Page 3: Starting The Bar Feed System
Settings of the loading fingers Settings of the loading table Lathe set-up : Spindle reduction tubes Optional accessories for profiled bars The procedures to be followed are explained in this chapter and will be presented as concrete examples, whenever possible. QUICK LOAD SERVO S2... -
Page 4: Settings Related To Installation
Lp - 1 mm + Min End of bar setting : Important : Before handling the barfeeder, stop the lathe at the end of part cycle. Press the key [STOP]. Press the key [MENU]. The display reads : MAIN MENU QUICK LOAD SERVO S2... -
Page 5: End Of Bar Position
Note: If only the OFFSET function is needed, this can be accomplished by pressing [1] in sequence 3 above, then pressing the key attributed to the icon [PAGE DOWN] until the parameter is displayed. The "Teach In" function is not available in this menu. QUICK LOAD SERVO S2... -
Page 6: Top-Cut Position
POSITION OF THE CUT OFF (TOP CUT) **** MM Press the key attributed to the [SET]. Depending on which sequence the bar feed is in when the parameter is selected, the available functions and icons can change: QUICK LOAD SERVO S2... - Page 7 Note: If only the OFFSET function is needed, this can be accomplished by pressing [1] in sequence 3 above, then pressing the key attributed to the icon [PAGE DOWN] until the parameter is displayed. The "Teach In" function is not available in this menu. QUICK LOAD SERVO S2...
-
Page 8: Settings Related To Bar Stock And Machined Parts
Install the 12 mm diameter pusher; see point 4.1 If the stock is tubing, install the special adapter; see point 4.1.2 Check that the table and the loading fingers are in the "Round bars" position; see points 4.3 and 4.4 QUICK LOAD SERVO S2... - Page 9 If the stock is tubing, install the special adapter; see point 4.1.2 Check that the table and the loading fingers are in the "Profiled bars" position; see points 4.3 and 4.4 Refer to Set-up for profiled bars; see point 5.2. QUICK LOAD SERVO S2...
- Page 10 Check that the table and the loading fingers are in the "Profiled bars" position; see points 4.3 and 4.4 Install the optional accessories for square bars (See Instruction manual, Appendices / Options for Quick Load Servo S2) Refer to Set-up for profiled bars; see point 5.2. QUICK LOAD SERVO S2...
- Page 11 If the stock is tubing, install the special adapter; see point 4.1.2 Check that the table and the loading fingers are in the "Profiled bars" position; see points 4.3 and 4.4 Refer to Set-up for profiled bars; see point 5.2. QUICK LOAD SERVO S2...
-
Page 12: Mechanical Settings And Optional Accessories
START UP MANUAL MECHANICAL SETTINGS AND OPTIONAL ACCESSORIES Feeding pusher Three feeding pushers are necessary to cover the entire range of the Quick Load Servo S2 bar feed system. Each pusher has a range of operation : Pusher diameter Ordering Nr Diameter Range **6,35 mm (1/4") - Page 13 This setting must be done on all feeding pushers when the bar feed system is being installed, and should be modified (not necessarily) only when the clamping device is replaced (collet or chuck). In this case, the end of the bar position should also be adjusted. QUICK LOAD SERVO S2...
- Page 14 Undo the set screw (E) holding the head (C) onto the pusher. • Remove standard head. • Install special disk (D), by pushing it to a stop in the pusher. • Secure disk with the set screw. QUICK LOAD SERVO S2...
-
Page 15: Calibration Of The Loading Table
4.2.1 Profiled bars The loading table of the Quick Load Servo S2 has been designed, in standard version, to load various bar profiles. To load square bars, see instruction manual, Appendices/Options for Quick Load Servo S2. QUICK LOAD SERVO S2... -
Page 16: Slope Of The Magazine Table
However, it is possible that the bars of small diameter may not load correctly. For this reason, the fingers must be adjusted whenever the slope of the table is modified. Remove front cover (A) and adjust the position of the fingers using the knurled knob located under the loading table. QUICK LOAD SERVO S2... - Page 17 If the slope of the table must be adjusted between the two indicated positions, adjust the slope to accommodate this setting. The main point is that only one bar should be loaded when the loading table rises. QUICK LOAD SERVO S2...
-
Page 18: Putting The Lathe Into Operation
(see Chapter 6, section 4), and the second one in passing the reduction tube through the bar feed system. To facilitate clearance, set the bar stock diameter at 120 mm (settings for Part Setup). Spindle reduction tubes are available from LNS, upon request. QUICK LOAD SERVO S2... -
Page 19: Shaped Bars (Hex And Square)
It is advisable to install in back of the spindle a "Profiled" shaped support to "keep" the bar oriented while it is being inserted by the loading flag into the clamping device. QUICK LOAD SERVO S2...
Need help?
Do you have a question about the QUICK LOAD SERVO S2 and is the answer not in the manual?
Questions and answers