
Related Manuals for Kargo Master 40240


Summary of Contents for Kargo Master 40240
- Page 1 Installation Guide Kargo Master Rancho Cordova, CA 95742 800-343-7486 CustomerService@KargoMaster.com...
-
Page 2: Tools Needed
Install Instructions *PLEASE READ ALL INSTRUCTIONS AND WARNINGS PRIOR TO ASSEMBLING, INSTALLING AND USING THIS PRODUCT* Warning Always check for wires, fuel tanks and lines, brake lines and other important vehicle functionality items prior to drilling and installing all products. Tools Needed ... - Page 3 Install Instructions Parts KM9050-802 KM9050-805 KM9050-106-R1 KM9050-804 KM9050-104 For Technical Support Call: 800-343-7486 Monday-Friday 7AM - 4 PM (PST) Page 3...
- Page 4 Install Instructions 18-00568 For Technical Support Call: 800-343-7486 Monday-Friday 7AM - 4 PM (PST) Page 4...
- Page 5 Install Instructions 18-00567 For Technical Support Call: 800-343-7486 Monday-Friday 7AM - 4 PM (PST) Page 5...
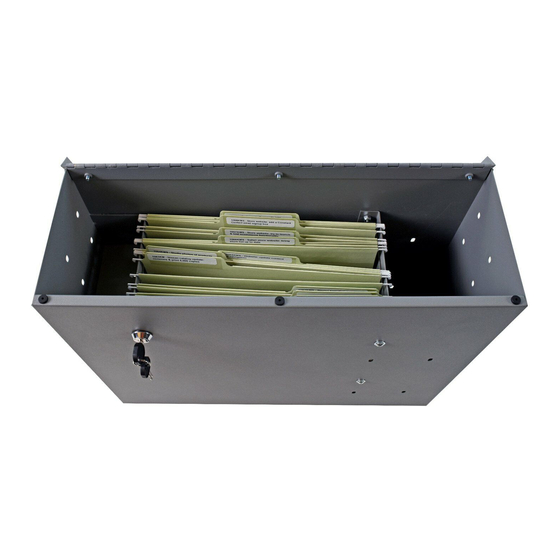
- Page 6 Install Instructions Step 1 Bolt File Support (KM9050-104) into Main File Holder (KM9050-804) using four 10-32 x 1/2" Pan Head Screws, four #10 Flat washer and four 10-32 Nyloc Nuts. We recommend to have the washer on the outside *TIGHTEN Step 2 ...
- Page 7 Install Instructions Installation Instructions for Ford Transit Step 1 Bolt bottom bracket to main assembly through the rear holes as shown. Use two 1/4" x 7/8" hex bolt, two 1/4" lock washers and two 1/4" flat washers. *SNUG TIGHTEN Step 2 ...
- Page 8 Install Instructions Step 5 Remove rear support bracket from main assembly. Return to van, Place rear support bracket where you previously marked. Secure to floor using four 5/16" x 1.25" self tapping screws. Step 6 If desired, you can drill a clearance hole for a 1/4" bolt into seat pedestal where previously marked.
- Page 9 Install Instructions Installation in RAM Promaster Step 1 Bolt rear bracket to main assembly through the rear holes as shown. Use two 1/4" x 7/8" hex bolt, two 1/4" lock washers and two 1/4" flat washers. *SNUG TIGHTEN Step 2 ...
- Page 10 Install Instructions Step 6 Place rest of driver data file back into van. Bolt to previously installed bottom bracket using 1/4" bolts. Step 7 Align and tighten all bolts from previous steps. Bolt front bracket to floor using a 5/16" x 1.25" self tapping screw. ...
Need help?
Do you have a question about the 40240 and is the answer not in the manual?
Questions and answers