
Subscribe to Our Youtube Channel
Related Manuals for Teknik Canal Heights 5419228


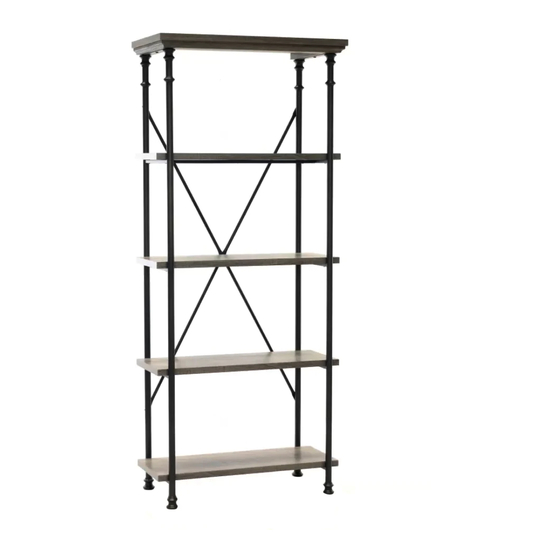
Summary of Contents for Teknik Canal Heights 5419228
- Page 1 Teknik www.teknikoffice.co.uk The stories of your life. Canal Heights 4 Shelf Bookcase Model 5419228 NOTE: THIS INSTRUCTION BOOKLET CONTAINS IMPORTANT SAFETY INFORMATION. PLEASE READ AND KEEP FOR FUTURE REFERENCE.
- Page 2 Table of Contents Assembly Tools Required Part Identifi cation No. 2 Phillips Screwdriver Tip Shown Actual Size Hardware Identifi cation Assembly Steps 5-10 Hammer Not actual size Skip the power trip. This time. Page 2...
-
Page 3: Part Identification
Now you know Part Identifi cation our ABCs. å While not all parts are labeled, some of the parts will have a label or an inked letter on the edge to help distinguish similar parts from each other. Use this part identifi cation to help identify similar parts. RIGHT END (1) TOP (1) SHELF SUPPORT (4) -
Page 4: Hardware Identification
Hardware Identifi cation å Screws are shown actual size. You may receive extra hardware with your unit. 1-1/4" FLAT HEAD SCREW - 20 1/2" MACHINE SCREW - 20 9/16" LARGE HEAD SCREW - 6 FURNITURE TIPPING RESTRAINT KIT - 1 Page 4 www.sauder.com 419228... - Page 5 Step 1 Assemble your unit on a carpeted fl oor or on the empty å carton to avoid scratching your unit or the fl oor. Fasten the ENDS (A and B) to the SHELF SUPPORTS (E). å Use sixteen 1/2" MACHINE SCREWS (6). 1/2"...
- Page 6 Step 2 Fasten the SHELVES (D) to the SHELF SUPPORTS (E) å and ENDS (A and B). Use twenty 1-1/4" FLAT HEAD SCREWS (3). r f a o l e w i t r f a o l e w i t r f a o l e w i t...
- Page 7 Step 3 Fasten the BACK SUPPORTS (F) to the ENDS (A and B). å Use four 1/2" MACHINE SCREWS (6). 1/2" MACHINE SCREW (4 used in this step) Page 7...
- Page 8 Step 4 Fasten the TOP (C) to the ENDS (A and B). Use six 9/16" å LARGE HEAD SCREWS (7). Edge without molding 9/16" LARGE HEAD SCREW (6 used in this step) For support, place packing foam and magazines here under both ENDS to lift your unit so the TOP is easier to attach.
- Page 9 Step 5 Carefully stand your unit upright. å We recommend using the FURNITURE TIPPING RESTRAINT KIT (99) for added å stability. Fasten a bracket to the TOP (C) using the 5/8" screw as shown. Place your unit in its fi nal location against a wall. å...
- Page 10 Step 6 NOTE: Please read the back pages of the instruction booklet for å important safety information. This completes assembly. Clean with your favorite furniture polish å or a damp cloth. Wipe dry. No load 40 lbs. 40 lbs. 40 lbs. 40 lbs.
- Page 11 WARNING Please use your furniture correctly and safely. Improper use can cause safety hazards, or damage to your furniture or household items. Carefully read the following chart. Look out for: What can happen: How to avoid the problem: • Overloaded shelves. •...
Need help?
Do you have a question about the Canal Heights 5419228 and is the answer not in the manual?
Questions and answers