Advertisement
Table of Contents
- 1 Table of Contents
- 2 DP4K-L Series Accessory Kit
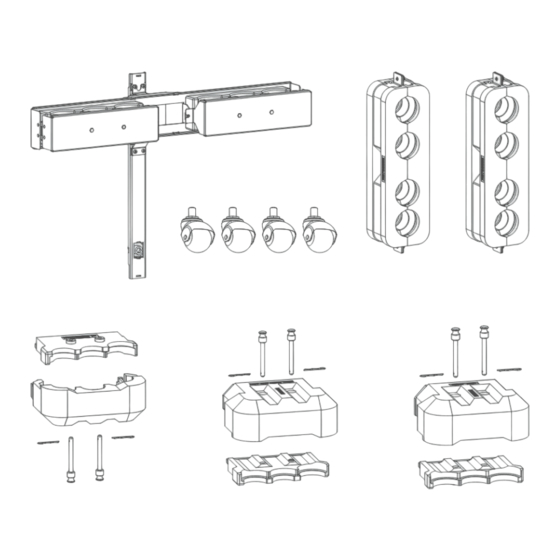
- 3 Kit Content
- 4 Installation Process
- 5 Assembling the Support Frame
- 6 Installing the Support Frame for Hoses Upwards
- 7 Installing the Support Frame for Hoses Downwards
- 8 Installing Insulation Shells Projector Side Hoses Upwards
- 9 Installing Insulation Shells Projector Side Hoses Downwards
- 10 Installing Insulation Shells on the Chiller Side
- 11 Installing the Plastic Catch Basin
- 12 Installing the Castor Wheels
- Download this manual
Advertisement
Table of Contents


Need help?
Do you have a question about the DP4K-L Series and is the answer not in the manual?
Questions and answers