Table of Contents
Advertisement
Quick Links
Advertisement
Table of Contents

Related Manuals for SIIG AV-GM09M3-S1


Summary of Contents for SIIG AV-GM09M3-S1
- Page 1 16x4 3G/HD/SD-SDI Switch P/N: AV-GM09M3-S1...
-
Page 2: Table Of Contents
However, like all electronic equipments, the AV-GM09M3-S1 should be used with care. Please read and follow the safety instructions to protect yourself from possible injury and to minimize the risk of damage to the unit. -
Page 3: Introduction
HD/SD-SDI bit rates, and the re-transmitted quality is guaranteed. Through RS-232, IR remote, or front panel push button, the control of the SDI switch becomes versatile and easier. AV-GM09M3-S1 offers the most convenient and cost effective means for swift switch and duplication of high quality SDI in the market. -
Page 4: Specifications
SPECIFICATIONS Model Name AV-GM09M3-S1 Technical Role of usage 16x4 switch SDI standards SD-SDI, HD-SDI & 3G-SDI Auto 3G/HD/SD detection SMPTE 259M (270Mbps / 360Mpbs) Supported protocols SMPTE 292M / HDTV (1.485 & 1.485/1.001Gbps) SMPTE 424/425M (2.97 & 2.97/1.001Gbps) Video bandwidth 2.97Gpbs... - Page 5 Mechanical Housing Metal enclosure Model 440 x 125 x 43mm [1'5.3" x 4.9" x 1.7"] Dimensions Package 510 x 230 x 70mm [1'8" x 9.1" x 2.8"] [L x W x H] Carton 510 x 410 x 252mm [1'8" x 1'4" x 10"] Model Weight Package...
-
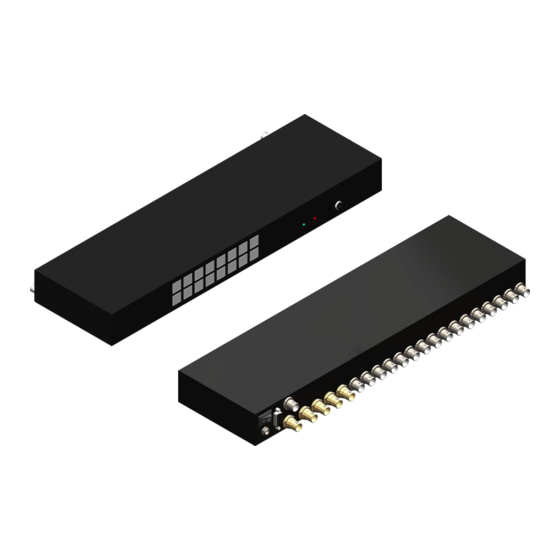
Page 6: Panel Descriptions
PANEL DESCRIPTIONS Front Panel Button: Input source selection Green LED: SD signal indicator Red LED: 3G / HD signal indicator IR: IR sensor 3.5mm: IR receiver Rear Panel Power: On/off switch Power: +5V DC latch-locking RS-232: Serial channel control BNC: Synchronized signal input BNC: Synchronized serial output (add 75Ω... -
Page 7: Hardware Installation
HARDWARE INSTALLATION 1. Connect one SDI device to the output of AV-GM09M3-S1. 2. Connect the SDI input sources to the inputs of AV-GM09M3-S1. 3. Screw on the 5V power supply unit to the locking power jack. 4. Use IR remote, RS-232, or front panel push button to switch between input channels. -
Page 8: Ir Remote Control
→ press input source (1-6) + F1, F2, To Reserved WARRANTY The SELLER warrants the AV-GM09M3-S1 16x4 3G/HD/SD-SDI Switch free from defects in the material and workmanship for 3 years from the date of purchase from the SELLER or an authorized dealer. - Page 9 The SELLER will NOT be liable for direct, indirect, incidental, special, or consequential damages resulting from any defect or omission in this manual, even if advised of the possibility of such damages. Also, the technical information contained herein regarding the AV-GM09M3-S1 features and specifications is subject to change without further notice.
Need help?
Do you have a question about the AV-GM09M3-S1 and is the answer not in the manual?
Questions and answers