Table of Contents
Advertisement
Advertisement
Table of Contents

Summary of Contents for Midea MHAA90BL
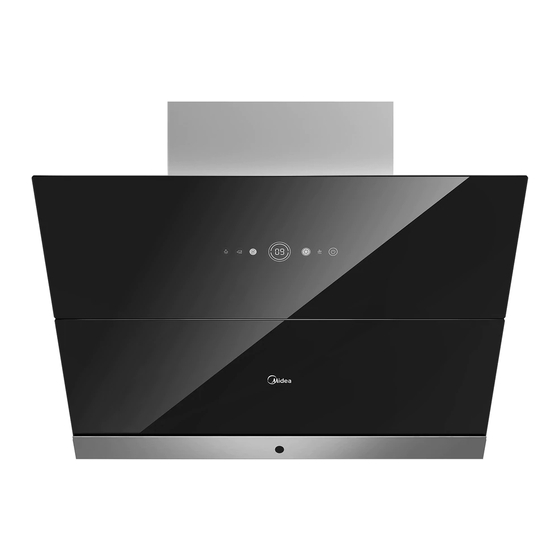
- Page 1 Midea Cooker Hood Instruction MODEL:MHAA90BL SAVE THESE INSTRUCTIONS CAREFULLY Read these instructions carefully before using your cooker hood,and keep it carefully. If you follow the instructions, your cooker hood will provide you with many years of good service.
-
Page 2: Table Of Contents
Contents Contents..............Warnings..............Safety Warning............Installation instruction ..........First using.............. Maintenance............Main Parameters..........Trouble shooting..........After service............ranty notice............Disposal.............. -
Page 3: Warnings
Warnings This appliance is not intended for use by persons (including children) with reduced physical, sensory or mental capabilities, or lack of experience and knowledge, unless they have been given supervision or instruction concerning use of the appliance by a person responsible for their safety. - Page 4 Warnings non-combustible parts of range hoods, and parts operating at safety extra low voltage, Provided these parts do not give access to live parts if deformed;) Regulations concerning the discharge of air have to be fulfilled. The appliance uses 4 hob elements at most. Accessible parts may become hot when CAUTION : used with cooking appliances.
-
Page 5: Safety Warning
Safety Warning The appliance is not intended for use by young children or infirm persons without supervisions. Young children should be supervised to ensure they do not play with the appliance. Plug the power cord to socket outlet with earthing continuity terminal. ... -
Page 6: Installation Instruction
Installation instruction Determine location Range hood should be installed horizontaly on the top of the stove, the installation diagram is as follows: Suspended Exhaust pipe ceiling Chimney Cupboard 905~915... - Page 7 Ф200 Schematic diagram of the hole size of the exhaust pipe at the ceiling Note: This installation height is only applicable to electric stove, if installed above the gas stove, the installation height should be in accordance with the installation height requirements of gas stove.
- Page 8 Installation instruction lnstallation plate After hang the hood on the installation plate, fasten two screws M5X16, avoid the hood slide off accidently. Installation plate Expansion bolt...
- Page 9 Accessories Note: If you need to install the decorative cover, please buy it in advance. Range hood body Exhaust pipe fixed ring Exhaust pipe Check valve Check valve Sealing gasket Installation plate Expansion bolt (8 x 60) Screws (M5x16) Screws (ST4.2x16) Water cup Filter cotton for water cup (replaced every 2 years)
-
Page 10: First Using
First Using Range hood can be used after power. Short press: 0.5 second Long press: 2~3 seconds Short press: Turn on the light; Light Long press: Adjust the light. Long press: Open the panel; Washing Long press: Close the panel. Long press: Start;... -
Page 11: Maintenance
Maintenance Cleaning on the surface 1. The surface of the range hood and filter should be clean regularly, do not use clean balls, brushes, coarse cloth, so as not to scratch the surface of the machine. 2. As the oil is seen from the Oil Cup Window, please dumping in time, avoid the oil dripping to the stove. - Page 12 Steam Washing (Cleaning inner of the hood) As the indicator light turns red and flashes, it is indicated that steam washing is required. a) Remove oil cup b) Dump accumulated oil c) Install oil cup Cup filled with purified water or distilled water. water inlet Plug the tube into the water inlet.
-
Page 13: Main Parameters
Main Parameters Voltage 220-240V~/50Hz Rated Power 1600W Lighting Power 2 X 1.5W Motor Power 260W 180mm Diameter of air tube Air flow 18m³ /min (Boost:2 m³ /min) 55dB/ 69dB(A) (SPL/APL) ≤ Noise * Sound Pressure Level/Acoustic Power Level The air flow parameter is tested under conditions of 230V ~ /50Hz when the voltage is 220-240V ~ 50Hz LED light imformation... -
Page 14: Trouble Shooting
Trouble Shooting Fault Solution Both light and motor Unplug power plug and reconnect the power supply. do not work Oil cup tilt, please reinstall. Oil cup full filled with oil, please dump the oil. Oil leakage Oil-way blockage caused by long time uncleaned internal oil-way, needs professionals to wash the hood. -
Page 15: Warranty Notice
Warranty notice First, to safeguard your interests, please fill out the installation service card carefully and retain the receipt for warranty. Second, the product purchased in our company that has breakdown due to quality problem can be repaired at designated special service department based on valid purchase proof. - Page 16 P/N:16173000A12194...


Need help?
Do you have a question about the MHAA90BL and is the answer not in the manual?
Questions and answers