Advertisement
PRE-ASSEMBLY:
•
Please read all instructions before beginning assembly.
•
For your safety and ease, assembly by two adults is recommended.
•
Remove all parts and hardware from box and lay out on a carpeted or scratch-free work surface, as
this will avoid damaging any parts during assembly. The shipping box provides an ideal work
surface.
•
Do not dispose of any contents until assembly is completed to avoid accidentally discarding small
parts or hardware.
•
Use the parts and hardware lists to identify and separate each of the pieces included.
•
Note: Do not fully tighten all bolts until all parts are in place. Failure to follow these instructions may
cause the bolts to misalign during assembly.
•
The use of power tools for assembly is not recommended. Power tools can damage hardware or
split wood.
PARTS INCLUDED:
A – Top panel (x1)
B – Bottom panel (x1)
C – Short divider (x1)
D – Long divider (x1)
E – Back panel (x2)
F – Beadboard
upper
front panel (x2)
G – Lower front panel (x2)
H – Leg (x1)
I – Leg (x1)
J – Leg (x1)
K – Leg (x1)
TOOLS REQUIRED:
Phillips head screwdriver (not included)
L – Wrench 88x13x2mm (included)
HARDWARE:
M – Hex Nut 5/16"x12.8x6mm (x8)
O – Flat washer 5/16"x18x2mm (x8)
pottery barn kids
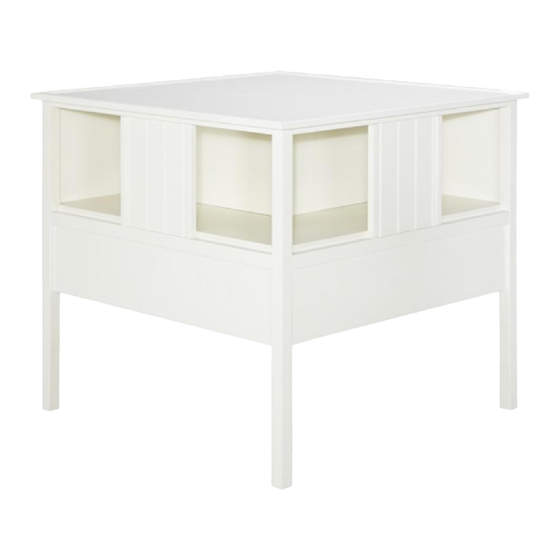
BELDEN CORNER UNIT
N – spring washer 5/16"x13x2mm (x8)
P – Pan Head screw 8x19mm (x12)
1
Advertisement
Table of Contents

Related Manuals for pottery barn kids BELDEN CORNER UNIT


Summary of Contents for pottery barn kids BELDEN CORNER UNIT
- Page 1 BELDEN CORNER UNIT PRE-ASSEMBLY: • Please read all instructions before beginning assembly. • For your safety and ease, assembly by two adults is recommended. • Remove all parts and hardware from box and lay out on a carpeted or scratch-free work surface, as this will avoid damaging any parts during assembly.
- Page 2 ASSEMBLY INSTRUCTIONS Take out all parts from package and lay them on a carpeted scratch free surface. Remove plastic covers from hanger bolts on Legs (H, I , J , K). 2. Lay Top Panel (A) upside down, insert 1pc Short Divider(C), 1pc Long Divider (D), 2pcs Beadboard Upper Front Panels (F) to the Top panel (A) as shown below, make sure wooden...
- Page 3 4. Insert hanger bolts on Leg (J) through pre-drilled holes in corner blocks on Top panel (A) and Bottom Panel (B); Make sure the short slot on Leg (J) and slot underneath Bottom Panel (B) are on same side. Slide a Flat washer (O), a spring washer (N), and a Hex nut (M) onto each hanger bolt as shown in figure Step 4-1;...
- Page 4 6. Attach Leg (K) to Top Panel (A) and Bottom Panel (B); insert hanger bolts on Leg (K) into pre-drilled holes in corner blocks on Top Panel (A) and Bottom Panel (B); make sure the other end of Lower Front Panel (G) sits in the short slot in Leg (K). Slide a Flat washer (O), a spring washer (N), and a Hex nut (M) onto each hanger bolt as shown below;...
- Page 5 8. Attach Leg (I) to Top Panel (A) and Bottom Panel (B); insert hanger bolts on Leg (I) into pre-drilled holes in corner blocks on Top Panel (A) and Bottom Panel (B); make sure the other ends of Back Panels (E) sits in the slots in Leg (I). Slide a Flat washer (O), a spring washer (N), and a Hex nut (M) onto each hanger bolt as shown below;...
Need help?
Do you have a question about the BELDEN CORNER UNIT and is the answer not in the manual?
Questions and answers