
Subscribe to Our Youtube Channel
Related Manuals for pottery barn kids OWEN TWIN OVER TIWN BUNK BED


Summary of Contents for pottery barn kids OWEN TWIN OVER TIWN BUNK BED
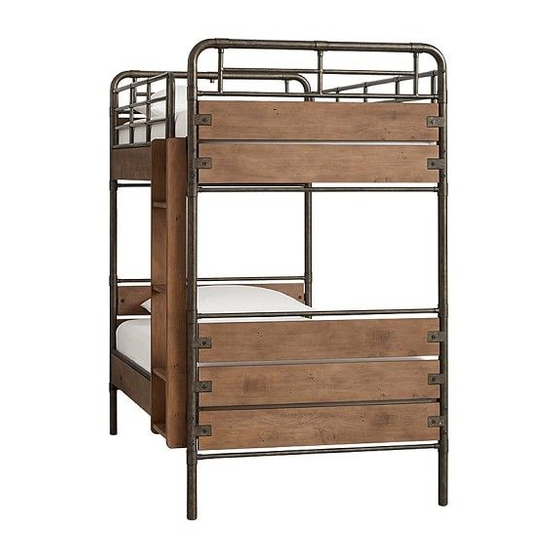
- Page 1 OWEN TWIN OVER TIWN BUNK BED www.potterybarnkids.com Date: 2015- Oct.-13 Rev: Page 1 of 10...
- Page 2 Before each usage or assembly, inspect bunk bed for damaged hardware, loose joints, missing parts or sharp edges. DO NOT use bunk bed if any parts are missing or broken. • DO NOT use substitute parts. Contact pottery barn kids for replacement parts and instructional literature if needed. •...
- Page 3 Important Safety Instructions: • Please read all instructions carefully before assembling. • For your safety, assembly by three or more adults is strongly recommended. • Keep instructions for future use. • Use only vendor supplied hardware to assemble. Using unauthorized hardware could jeopardize the structural integrity of the item.
- Page 4 Assembly Instruction Steps: Attach (C) to (A) as shown below. Note: Do not fully tighten the bolts to make the next steps easier. Date: 2015- Oct.-13 Rev: Page 4 of 10...
- Page 5 2. Attach (D) to (A) as shown below. Note: Do not fully tighten the bolts to make the next steps easier. Date: 2015- Oct.-13 Rev: Page 5 of 10...
- Page 6 3. Attach (B) to (C) and (D) as shown below. Note: Do not fully tighten the bolts to make the next steps easier. Date: 2015- Oct.-13 Rev: Page 6 of 10...
- Page 7 5. Carefully attach (C &E) to (A&B) by spreading (A& B) as shown below. Spreading Date: 2015- Oct.-13 Rev: Page 7 of 10...
- Page 8 6. Secure (C) and (E) as shown below. 7. Check the alignments and fully tighten all bolts at this time. Do not over tighten. Date: 2015- Oct.-13 Rev: Page 8 of 10...
- Page 9 8. Attach (G) onto (E) and (C). Secure the ladder with (M) using a Phillips head screwdriver (Not included). Make sure to use pre-drilled holes as guidance. Date: 2015- Oct.-13 Rev: Page 9 of 10...
- Page 10 9. Lay the slat roll (F) onto the support rails on the inner side of (C), (D) and (E). Secure each slat by wood screw (L) at two ends using a Phillips head screwdriver (Not included). 10. Assembly is completed Care Instructions: •...
Need help?
Do you have a question about the OWEN TWIN OVER TIWN BUNK BED and is the answer not in the manual?
Questions and answers