Advertisement
PRE-ASSEMBLY:
Remove all parts and hardware from the box and lay out on a clean carpeted or scratch-free work surface (The shipping
box provides an ideal work surface). This will avoid damaging any parts during assembly. Do not dispose of any contents
until assembly is completed to avoid accidentally discarding small parts or hardware.
Two people recommended for ease of assembly.
Use the parts and hardware lists to identify and separate each of the pieces included prior to starting assembly.
The illustrations provided allow for easier assembly when used in conjunction with the assembly instructions.
Note: Do not fully tighten all bolts until all parts are in place. Failure to follow these instructions may cause the bolts to
misalign during assembly.
If using power tools to aid in assembly please use caution. Power tools can damage hardware or split wood.
PARTS INCLUDED:
A – Front panel (1)
B – Back panel (1)
C – Left side panel (1)
D – Right side panel (1)
E - Bottom frame with drawers (1)
F- Slat rolls (1)
G – Drawer fill-in panel (1)
TOOLS REQUIRED:
Phillips head screwdriver (not included)
H – Allen Key (included)
HARDWARE INCLUDED:
I – Allen bolt 1/4"x32x15mm (7)
K – Small Phillips head screw 8x17mm (12)
pottery barn kids
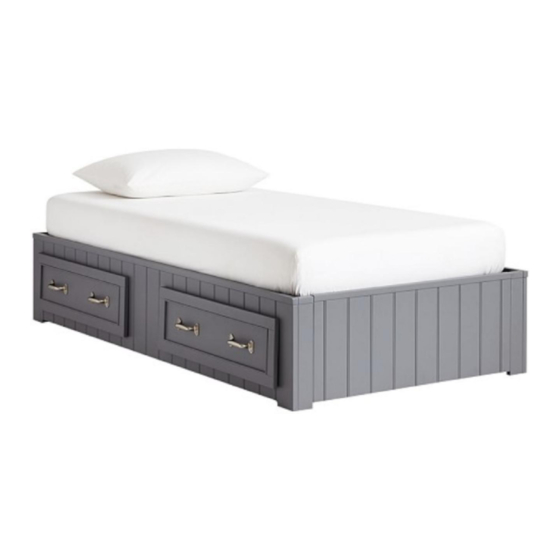
BELDEN BED
J – Large Phillips head screw 8x30mm (28)
L – Mending plate 70x40mm (2)
1
Advertisement
Table of Contents

Related Manuals for pottery barn kids BELDEN BED


Summary of Contents for pottery barn kids BELDEN BED
- Page 1 BELDEN BED PRE-ASSEMBLY: Remove all parts and hardware from the box and lay out on a clean carpeted or scratch-free work surface (The shipping box provides an ideal work surface). This will avoid damaging any parts during assembly. Do not dispose of any contents until assembly is completed to avoid accidentally discarding small parts or hardware.
- Page 2 M – Leveller 120x37x29mm (1) N - Wooden dowel 8x25mm (2) ASSEMBLY: 1. Pull 2 Drawer out from the Bottom frame (E) as shown. 2. Attach the leveler (M) to the Bottom frame (E) using 4pcs Small Phillips head screw 8x17mm (K), tighten with Phillips head screwdriver (not included).
- Page 3 3. Lay down the Front panel (A) and attach 2pcs Wooden dowel 8x25mm (N) to the Bottom panel (E), make sure the pre-drilled holes align. Attach the Bottom frame (E) to the Front panel (A) using 3pcs Allen bolt 1/4”x32x15mm (I) and Allen key (H) 4.
- Page 4 5. Fix the Bottom frame (E) to Left Side panel (C) and Right Side panel (D) using 4pcs Allen bolt 1/4”x32x15mm (I), tighten with Allen key (H). Then tighten the leveler as shown. 6. Put the drawer boxes back to the Bottom frame (E) by aligning the wooden runners making sure the drawer fits properly.
- Page 5 7. If only one drawer is needed, replace that open drawer front using the drawer Fill-in panel (G), make sure the bead board aligns properly for both the Front panel (A) and Drawer Fill-in panel (G), then fix 2pcs Mending plate 70x40mm (L) through the pre-drilled holes by using 8pcs Small Phillips head screw 8x17mm (K) and Phillips head screwdriver (not included).
Need help?
Do you have a question about the BELDEN BED and is the answer not in the manual?
Questions and answers