Advertisement
Quick Links
Advertisement

Related Manuals for EAST COAST Toulouse Wardrobe Grey


Summary of Contents for EAST COAST Toulouse Wardrobe Grey
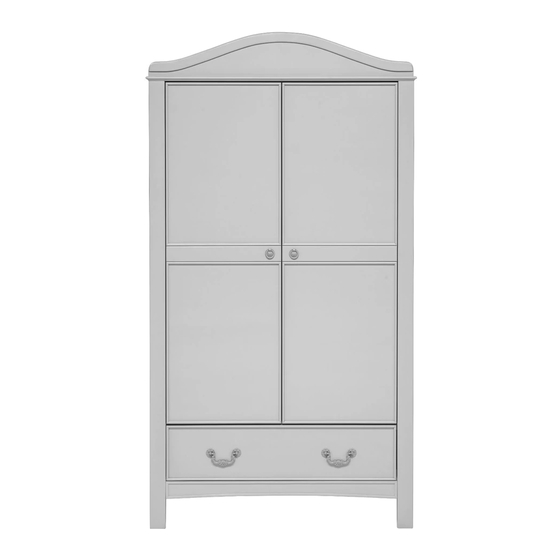
- Page 1 Toulouse Wardrobe Grey Assembly and care instructions...
- Page 2 IMPORTANT RETAIN FOR FUTURE REFERENCE: READ CAREFULLY Thank you for purchasing an East Coast product. It’s been carefully designed and constructed to offer quality, safety and reliability for you and your baby. If you have a query about this product or require replacement parts, please contact 01692 408802.
- Page 3 Wooden Parts Trim panel Wardrobe side x 2 (L & R) Door x 2 Top panel Rear crossbar (with holes) x 2 Centre rear crossbar Plain crossbar (wide) x 2 Clothes rail x 2 Front crossbar Back panel (small) x 2 Plain crossbar (narrow) x 2 Back panel (large) x 2 Shelf...
- Page 4 Assembly 1 Rear crossbar (with holes) x 2 Plain crossbar (narrow) x 2 Plain crossbar (wide) x 2 Front crossbar Centre rear crossbar NOTE: Take care to insert the dowels D x 16 into the correct holes as indicated. Repeat for the opposite end of each part.
- Page 5 Assembly 3 Wardrobe side 7 locations Assembly 4 Shelf A x 2 C x 6...
- Page 6 Assembly 5 Trim panel C x 3 Top panel Assembly 6 Top panel A x 2 C x 6...
- Page 7 Assembly 7 Back panel (small) Back panel (large) I x 76 Back panel (large) Back panel (small) NOTE: This stage is best carried out with the wardrobe laid on its front on a soft surface. Place each Back panel into the recess on the back of the wardrobe in the positions shown in the diagram.
- Page 8 Assembly 8 G x 4 Drawer side Drawer front Drawer side Assembly 9 Drawer base Assembly 10 Drawer back Drawer brace...
- Page 9 Assembly 11 F x 4 J x 2 G x 5 Assembly 12 Clothes rail Clothes rail Completed Drawer...
- Page 10 Assembly 13 The wardrobe is supplied with a fixing kit which will secure it and help to guard against accidental tipping. WARNING : Installation only to be carried out by a competent person. Check the suitability of the wall before fitting. Washer x 2 Screw (short) Screw (long)
- Page 11 Assembly 14 L (3 total) K x 1 H x 2 (6 total) NOTE: F x 1 Door Repeat for second door. Assembly 15 Screw 1 Screw 2 NOTE: To adjust the fit of the doors in the frame, position the wardrobe where it will be used and use screws 1 and 2: Screw 1 loosens the hinge to move the door forward...
-
Page 12: Care And Maintenance
Ensure that the wall strap is used to securely attach the wardrobe to the wall to prevent tipping. For customer care or enquiries: Call: 01692 408802 Email: nursery@east-coast.co.uk East Coast Nursery Ltd. Robertson House, North Walsham, Norfolk, NR28 0BX eastcoastnursery.co.uk EC_TWDG_300119...
Need help?
Do you have a question about the Toulouse Wardrobe Grey and is the answer not in the manual?
Questions and answers