Advertisement
Quick Links
Advertisement

Subscribe to Our Youtube Channel
Related Manuals for EAST COAST Coast Dresser


Summary of Contents for EAST COAST Coast Dresser
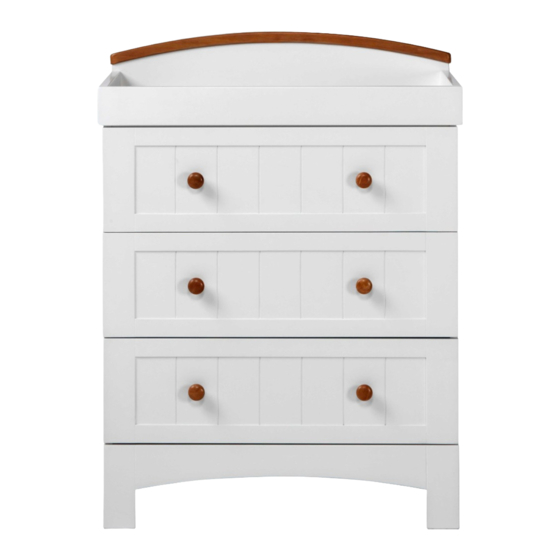
- Page 1 Coast Dresser Assembly and care instructions...
- Page 2 RETAIN FOR FUTURE REFERENCE: READ CAREFULLY Thank you for purchasing an East Coast product. It’s been carefully designed and constructed to offer quality, safety and reliability for you and your baby. If you have a query about this product or require replacement parts, please contact 01692 408802.
- Page 3 Dresser Parts Dresser top Rear top Rear right crossbar Side panel (L & R) Back Back panel Rear left panel (L & R) joining strip Rear bottom crossbar Front top crossbar Dresser base Front bottom crossbar Front feet Rear changer panel Right changer Front changer...
- Page 4 Assembly 1 J x 6 Dresser base Front and rear crossbars J x 6 Assembly 2 Front top C x 2 crossbar H x 2 Front bottom crossbar B x 2 Repeat for left panel Right side panel NOTE: Do not tighten bolts fully until assembly is complete.
- Page 5 Assembly 3 Dresser base Front top crossbar Front bottom crossbar A x 2 Right side panel Assembly 4 Left side panel A x 2 Front C x 2 bottom crossbar H x 2 Front top crossbar...
- Page 6 Assembly 5 Rear top crossbar Rear right leg C x 2 H x 2 Rear bottom crossbar Assembly 6 Rear right leg Back panel C x 2 H x 2 Back panel joining Rear left strip NOTE: Ensure cutouts on the Back panel(s) are in the middle of the top.
- Page 7 Assembly 7 Rear assembly B x 3 J x 4 B x 3 NOTE: You will need to fl ip the Rear assembly over to carry out this step. Assembly 8 Rear left Left side panel A x 3 NOTE: Repeat cam nut process for Left side panel.
- Page 8 Assembly 9 Front feet J x 4 B x 2 Assembly 10 Left side panel Front feet A x 1 G x 2 NOTE: Repeat cam nut process for Left side panel.
- Page 9 Assembly 11 J x 4 J x 4 Assembly 12 Dresser B x 6...
- Page 10 Assembly 13 Dresser G x 2 A x 4 Left side panel NOTE: Repeat cam nut process for Left side panel. Assembly 14 B x 2 J x 2 Right changer Front changer panel panel A x 2 Left changer panel J x 2 Rear changer...
- Page 11 Assembly 15 E x 1 E x 3 Assembly 16 I x 2 Front drawer panel Left drawer panel D x 4 Right drawer panel NOTE: I x 2 Ensure slot in part D are visible. Repeat for remaining drawers.
- Page 12 Assembly 17 Left drawer Front drawer panel panel Drawer base Right drawer panel panel NOTE: Repeat for remaining drawers. Assembly 18 Left drawer panel I x 2 Front drawer panel Right drawer panel Back drawer D x 4 panel I x 2 NOTE: Ensure slot in part D are visible.
- Page 13 Assembly 19 K x 2 F x 2 NOTE: Repeat for remaining drawers.
- Page 14 Assembly 20 The furniture is supplied with a fixing kit which will secure it and help to guard against accidental tipping. WARNING : Installation only to be carried out by a competent person. Check the suitability of the wall before fitting. Washer x 2 Screw (Short) Screw (Long)
- Page 15 Do not use the dresser if any of the parts are broken, torn or missing. Any additional or replacement parts can only be obtained from the manufacturer or the distributor. For customer care or enquiries: Call: 01692 408802 Email: nursery@east-coast.co.uk East Coast Nursery Ltd. Robertson House, North Walsham, Norfolk, NR28 0BX 8579 eastcoastnursery.co.uk 05_17...
Need help?
Do you have a question about the Coast Dresser and is the answer not in the manual?
Questions and answers