Advertisement
Quick Links
Advertisement

Related Manuals for EAST COAST Toulouse


Summary of Contents for EAST COAST Toulouse
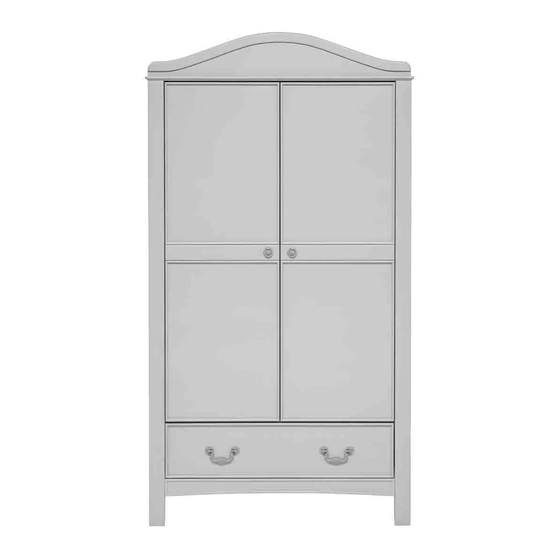
- Page 1 Toulouse Wardrobe...
- Page 2 Important Retain for future reference: Read carefully Please read the instructions and warnings carefully before use to ensure safe and satisfactory operation of this product. Your child’s safety is your responsibility. If you have a query with this product or require replacement parts, please contact 01692 408802.
- Page 3 Wooden Parts Trim Panel Wardrobe Side x 2 (L & R) Door x 2 Top Panel Rear Crossbar (With Holes) x 2 Centre Rear Crossbar Plain Crossbar (Wide) x 2 Clothes Rail x 2 Front Crossbar Plain Crossbar (Narrow) x 2 Back Panel (Small) x 2 Back Panel (Large) x 2 Shelf...
- Page 4 Assembly 1 Rear Crossbar (With Holes) x 2 Plain Crossbar (Narrow) x 2 Plain Crossbar (Wide) Front Crossbar Centre Rear Crossbar NOTE: Take care to insert the dowels into the correct holes as indicated. D x 16 Repeat for the opposite end of each part.
- Page 5 Assembly 3 Wardrobe Side 7 locations Assembly 4 Shelf A x 2 C x 6...
- Page 6 Assembly 5 Trim Panel C x 3 Top Panel Assembly 6 Top Panel A x 2 C x 6...
- Page 7 Assembly 7 Back Panel (Small) Back Panel (Large) I x 76 Back Panel (Large) Back Panel (Small) NOTE: This stage is best carried out with the Wardrobe laid on its front on a soft surface. Place each Back Panel into the recess on the back of the Wardrobe in the positions shown in the diagram.
- Page 8 Assembly 8 G x 4 Drawer Side Drawer Front Drawer Side Assembly 9 Drawer Base Assembly 10 Drawer Back Drawer Brace...
- Page 9 Assembly 11 F x 4 J x 2 G x 5 Assembly 12 Clothes Rail Clothes Rail Completed Drawer...
- Page 10 Assembly 13 The wardrobe is supplied with a fixing kit which will secure it and help to guard against accidental tipping. WARNING : Installation only to be carried out by a competent person. Check the suitability of the wall before fitting. Washer x 2 Screw (15mm) Screw (25mm)
- Page 11 Assembly 14 L (3 total) K x 1 H x 2 (6 total) NOTE: F x 1 Door Repeat for second Door. Assembly 15 Screw 1 Screw 2 NOTE: To adjust the fit of the doors in the frame, position the wardrobe where it will be used and use screws 1 and 2: Screw 1 loosens the hinge to move the door forward or backward.
-
Page 12: Care And Maintenance
Only use the wardrobe on a stable and level surface. Ensure that the wall strap is used to securely attach the wardrobe to the wall to prevent tipping. Customer Care line for this Product 01692 408802 East Coast Nursery Ltd. Robertson House, North Walsham, Norfolk, NR28 0BX www.eastcoastnursery.co.uk 7840-03...
Need help?
Do you have a question about the Toulouse and is the answer not in the manual?
Questions and answers