
Related Manuals for Anzzi SD-AZ01-01


Summary of Contents for Anzzi SD-AZ01-01
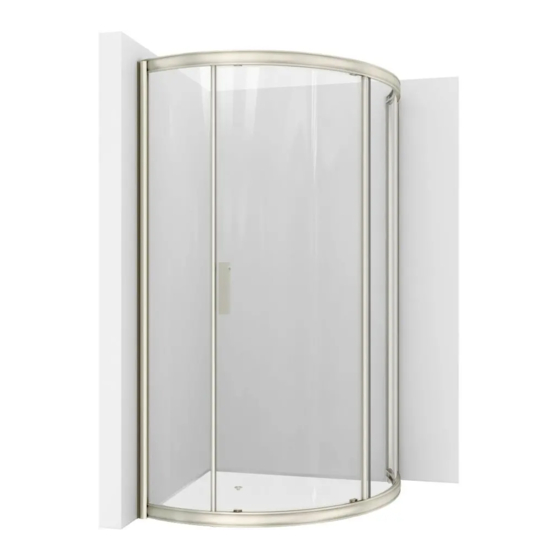
- Page 1 ANZZI GLASS SHOWER DOOR INSTALL GUIDE Models: SD-AZ01-01 Have questions? Call us at 1-844-44-ANZZI or email at info@anzzi.com.
-
Page 2: Getting Started
GETTING STARTED Notice: This assembly requires two people due to the weight of the 3. Make sure the installation surface area is level, solid, and can sup- glass doors. Professional installers are highly recommended. port the entire weight of the unit and the walls are at right angles before beginning installation. -
Page 3: Parts List
PARTS LIST (2x) Glass (2x) Guide rail (1x) Fixed glass profile (2x) Wall profile (2x) Glass panel (1x) Glass door (2x) Water proof strip (3x) U-Strip (1x) Magnetic strip (1x) Handle (2x) Top side wheels (2x) Bottom side wheels (16x) Screw ST4* 30 (8x) Wall anchor... - Page 4 TUB DOOR 1. Use the Round Head Screws ST4x30 (13) to attach the bottom Guide Rail (03) to the Glass Profiles (02). 2. Affix the U Shape Strip (08) to the stationary glass. Install the Stationary Glasses (05) by fully sliding one into the groove of the Glass Profiles (01). Securely fasten it near the Glass Holders (16) to the bottom Guide Rail (02).
- Page 5 U-STRIPS NOTE: Avoid scratching or damaging the aluminum and glass by refraining from using a screwdriver or other metal device. 3. For your convenience, the Stationary Glasses Profile (magnetic) (03) has already been assembled. Refer to Figure 4 for details. 4.
- Page 6 U-STRIPS 6. Place the completed frame on the shower base, threshold, or bathtub in its designated position. Carefully push the frame against the walls. Sometimes the upper and lower wall opening measurements differ or the walls may not be plumb. To fix this problem, make slight adjustments by gently pulling the Wall Profiles (04) out of the Glass Profiles (01) and use a leveler tool to adjust the vertically positioned frame.
- Page 7 DRILLING 6. Place the completed frame on the shower base, threshold, or bathtub in its designated position. Carefully push the frame against the walls. Sometimes the upper and lower wall opening measurements differ or the walls may not be plumb. To fix this problem, make slight adjustments by gently pulling the Wall Profiles (04) out of the Glass Profiles (01) and use a leveler tool to adjust the vertically positioned frame.
- Page 8 DRILLING 8. Adhere the top and bottom Wheels (11) & (12) to the Glass Door (06). The upper wheels have an adjustable bolt and lock nut that can alter the door level as necessary. The lower wheel features a press that works to secure the wheel to the bottom Guide Rail (02). NOTE: When installed, the upper wheel lock nut and lower wheel press button should be pointing upwards.
- Page 9 HARDWARE 10. Affix the Handles (10) to the Glass Door (06). Place the Anti-Water Strips (07) firmly on the vertical edges of the Stationary Glass and the Glass Door. For a tight close, secure the Magnetic Strip (09) on the vertical edges of the Glass Door.
-
Page 10: Maintenance
MAINTENANCE Guarantee a longer life of the hardware finish by wiping off the metal parts with a soft cloth after each use. Avoid using abrasive cleaners and products especially those that contain bleach, acid, or ammonia. In the case that these chemicals are used, thoroughly rinse the surface as soon as possible and wipe dry with a soft cloth.
Need help?
Do you have a question about the SD-AZ01-01 and is the answer not in the manual?
Questions and answers