Advertisement
Quick Links
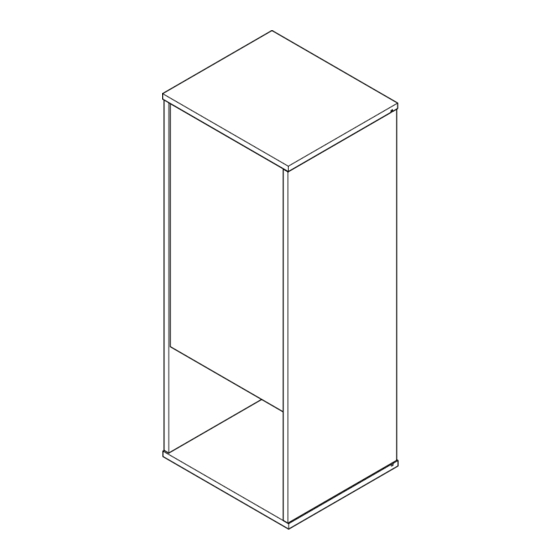
1 Door Wall Unit
Assembly Instructions
011 xx 9427
- Please keep for future reference
Dimensions
Width - 40.0cm
Depth - 34.8cm
Height - 99.8cm
MADE IN
GREAT BRITAIN
Important -
Please read these instructions fully before starting assembly
If you need help or have damaged or missing parts, call the Customer Helpline: 01709 534123
Please turn to back page for important information when contacting Customer Helpline.
Rev A - 27/06/19
Advertisement

Summary of Contents for JD Williams Westwood Modula Wall Unit
- Page 1 1 Door Wall Unit Assembly Instructions 011 xx 9427 - Please keep for future reference Dimensions Width - 40.0cm Depth - 34.8cm Height - 99.8cm MADE IN GREAT BRITAIN Important - Please read these instructions fully before starting assembly If you need help or have damaged or missing parts, call the Customer Helpline: 01709 534123 Please turn to back page for important information when contacting Customer Helpline.
- Page 2 Safety and Care Advice Important - Please read these instructions fully before starting assembly Do not stand or put weight on Check you have all the We do not the product, this could cause components and tools listed on recommend the damage.
- Page 3 Components - Panels Please check you have all the panels listed below Important - Thick lines indicate finished edges 1499 1498 Bottom (40x34.8cm) (40x34.8cm) 1504 Rail (36.6x12.4cm) 1502 1501 1500 Shelf x 2 Right Hand End Left Hand End (36.6x30.7cm) (96.8x34.6cm) (96.8x34.6cm) 1503...
- Page 4 If you have damaged or missing components, call the Components - Fittings Customer Helpline: 01709 534123 Please turn to back page for important information when contacting Customer Helpline. Please check you have all the fittings listed below Note: The quantities below are the correct amount to complete the assembly, In some cases more fittings may be supplied than are required.
-
Page 5: Exploded View
Exploded View 1498 1504 1500 1505 1502 1503 1502 1501 1499... - Page 6 Assembly Instructions Step 1 Fitting cams, dowels and wooden dowels to the LH end. Note: Ensure cam 1500 arrow points towards the edge with hole. Note: Insert metal Use a hammer dowels as far as to knock in shown by arrows. wooden dowels Do not over tighten.
- Page 7 Assembly Instructions Step 3 Fitting dowels into the top panel. Note: Insert metal 1498 dowels as far as shown by arrows. Do not over tighten. Step 4 Fitting cams into the shelf panels and rail. 1504 Note: Ensure cam arrow points towards the edge with hole.
- Page 8 Assembly Instructions Step 5 Correct Attach hinges to the doors Incorrect Insert hinges into holes, ensure the hinge is straight (90 degree angle). 1503 Bradawl Before securing the hinges , we recommend you pre - mark the doors using a bradawl. 1503 Secure hinges doors using screws...
- Page 9 Assembly Instructions Step 6 Secure shelf panels and rail to the LH end panel. Locate cams in both shelf panels 1502 and rail 1504 into dowels on the LH end panel 1500 Tighten as shown below. 1504 1502 1502 Turn cam 180 degrees to lock 1500 Step 7...
- Page 10 Assembly Instructions Step 8 Secure top to LH and RH end panels. 1500 Locate dowels in top panel to the cams in the LH 1498 1501 and RH 1500 panels. 1501 1498 1500 Step 9 Insert backpanel. 1505 Slide backpanel into the grooves in the LH 1501 and RH...
- Page 11 Assembly Instructions Step 10 Secure the bottom panel. Place bottom panel 1499 1499 onto wooden dowels making sure the grooved part is to the back panel 1505 . Then using screws secure the panel in place. 1500 1505 1501 GROOVED EDGE Lay the unit on its front Step 11 Add stability blocks.
- Page 12 Assembly Instructions Step 12 Attach Hinge Plares and Hang door. Attach hinge plates the end panel. Instructions show hinge plates attached to LH End but can be attached to RH if chosen. However this is preferable per person. With help, slot door hinges onto hinge plates.
- Page 13 Assembly Instructions Step 13 Hinge adjustment To move doors up or down: loosen screws shown and move doors to suit. Re-tighten screws. To move doors in or out: loosen screw shown and move doors to suit. Re-tighten screws. To move doors left or right: loosen or tighten screw as shown.
- Page 14 Assembly Instructions Step 14 Fixing to wall This unit is designed to be fixed to a suitable wall through the location 1504 holes in back rail You will need to pierce through the back panel in order to wall mount. No fixings are provided as they will need to suit the wall type.
- Page 15 Assembly Instructions A Guide to wall mounting and fixings. Types of walls: 1. General purpose wall plug 2. Plasterboard wall plug Generally aerated blocks For use with should not be used to plasterboard support heavy loads, partitions or hollow this case. For light loads, wooden doors.
- Page 16 Assembly Instructions Congratulations! Your unit is complete. Important Information If you need help or have damaged or missing parts, call the Customer Helpline: 01709 534123 8am - 4.30pm (Monday to Thursday) 8am - 2.30pm (Fridays) (by contacting the customer service line your statutory rights are not affected) Please have the following information to hand: >>...


Need help?
Do you have a question about the Westwood Modula Wall Unit and is the answer not in the manual?
Questions and answers