Table of Contents
Advertisement
Quick Links
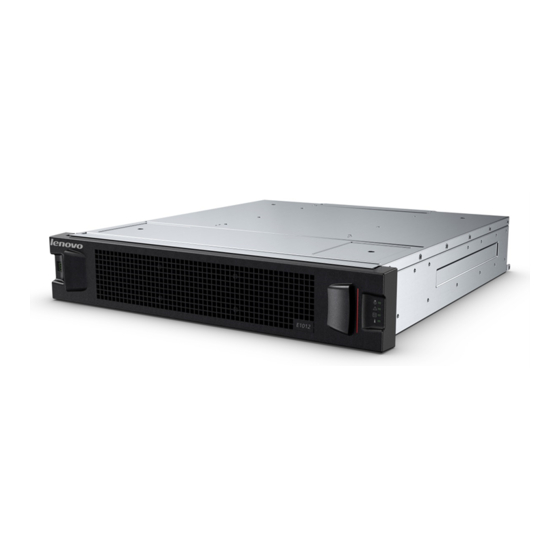
Lenovo Storage D1012/D1024
Hardware Installation and Maintenance Guide
Abstract
This document describes initial hardware setup, hardware maintenance and customer-replaceable components for Lenovo Storage
D1012/D1024 server-attached Storage Enclosures. It is intended for use by storage system administrators familiar with servers and
computer networks, network administration, and with installing and configuring storage systems.
Part Number: 00WE694
Advertisement
Table of Contents


Need help?
Do you have a question about the D1012 and is the answer not in the manual?
Questions and answers