Table of Contents
Advertisement
Quick Links
Quick Installation Guide
x86 Rackmount Embedded Computers
Moxa Americas:
Toll-free: 1-888-669-2872
Tel:
1-714-528-6777
Fax:
1-714-528-6778
Moxa Europe:
Tel:
+49-89-3 70 03 99-0
Fax:
+49-89-3 70 03 99-99
Moxa India:
Tel:
+91-80-4172-9088
Fax:
+91-80-4132-1045
DA-820C Series
Version 1.0, June 2019
Technical Support Contact Information
www.moxa.com/support
2019 Moxa Inc. All rights reserved.
Moxa China (Shanghai office):
Toll-free: 800-820-5036
Tel:
+86-21-5258-9955
Fax:
+86-21-5258-5505
Moxa Asia-Pacific:
Tel:
+886-2-8919-1230
Fax:
+886-2-8919-1231
P/N: 1802008201010
*1802008201010*
Advertisement
Table of Contents

Related Manuals for Moxa Technologies DA-820C Series


Summary of Contents for Moxa Technologies DA-820C Series
-
Page 1: Quick Installation Guide
DA-820C Series Quick Installation Guide x86 Rackmount Embedded Computers Version 1.0, June 2019 Technical Support Contact Information www.moxa.com/support Moxa Americas: Moxa China (Shanghai office): Toll-free: 1-888-669-2872 Toll-free: 800-820-5036 Tel: 1-714-528-6777 Tel: +86-21-5258-9955 Fax: 1-714-528-6778 Fax: +86-21-5258-5505 Moxa Europe: Moxa Asia-Pacific:... -
Page 2: Package Checklist
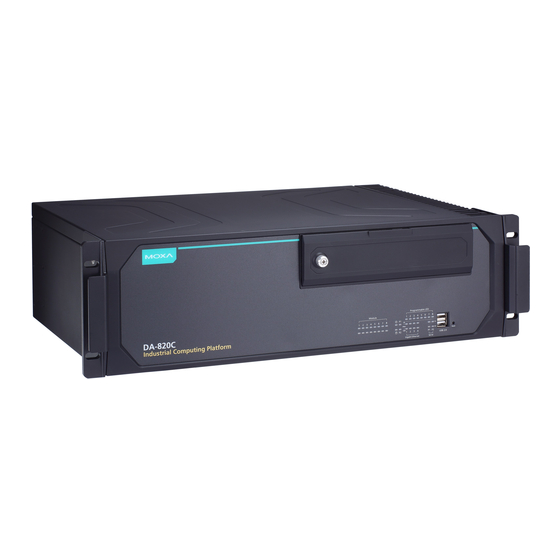
Overview The DA-820C computer’s main operating system is based on the Intel® Core™ i3, i5, i7 or Xeon CPU. The computer comes with 3 display ports (2 x HDMI + 1 x VGA), 5 USB ports, 4 Gigabit LAN ports, 2 3-in-1 RS-232/422/485 serial ports, 6 digital input ports and 2 digital output ports. - Page 3 Rear View Connecting the Power The DA-820C provides dual power inputs using a terminal block, which is located on the rear panel. Connect the power cord wires to the screws, and then tighten the screws. The Power LED will light up to indicate that power is being supplied to the DA-820C, after which the BIOS will initialize the flash disk module, causing the Storage LED to blink.
-
Page 4: Serial Ports
Color Description Gigabit LAN LEDs 1 Green 100 Mbps Ethernet mode to 4 Orange 1000 Mbps (Gigabit) Ethernet mode Serial Port P1/P2 Green Tx: Serial data is being transmitted Yellow Rx: Serial data is being received Programmable LEDs Green/ Can be used to indicate statuses or 1 to 8 Blinking for debugging, as defined by users. - Page 5 100 Mbps 1000 Mbps TRD(0)+ TRD(0)- TRD(1)+ – TRD(2)+ – TRD(2)- TRD(1)- – TRD(3)+ – TRD(3)- Digital Inputs/Digital Outputs The DA-820C comes with six digital inputs and two digital outputs in a terminal block. Refer to the following figures for the pin definitions and wiring methods.
-
Page 6: Installing Expansion Modules
There are four slots for installing four SSD disks. The installation sequence of the disks is indicated in the diagram on the right. Installing Expansion Modules The DA-820C comes with an expansion module socket on the rear panel. You can install Moxa’s LAN or serial connectivity expansion module using this socket.
Need help?
Do you have a question about the DA-820C Series and is the answer not in the manual?
Questions and answers