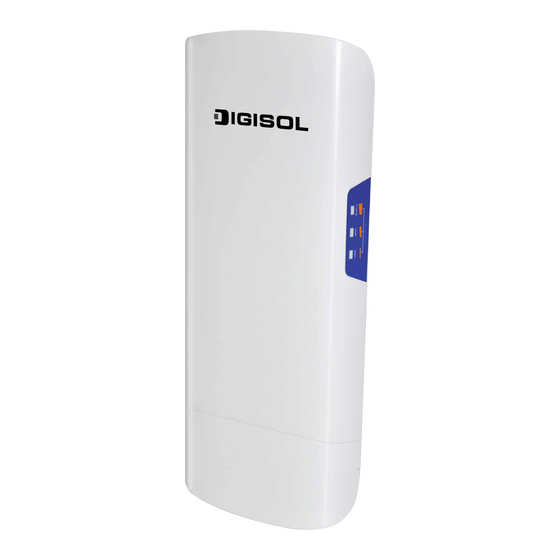
Digisol RANGER SERIES Quick Installation Manual
2.4ghz ge outdoor access point with poe
Hide thumbs
Also See for RANGER SERIES:
- Quick installation manual (28 pages) ,
- Quick installation manual (21 pages) ,
- Quick installation manual (22 pages)
Summary of Contents for Digisol RANGER SERIES
- Page 1 Quick Installation Guide RANGER SERIES DIGISOL 2.4GHz GE OUTDOOR ACCESS POINT WITH PoE DG-WM2015DIO V1.0 2016-01-14...
- Page 2 Please check with your local distributors for latest information. No part of this document can be copied or reproduced in any form without written consent from the company. Trademark DIGISOL is a trademark of Smartlink Network Systems Ltd. All other trademarks are the property of the respective manufacturers.
- Page 3 The following items should be present in your package: DG-WM2015DIO Outdoor Wi-Fi Access Point Installation Guide CD (includes user manual & QIG) Pole Mounting Kit (2 Nos.) Make sure that the package contains above items. If any of the listed items is damaged or missing, please contact your retailer immediately.
- Page 4 The following system requirements are recommended: Notebook or desktop PC with network adapter (wired/WLAN) Windows, Macintosh or Linux based operating system. Web browser (IE 6.0 or higher, Chrome 2.0 or higher, Firefox 3.0 or higher, Safari 3.0 or higher)
-
Page 5: Front View
Front View Indicators SMA connector for 2.4G omni antenna SMA connector for Reset /WEC 2.4G omni antenna Button Auto MDI/MDIX RJ45 Port, POE Input 1x GE LAN to connect local devices... -
Page 6: Rear View
Rear View Wall Mounting Kit Scre w brass for optional Pole mounting Wall Mounting Kit Device Label... -
Page 7: Bottom View
Bottom View Outlet for RF cable Scre w for fixing Outlet for RF cable antenna is used bottom cover antenna is used Outlet for Ethernet Cable... -
Page 8: Led Indicators
LED Indicators Description Red in flash: The device is in recovery mode or abnormal. Flash per Second: System Normal Status OFF: The device is powered off. Master Mode: Red Slave Mode: Green Green or Red LED in Slow flash: Wireless Connection doesn't Wi-Fi establish. -
Page 9: Hardware Installation
Hardware Installation The unit can be mounted on wall or pole. It is designed with wall-mount bracket for attaching to the wall, or fixing on a pole by metal rings. Wall Mount Bracket Metal Ring for Pole Mounting Connecting Power The unit can be powered by 802.3af or 802.3at compliant POE power supply, or compatible passive POE power supply. - Page 10 Step 5: Step 4: Connect the power cord of POE Connect the other end of Ethernet cable to POE port of power supply to wall socket. POE power supply.
-
Page 11: Getting Started
Getting Started Software Preparation: Most computers are connecting to a local network with dynamic IP (DHCP) setting. To access the web UI of the device, you have to change your computer‟s TCP/IPv4 settings into a static IP setting for the Ethernet Interface. The device‟s default IP address is 192.168.123.50, and your computer must be assigned with a 192.168.123.x IP address to get access to the device. - Page 12 to finish the basic setup process. Activate the setup wizard: Type in the IP Address (http://192.168.123.50) Type the default password “admin” in the system authentication fields, and then click „login‟ button. Note the SSID and firmware version mentioned on the top of the web page. Select“Wizard”...
- Page 13 Press “Next” to start the Setup Wizard. Configure with the Setup Wizard Step 1 You can change the password of administrator here. Step 2 LAN IP Address. You have to change the IP address of this device according to your network configuration.
- Page 14 System is applying the setting. Step 6 Click finish to complete it. For further detailed configuration, please refer to the user manual. This product comes with One year warranty. For further details about warranty policy and Product Registration, please visit support section of www.digisol.com...


Need help?
Do you have a question about the RANGER SERIES and is the answer not in the manual?
Questions and answers