Table of Contents
Advertisement
Quick Links
Your kit contains the following parts. Please check your kit for any missing or damaged parts before starting construction.
Wood Bag #1
1 LC-565-01
1 LC-506-03
1 LC-506-05
2 LC-506-07
1 LC-506-09
6 Leading Edge and Spars
4 Trailing Edge
2 Ailerons
1 Top Fuselage Sheet
Wood Bag #2
2 Aileron Torque Rods
1 Former F-9 Braces
2 Main Landing Gear Blocks
2 Wing Tips
1 Fuselage Lower Nose
Blocks
2 Aileron Torque Blocks
Misc. Parts Loose in Box
1 Plan Sheet #1
1 Decal Sheet
1 Molded Plastic Canopy
COMPLETE KIT PARTS LIST
3/32x4x24 Laser Cut Balsa Sheet
3/32x4x24 Laser Cut Balsa Sheet
3/32x4x24 Laser Cut Balsa Sheet
1/16x4x24 Laser Cut Balsa Sheet
1/8x4x18 Laser Cut Balsa Sheet
1/4 sq.x24 Balsa Strip
1/16x1x24 Balsa Sheet
1x24 Tapered Ailerons
3/32x4x18 Balsa Sheet
10 Threaded Rod (Bend One End)
3/32x1/4x6 Balsa Strip
3/8x1/2x3 1/4 Grooved Hardwood
Block
1/2x1x6 Balsa Block
1/2x3x6 Balsa Block
1/4x1x3 Tapered Balsa
1 LC-506-02
1 LC-506-04
1 LC-506-06
2 LC-506-08
1 LC-506-10
2 Trailing Edge
1 Fuselage Top Stringer
1 Wing Jig
4 Center Section & Belly Scoop
Sheet
2 Tail Blocks
2 Canopy Rails
1 Rear Cockpit block
2 Main Landing Gear
1 Plan Sheet #2
1 Instruction Book
1 LC-506-11
3/32x4x24 Laser Cut Balsa Sheet
3/32x4x24 Laser Cut Balsa Sheet
3/32x4x18 Laser Cut Balsa Sheet
1/16x4x24 Laser Cut Balsa Sheet
1/8x4x18 Laser Cut Balsa Sheet
3/16 sq.x24 Balsa Strip
3/32x1/4x18 Balsa Strip
1/8 sqx24 Balsa Strip
1/16x3x12 Balsa Sheet
1/2x3/4x3 1/4 Balsa Blocks
1/2x3/4x6 1/4 Balsa Block
3/4x3/4x1 3/4 Balsa Block
3mmx6x18 Laser Cut Poplar Ply
Sheet
Advertisement
Table of Contents

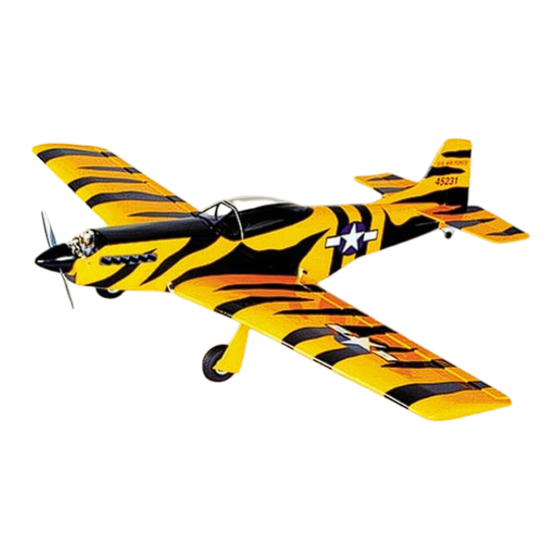
Summary of Contents for SIG Herr P-51 Mustang
- Page 1 Your kit contains the following parts. Please check your kit for any missing or damaged parts before starting construction. COMPLETE KIT PARTS LIST Wood Bag #1 1 LC-565-01 3/32x4x24 Laser Cut Balsa Sheet 1 LC-506-02 3/32x4x24 Laser Cut Balsa Sheet 1 LC-506-03 3/32x4x24 Laser Cut Balsa Sheet 1 LC-506-04...
- Page 2 Hardware Bag 2 Control Horn Small Nylon Control Horn 4 Horn Screw 2-56x3/8 Machine Screw 1 Elevator Joine 1/8x3 Birch Dowel 4 Main Landing Gear Screw #4 X1/2 Sheet Metal Screw 2 Wing Dowels 3/16 dia. x3 3/4 Birch Dowel 1 Tail Wheel Wire 1/16 dia.
- Page 3 2 1/4 Du-Bro #225T 1 Tail Wheel 3/4 Sullivan #351 T1 Tail Wheel 2 Wheel Make from K&S Brass Tube Bushings #127 1 Throttle Du-Bro #165 Pushrod Assembly 8 Rubber Bands #32 Rubber Bands Sig #SH- 1 1 3/4 Spinner DuBro #267...
-
Page 4: Building The Tail Surfaces
General Note: Cover the plans with wax paper before assembling your model to prevent the parts from sticking to the plan. Building the Tail Surfaces Join R-1 and R-2 together over the plan to make the fin. Temporarily hinge the rudder (R-3) to the fin (R-1). Do not glue the hinges at this time. - Page 5 23. Glue formers F-15 and F-16 into position on the top of the fuselage. Be sure to angle F-16 forward as shown on the plan. 24. Glue a piece of the 3/32 x 1/4 into the notches in the formers from F-6 to F-16. 25.
- Page 6 46. Place part SW-1 into position against W-2 and the main spars. The angled end should face where the W-1 rib will go and it should positioned so that the top edge is flush with the top of the top spar. The angle should allow the top of rib W-1 to lean slightly toward the wing tip.
-
Page 7: Final Assembly
67. Mark the centerline on the front edge of the ailerons. Bevel the front of the ailerons to the shape shown on the plan. Drill and notch the inboard end of the ailerons to hold the torque rod. Temporarily hinge the ailerons to the wing and trim the outboard ends of the aileron to fit with a small gap between them and the wing tips. -
Page 8: Warranty
LIMIT OF LIABILITY: In use of our products, Sig Mfg. Co.'s only obligation shall be to replace such quantity of the product proven to be defective. User shall determine the suitability of the product for his or her intended use and shall assume all risk and liability in connection...


Need help?
Do you have a question about the Herr P-51 Mustang and is the answer not in the manual?
Questions and answers