Advertisement
Quick Links
INSTALLATION
INSTRUCTIONS
Put this information in the glove box with the vehicle owner's manual.
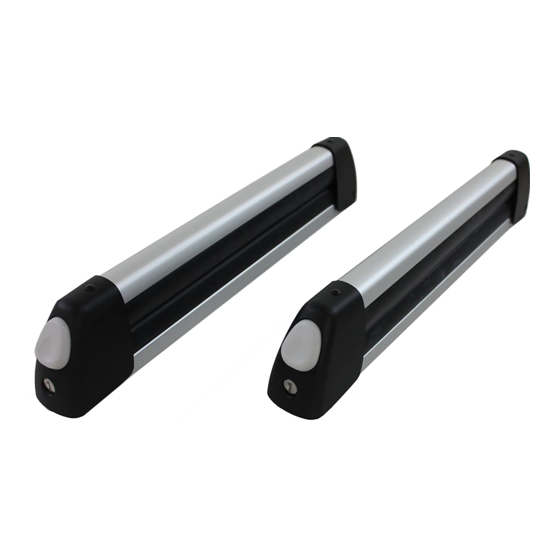
PARTS LIST
2 Ski attachments
4 Knobs
4 Long T-bolts
4 Block spacers
Key
INSTALLATION
NOTE:
•
The ski attachments are designed to be used
exclusively with Acura cross bars, which are sold
separately. If the vehicle is not equipped with cross
bars, install the recommended cross bars before
installing the ski attachment.
•
The ski attachments may be installed with both on
the driver's side, or with both on the passenger's
side.
© 2011 American Honda Motor Co., Inc. - All Rights Reserved.
Accessory
SKI
ATTACHMENT
P/N 08L03-TA1-200A
1.
2.
3.
BII 46293 (1108)
Application
2012 TSX
SPORT WAGON
Pull open the end cap on each crossbar.
RUBBER MOLDING
Slide.
REAR
CROSS BAR
FRONT
CROSS BAR
FRONT
Remove the rubber moldings from the front and
rear crossbars. Retain the rubber moldings to be
installed later.
FRONT
CROSS BAR
FRONT
Slide two bolts into each crossbar (front and rear).
Close the end caps.
Publications No.
BII 46293
Issue Date
AUG 2011
CAP
Open.
RUBBER
MOLDING
BOLT
1 of 4
08L03-TA1-2000-91
Advertisement

Subscribe to Our Youtube Channel
Related Manuals for Acura 08L03-TA1-200A


Summary of Contents for Acura 08L03-TA1-200A
- Page 1 INSTALLATION NOTE: • The ski attachments are designed to be used exclusively with Acura cross bars, which are sold separately. If the vehicle is not equipped with cross bars, install the recommended cross bars before installing the ski attachment. •...
- Page 2 Insert the key, then turn it clockwise to unlock the Close the top frame, and listen for it to "click" into front ski attachment. Press the button, then open position; then turn the key counterclockwise to the top frame completely. lock the top frame.
- Page 3 Loading the Skis on the Vehicle Close the top frame, and listen for it to "click" into position. Depending on the thickness of the Insert the key, then turn it clockwise to unlock the ski, you may need to attach the hook in the top frame.
- Page 4 Lock the top frame by turning the key counterclockwise. Remove the key. SKI ATTACHMENT Lock. 2D24060M With the ski attached, rock the attachment in all directions to make sure it is installed securely. Adjust as necessary. ATTACHMENT 2D24040M Rock the ski attachment in all directions to make sure it is installed securely.
Need help?
Do you have a question about the 08L03-TA1-200A and is the answer not in the manual?
Questions and answers