Table of Contents
Advertisement
Quick Links
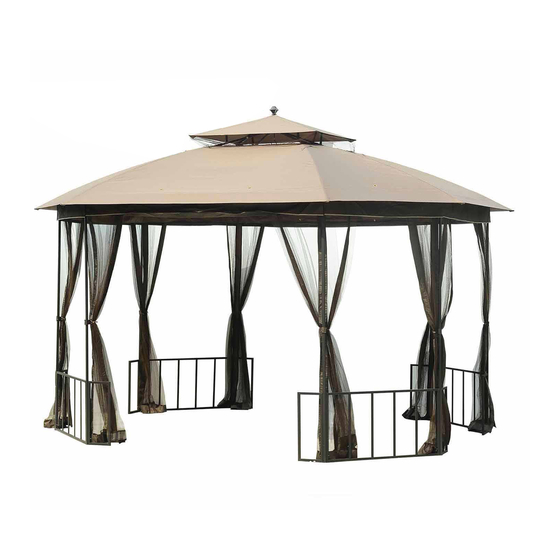
Sunjoy L-GZ660PST Capri Gazebo
Owner's Manual
IMPORTANT
Thank you very much for choosing Sunjoy Industries.
Please take time to read these instructions thoroughly and follow each step carefully for safe and easy
operation. Keep this manual for future reference.
We would like to hear from you with any comments or suggestions. You can call us toll-free at
1-866-578-6569
from 8:00 a.m. EST to 8:00 p.m. PST. You can also send the email to
amazon@sunjoygroup.com
or visit
www.sunjoyonline.com
to get tech. assistance or to place your
replacement part order form.
Advertisement
Table of Contents

Subscribe to Our Youtube Channel
Related Manuals for Sunjoy L-GZ660PST


Summary of Contents for Sunjoy L-GZ660PST
- Page 1 Sunjoy L-GZ660PST Capri Gazebo Owner’s Manual IMPORTANT Thank you very much for choosing Sunjoy Industries. Please take time to read these instructions thoroughly and follow each step carefully for safe and easy operation. Keep this manual for future reference. We would like to hear from you with any comments or suggestions. You can call us toll-free at 1-866-578-6569 from 8:00 a.m.
- Page 2 Cautions: 1. Keep all children and pets away from assembly area. Children and pets should be supervised when they are in the area of gazebo construction. 2. The area for assembly should not be less than 6 feet from any obstruction such as fence, garage, house, overhanging branches, laundry line or electrical wires.
- Page 3 Parts List Small top connector Large top connector Finial Hook Small top slanting bar 4PCS Slanting bar connector 4PCS Top bar 1 4PCS Top bar 2 4PCS Top bar connector 8PCS Bean 1 4PCS Bean 2 2PCS Bean 3 2PCS Post 1 Post 2 Fence...
- Page 4 Hardware Pack 1 M6*15 Hexagon Bolt 32 PCS M6 Washer 48 PCS M6*35 Hexagon Bolt 16 PCS M6 Wrench 1 PCS Fig.1: Attach the short beam (F) to one of the posts (I, J) using bolt (AA) and washer (BB). Tighten the bolts using the wrench (W).
- Page 5 Hardware Pack 2 Ф6*180 Stake 16 PCS Fig.5: Insert one end of the slanting bar connector (C4) into the large top connector (A2). Insert and screw the hook (B2) tightly into the large top connector (A2). Fig.6: Connect the other ends of the slanting bar connector (C4) to the top bars (D1, E2. ) Fig.7: Insert top bar 2 (E2 ) into top bar connector (E3), and top bar 1 (D1) into top bar connector (E3).
- Page 6 Fig.9: Insert one end of the small top slanting bar (C3) into the small top connector (A1). Fig.9-1: Place the small canopy (L) on the frame. Screw the finial (B1)onto the tip of the small top connector. Fig.10: Insert the other end of the small top slanting bar (C3) into the slanting bar connector (C4). Fig.11: Fix the assembled gazebo on the ground by using stakes (DD).
- Page 7 Care & Maintenance: Our steel components for garden accessories and furniture are treated with rust inhibiting paint that protects it from rusting. However, due to the nature of steel, surface oxidation (rusting) will occur once these protective coatings are scratched. This is not a defect and thus not covered by the warranty.
Need help?
Do you have a question about the L-GZ660PST and is the answer not in the manual?
Questions and answers
How do I get new top and side screans