Advertisement
Advertisement
Table of Contents

Subscribe to Our Youtube Channel
Summary of Contents for Sunjoy L-GZ672PST-G3
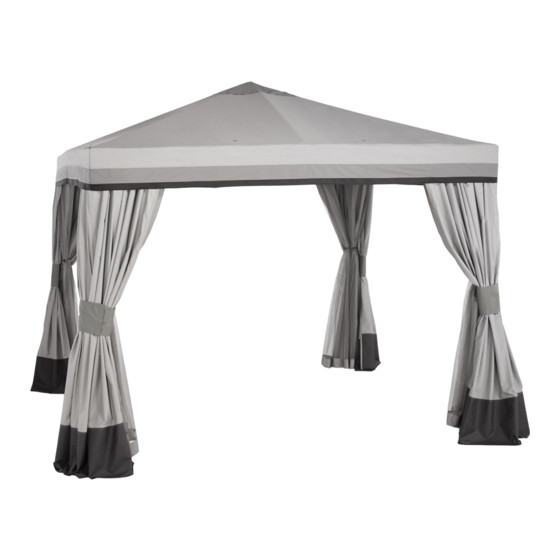
- Page 1 Assembly Instruction 10’ x10’ Valence Gazebo Item: L-GZ672PST-G3...
- Page 2 Parts List Post Post Base Base Beam(1) Beam(2) Slanting Bar Corner Connector Big Top Beam Mid Beam Lower Mid Beam Netting Bar Big Top Connector Hook Large Canopy Wall Mosquito Netting Hardware Pack 1 M6X15 Screw 48 PCS M6 Flat Washer 72 PCS M6X15 Bolt 24 PCS...
- Page 3 Fig.1: Tighten the base protector (C) onto the post (A), attach the base (B) to post (A) by using screw (AA) and flat washer (BB). Fig.2: Attach the beam (D) to the beam (E) by using bolt (CC) and flat washer (BB). Fig.3: Attach the well-connected beam to the post (A) by using bolt (CC) and flat washer (BB), assemble the beam and the top of the post (A) by using the screw (AA) and flat washer (BB).
- Page 4 Hardware Pack 2 8 PCS M6X15 Screw 8 PCS M6 Flat washer Fig.6: Attach the big top beam (H) to the corner connector (G). Fig6-1 Insert the lower mid beam (I1) to the mid beam (I). Fig.7: Attach the hook (L) to the big top connector (K), then insert the mid beam (I) and the beam (H) into the big top connector (K) Fig.7-1: Attach the corner connector (G) to the top of post (A) by using screw (AA) and flat washer (BB).
- Page 5 Hardware Pack 3 Φ8X180 Floor Nail 16 PCS Plastic Ring 96 PCS Fig.9: Spread the large canopy (M), hang the hook of the large canopy into the holes on the panels. Fig.10: Hang mosquito netting (O) on the netting bar (J) by using the plastic ring (GG).
- Page 6 IMPORTANT: 1,When assembling and using this product, basic safety precautions should always be followed to reduce the risk of personal injury and damage to equipment. Please read all instructions before assembly and use. 2, Some parts may contain sharp edges, wear protective gloves if necessary. At least five or more people are recommended for safe assembly.


Need help?
Do you have a question about the L-GZ672PST-G3 and is the answer not in the manual?
Questions and answers