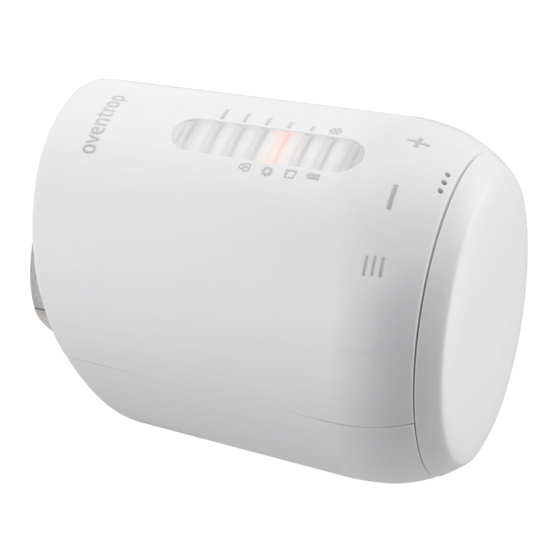
Summary of Contents for oventrop mote 200
- Page 1 Valves, controls + systems “mote 200” Electronic wireless thermostat Operating instructions...
-
Page 3: Table Of Contents
„mote 200“ Contents Contents Page General information ........................5 Validity of the operating instructions ..................5 Type plate ..........................5 Extent of supply ........................5 Contact ............................5 Copyright and protective rights ....................5 Declaration of conformity ......................5 Symbols used ..........................5 Safety-related information ......................5 Normative directives ........................5 Correct use ..........................5... - Page 4 “Hde” menu (item 7 in Illust. 6)......................12 8.2.6 “Setting” menu (item 6 in Illust. 6) ......................12 Changing batteries ......................... 13 Reinstalling the “mote 200” ....................13 Restoring the “mote 200” to factory settings ................. 13 Troubleshooting ........................13 Troubleshooting table ......................13 Maintenance ......................... 14 Removal and disposal ......................14 11.1...
-
Page 5: General Information
These operating instructions are protected by copyright. They are exclusively designed for persons involved with the product. Declaration of conformity Oventrop GmbH & Co. KG hereby declares that this product complies with the basic requirements and other relevant provisions of the EC Directives con- cerned. -
Page 6: Warnings
2.5.2 Suffocation risk for children Each warning contains the following elements: Keep the “mote 200” and its packaging out of reach of children to avoid risk of ingestion and suffocation. Warning symbol SIGNAL WORD f Keep the “mote 200” out of reach of children. -
Page 7: Technical Description
You can programme the time-controlled regulation of the radiators via a smartphone. The connection between the “mote 200” and your smartphone is established via Bluetooth. The power for the “mote 200” is supplied by two batteries. -
Page 8: Technical Data
RAVL 2. Now insert the batteries. Observe the correct polari- ty! Do not use rechargeable batteries! - The “mote 200” only opens in menu mode once you have inserted the batteries during Transport and storage initial commissioning and after having been restored to the factory settings (see 8.5 on... -
Page 9: Commissioning
Play). it to the radiator. f Install the appropriate “mote 200” app for the oper- 4. Fit the “mote 200” to the valve and/or adapter by ating system you are using. Follow the information in turning the collar nut clockwise.. -
Page 10: Operation
Z The key lock is deactivated. The set nominal tem- perature is displayed. f Add the room to your “mote 200” by tapping on the list. The key lock can also be activated or deactivat- f Confirm the details you have entered with “Finis- ed via the app. -
Page 11: Creating A Heating Profile
Tap the “Rename” key for the respective thermostat. Nominal This is the temperature that is current- Z The “Rename” submenu appears. ly selected in the “mote 200” or on tem- f Rename your “mote 200” as required and confirm the mode dial in the app. This setting perature with “Rename”. -
Page 12: Heating Profile" Menu (Item 8 In Illust
Set the time periods in which the comfort tempera- ture should apply within the relevant room. f Transfer your settings to the “mote 200” by tapping on the “Transfer heating times and exit” button. 8.2.5 “Hde”... -
Page 13: Changing Batteries
“Installation/Removal” valve valve tappet completely (see Section 11.1 on page 14). several times f Remove the “mote 200” as described in Section manually. 11.1 on page 14. - Repeat the f If you would like to delete the programming, pro- adaptation ceed as described in Section 8.5. When putting the process. -
Page 14: Maintenance
Z The LEDs flash in sequence. - The valve lift is f Wait until the LED for the “Installation/Removal” too short. function flashes. - No valve f You can now remove the “mote 200” by loosening movement the collar nut. possible. 11.2 Disposal 10. Maintenance... - Page 16 OVENTROP GmbH & Co. KG Paul-Oventrop-Straße 1 59939 Olsberg GERMANY 115096180#EN V04.01.2020 www.oventrop.com...


Need help?
Do you have a question about the mote 200 and is the answer not in the manual?
Questions and answers