
Related Manuals for RightAngle NewHeights Elegante XT Series


Summary of Contents for RightAngle NewHeights Elegante XT Series
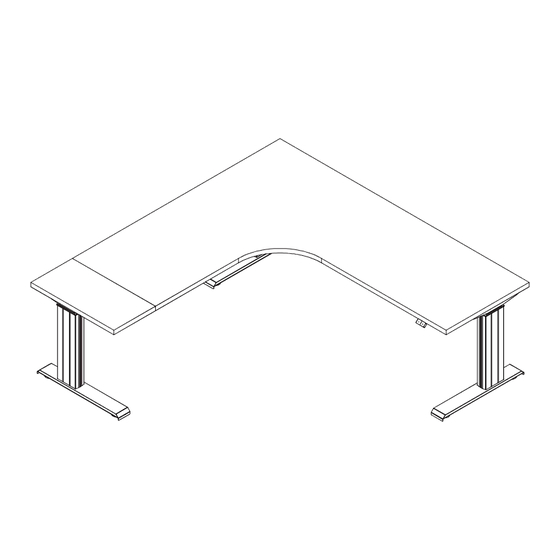
- Page 1 NewHeights™ Series 4 Elegante XT 3-Leg Workstation Workstation Assembly Instructions Warranty: raproducts.com/warranty Instruction #53210 • Dated: 02/21/2019 1 of 10...
- Page 2 READ ALL INSTRUCTIONS BEFORE USING THIS PRODUCT. USE THIS PRODUCT ONLY AS INSTRUCTED. FAILURE TO COMPLY WITH ALL INSTRUCTIONS AND WARNINGS MAY RESULT IN SERIOUS PROPERTY DAMAGE OR BODILY INJURY. WARNING Basic Safety Instructions Intended Use. This Product is exclusively designed for use as indoor office furniture in compliance with all instructions and safety warnings in the user manual.
-
Page 3: Right Leg
Your workstation will have either two left legs (Q) and one right leg (R) or two right legs and one left leg. The drawing below shows how to distinguish the left leg from the right leg. Left Return Right Return Leg R Leg R Leg Q... -
Page 4: Tools Required For Assembly
Tools Required for Assembly A. Power Driver with Adjustable Torque B. #2 Phillips Head Driver Bit C. #2 Square Head Drive Bit D. Level Hardware and Tools Included for Assembly (may have extra) E. 10 x 5/8” Round Washer Head Wood Screw x41 5/16”x 18-3/8”... - Page 5 Step 1 • Lay the worksurface on a protected surface with the pilot holes facing up. If your worksuface has a seam, lay the joiner plate centered on the seam about 3” from the front. • Attach worksurface with eight wood screws. Pilot holes are not provided, screws are self drilling.
- Page 6 Step 3 • Attach the other wire management (L) to leg (Q) same way as the previous step. • Insert machine screws and washers through the slots of both wire management and into any two cage nuts. Do not tighten. Note: If your table comes with cross supports for added stability, please refer to those instruction...
- Page 7 Step 5 Motor Motor Cable Cable Power Cord Power Cord Switch Motor Cable Cable Motor Cable Power Motor Cord Control Box Cable End View Motor Cable Switch Cord Caution: For the safety of the user and the workstation; the control box contains an internal sensor that is sensitive to movement, vibration, and collision.
-
Page 8: Standard Switch
- To delete the lower container stop press You will hear a musical tone. Troubleshooting: If you are having any problems with the operation, contact RightAngle Products at 800.298.4351 or orders@raproducts.com K&A Manufacturing • 800.298.4351 • www.raproducts.com/install 8 of 10... - Page 9 Optional Programmable Switch (full instructions packaged with switch) Start Up Procedure: • Plug the power cord into a standard 110V receptacle. A power surge protector is recommended. • Press the down arrow until the worksurface reaches its lowest position. • The workstation is ready for use. •...
- Page 10 Mechanical Reset Mode If the table is unresponsive, uneven, or not functioning properly, perform a manual reset. User settings are not reset in this process. There are three methods to reset a workstation: Reset Method A 1. Clear all obstructions from the travel path of the workstation 2.
Need help?
Do you have a question about the NewHeights Elegante XT Series and is the answer not in the manual?
Questions and answers