Advertisement
EPILOG LASER
16371 Table Mountain Parkway
Golden, Colorado 80403
Phone 303-215-9171 - FAX 303-277-9669
www.epiloglaser.com
Tools needed:
Note*: If you are printing through the Ethernet port it is important that you retrieve the parameter
for the IP Address, Subnet Mask and Gateway from the old board before replacing it. To do so,
please reference to the owner's manual under section "Setting the IP Address on the Laser". Don't
panic if your machine doesn't boot up and you are unable to retrieve the parameters because we
can get it from the computer. Give us a call after you complete installing the board, and we'll walk
you through getting the parameters.
1. Turn the machine off. Make sure the power cord is disconnected from the wall outlet
2. Assuming you are facing the front of the machine, remove the panel on the right side to
gain access to the main controller board. Use the #2 Phillips head screw driver to remove
the 6 Phillips head screws, 4 of the screws are on the side and 2 in the back. Take the
panel off and set it aside. With the panel out of place you should be able to see the
controller board on the right side of the machine towards the rear. (Figure 1)
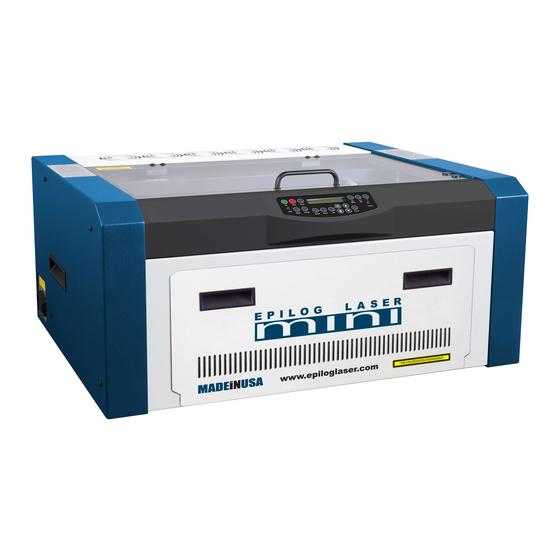
REPLACING THE CONTROLLER BOARD
ON THE MINI 18/24 ENGRAVER
#1 & #2 Phillips head screw
Advertisement
Table of Contents

Related Manuals for Epilog Laser MINI 18


Summary of Contents for Epilog Laser MINI 18
- Page 1 Phone 303-215-9171 - FAX 303-277-9669 www.epiloglaser.com REPLACING THE CONTROLLER BOARD ON THE MINI 18/24 ENGRAVER Tools needed: #1 & #2 Phillips head screw Note*: If you are printing through the Ethernet port it is important that you retrieve the parameter for the IP Address, Subnet Mask and Gateway from the old board before replacing it.
- Page 2 Figure 1 3. Depending on the type of connection you are using to print to the laser, you will need to either unplug the Ethernet cable or USB cable from the back of the engraver where it plugs into the controller board. 4.
- Page 3 6. The older machine doesn’t have that bracket which is ok. Remove the light grey in color connector located on the left side towards the top of the board. Please look at figure 3 for reference. Figure 3: Older Machines 7.
Need help?
Do you have a question about the MINI 18 and is the answer not in the manual?
Questions and answers