Advertisement
Quick Links
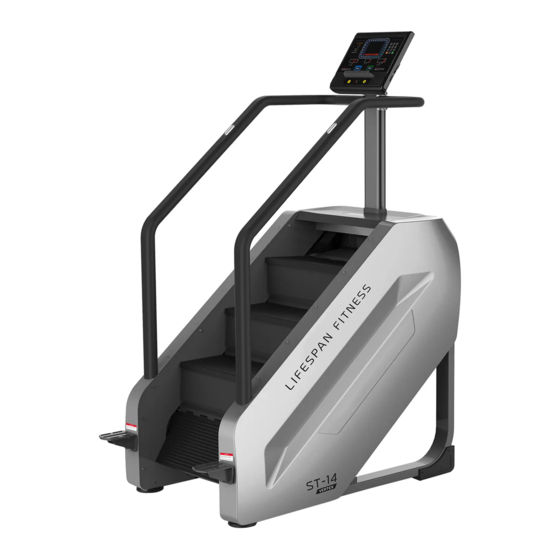
ST-14 OWNER'S MANUAL
Product may vary slightly from the item pictured due to model upgrades
Read all instructions carefully before using this product. Retain this owner's manual for future
reference.
NOTE: This manual may be subject to updates or changes. Up to date manuals are available through our website at www.lifespanfitness.com.au
Advertisement

Related Manuals for LifeSpan ST-14


Summary of Contents for LifeSpan ST-14
- Page 1 ST-14 OWNER’S MANUAL Product may vary slightly from the item pictured due to model upgrades Read all instructions carefully before using this product. Retain this owner’s manual for future reference. NOTE: This manual may be subject to updates or changes. Up to date manuals are available through our website at www.lifespanfitness.com.au...
-
Page 2: Table Of Contents
TABLE OF CONTENTS IMPORTANT SAFETY INSTRUCTIONS MAINTENANCE EXPLODED DIAGRAM PARTS LIST ASSEMBLY INSTRUCTIONS COMPUTER OPERATION EXERCISE GUIDE WARRANTY... -
Page 3: Important Safety Instructions
1. IMPORTANT SAFETY INSTRUCTIONS WARNING - Read all instructions before using this machine. It is important your machine receives regular maintenance to prolong its useful life. Failing to regularly maintain your machine may void your warranty. Please keep this manual with you at all times 1. -
Page 4: Maintenance
8. Before using the equipment, check that the nuts and bolts are securely tightened. If you hear any unusual noises coming from the equipment during use and assembly, stop immediately. Do not use the equipment until the problem has been rectified. 9. -
Page 5: Exploded Diagram
3. EQUIPEMENT DIAGRAM Head (TZ-70037B is 13.3-inch LED Meter) Armrests Screen Support External Shell Photoelectric Switch Auxiliary pedal Cyclic Steps... -
Page 6: Parts List
4. PARTS LIST Part # Description Size Quantity Main frame Left pedal Right pedal Washer Hexagon socket head bolt M12 x 65 mm Screen support cover Right Armrest Left Armrest Hexagon socket head bolt M8 X 15 mm Washer Hexagon socket head bolt M10 X 145 mm Hexagon socket head bolt M10 X 45 mm... -
Page 7: Assembly Instructions
5. ASSEMBLY INSTRUCTIONS Please follow the below instructions to ensure the machine is assembled correctly. Due to the bulkiness of the item ensure to allow space around the machine and set it up in the • designated area. You may need 2 people to move the machine. Remove all parts from the packaging and check that the quantity is correct. - Page 8 Step 2: Connecting communication lines & assembling arm rests: Dock the Part 6 Screen support tube and connect the communication line as shown below. Secure with 2x Part 13 Bolt and 2x Part 10 Washer. Secure the Part 7 Right handles to Main frame using 2x Part 9 and 2x Part 10. Insert the 2x Part 11 into the Part 7 and Part 6, as pictured below.
- Page 9 Step 3: Assemble monitor and connect communication line Connect the Communication line from Part 15 Display screen and Part 6 Screen support tube as pictured below. Secure the Part 15 Display screen to Part 6, using 4x Part 14 Bolts and 4x Part 10 Washers.
- Page 10 Step 4: Fix rear cover After the Display is assembled and all the wires are fixed in place. Check that there is no obstruction in the machine. Insert the Part 19 Back cover of the stair machine on the inner side and slide from the bottom up. Refer to below image.
-
Page 11: Computer Operation
6. COMPUTER OPERATION WINDOW DISPLAY a. TIME/HIGH: Displays the time and climb height. The time is from 0:00-99:59. When it reaches 99:59 it will be reset. The climb height is from 0.0 to 999.9. When it reaches 999.9 it will be reset. b. - Page 12 Preset program P1-P8 The P1-P8 is as following form: P1 3 3 5 5 4 4 7 8 8 7 7 5 5 4 4 P2 3 3 4 4 5 5 7 6 6 5 5 4 4 3 3 P3 3 3 5 5 5 7 6 6 7 7 5 4 4 3 3 P4 3 3 5 5 7 7...
-
Page 13: Exercise Guide
7. EXERCISE GUIDE PLEASE NOTE: Before beginning any exercise program, consult your physician. This is important especially if you are over the age of 45 or individuals with pre-existing health problems. The pulse sensors are not medical devices. Various factors, including the user’s movement, may affect the accuracy of heart rate readings. -
Page 14: Warranty
Workout Guidelines TARGET ZONE This is how your pulse should behave during general fitness exercise. Remember to warm up and cool down for a few minutes. The most important factor here is the amount of effort you put in. The harder and longer you work, the more calories you will burn.
Need help?
Do you have a question about the ST-14 and is the answer not in the manual?
Questions and answers