Advertisement
Table of Contents
© UPLIFT Desk • 1-800-349-3839 • info@upliftdesk.com • www.upliftdesk.com
®
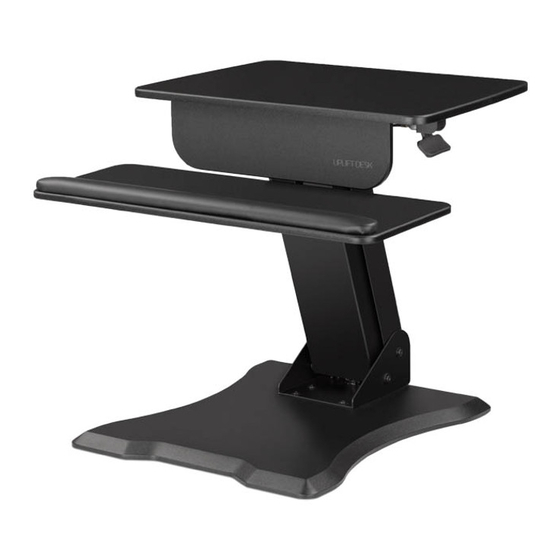
Riser Standing Converter Instructions
UDA100~riser
Part B
Keyboard tray
Step 1
Compare the parts you have with the list above. Place the Main
assembly (Part A) upside down on a table.
Attach the Keyboard tray (Part B) using two M6x10 bolts (Part E),
and tighten using the smaller Allen wrench (Part D), as shown
to the left.
Use the self-adhesive Bolt covers (Part F) to cover the bolts,
as shown below.
Step 2
With two people, lift and flip the Main assembly and place it on the table.
Adjust the height of the unit by squeezing the release paddle
and moving to the desired position. Release the paddle to lock in place.
Part A
Main assembly
Part C
Allen wrench (large)
Part D
Allen wrench (small)
Part E
M6x10 bolts Qty. 2
Part F
Bolt covers Qty. 6
UDA100~riser/R02
Advertisement
Table of Contents

Subscribe to Our Youtube Channel
Summary of Contents for Uplift Desk UDA100-riser
- Page 1 With two people, lift and flip the Main assembly and place it on the table. Adjust the height of the unit by squeezing the release paddle and moving to the desired position. Release the paddle to lock in place. © UPLIFT Desk • 1-800-349-3839 • info@upliftdesk.com • www.upliftdesk.com UDA100~riser/R02...
- Page 2 Copyright Notice: This guide is a component of the UPLIFT Desk Riser Standing Converter. This guide is a part of the scope of delivery, even if the item is resold. This guide is also available on the UPLIFT Desk website: upliftdesk.com. Excerpts or copies may not be forwarded to third parties or used in any other published ©...


Need help?
Do you have a question about the UDA100-riser and is the answer not in the manual?
Questions and answers