Advertisement
Quick Links
READ AND FOLLOW ALL SAFETY INSTRUCTIONS.
When using electrical equipment, basic safety precautions should always be followed including the following:
• DISCONNECT AC POWER SUPPLY BEFORE SERVICING.
• Installation and servicing of this equipment should be performed by qualified service personnel only.
• Ensure that the electrical wiring conforms to the National Electrical Code NEC® and local regulations if applicable.
• Do not mount near gas or electrical heaters.
• Equipment should be mounted in locations and at heights where it will not be readily subjected to tampering by
unauthorized personnel.
• The use of accessory equipment not recommended by the manufacturer may cause an unsafe condition.
• Any modification or use of non-original components will void the warranty and product liability.
• Do not use this equipment for other than intended use.
Assembly of VEX-8 inside NEMA enclosure for NY
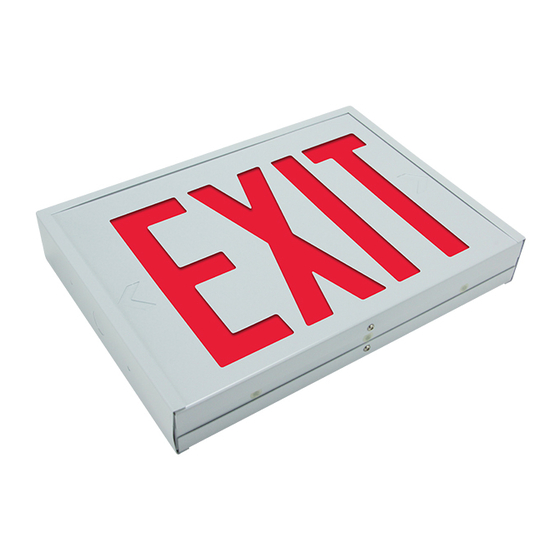
1. Remove the front face of the VEX fixture using a screwdriver. (Fig. 1 and 2)
1
2. Remove the LED indicator and test button from the side of the enclosure, making note of the location on the PCBA
where they are plugged in and discard. (Fig 3)
3. Open the clear cover of the NEMA enclosure by flipping the plastic latches up. (Fig. 4)
3
10070205 REV 2 - 09/18
IMPORTANT SAFEGUARDS
SAVE THESE INSTRUCTIONS!
2
4
1
VEX-8 NEMA
INSTALLATION INSTRUCTIONS
800.533.3948 • www.barronltg.com
Advertisement

Related Manuals for BARRON Exitronix VEX-8 NEMA


Summary of Contents for BARRON Exitronix VEX-8 NEMA
-
Page 1: Important Safeguards
VEX-8 NEMA INSTALLATION INSTRUCTIONS IMPORTANT SAFEGUARDS READ AND FOLLOW ALL SAFETY INSTRUCTIONS. When using electrical equipment, basic safety precautions should always be followed including the following: • DISCONNECT AC POWER SUPPLY BEFORE SERVICING. • Installation and servicing of this equipment should be performed by qualified service personnel only. •... -
Page 2: Installation Instructions
VEX-8 NEMA INSTALLATION INSTRUCTIONS 4. Remove the metal mounting plate within the enclosure and set aside for later use. (Fig. 5 and 6) Metal mounting plate 5. Using the supplied enclosure mounting template, choose the necessary holes for the J-box. (Fig 7) 6. - Page 3 VEX-8 NEMA INSTALLATION INSTRUCTIONS 7. After centering the template, mark the location of the necessary holes onto the NEMA box. (Fig. 9) 8. Drill holes at the marked locations, as well as a hole in the center for the wires to pass through. (Fig. 10) 9.
- Page 4 VEX-8 NEMA INSTALLATION INSTRUCTIONS 11. Reinstall the metal mounting plate using the supplied screws. (Fig. 13) 12. Remove the center knockout from the back of the VEX fixture EXIT sign. (Fig. 14) 13. Remove any burrs from the hole (if necessary) and insert the plastic grommet. (Fig. 15 and 16) 10070205 REV 2 - 09/18 800.533.3948 •...
- Page 5 VEX-8 NEMA INSTALLATION INSTRUCTIONS 14. Pass the wires from the NEMA enclosure’s test button through the square hole on the side of the VEX fixture, making sure to pass it through the right side of the mounting plate. (Fig. 17) 15.
- Page 6 VEX-8 NEMA INSTALLATION INSTRUCTIONS 17. Remove the battery compartment within the VEX EXIT sign. (Fig. 21) 18. Pass the power wires found within the battery compartment through the hole of the wire housing and make the necessary connections with the wires from the J-box, according to the input voltage (120VAC or 277VAC). (Fig. 22) Make electrical connections as follows: Black - 120VAC Orange - 277VAC...
- Page 7 VEX-8 NEMA INSTALLATION INSTRUCTIONS 20. Locate the battery wire coming from the battery compartment and plug the connector to the PCBA at the location shown. (Fig. 25) 21. Locate the wire labeled “TEST” from the button wire harness and plug it into the PCBA connector associated with the test button.
- Page 8 VEX-8 NEMA INSTALLATION INSTRUCTIONS 24. Lift the VEX EXIT sign fixture out of the metal mounting plate and reinstall the front face. (Fig. 29 and 30) 25. Place the VEX EXIT sign fixture back onto the metal mounting plate, again being sure it sits behind the front lip of the mounting plate.
- Page 9 VEX-8 NEMA INSTALLATION INSTRUCTIONS 27. Secure the lid by closing the two plastic latches. (Fig. 33) 28. Install tamper resistant screw through the slots located on the lid. (Fig. 33a) 29. Apply silicone to seal the enclosure against the mounting surface in order to prevent water from getting to the J-box.
Need help?
Do you have a question about the Exitronix VEX-8 NEMA and is the answer not in the manual?
Questions and answers