Advertisement
Quick Links
READ AND FOLLOW ALL SAFETY INSTRUCTIONS.
When using electrical equipment, basic safety precautions should always be followed including the following:
• DISCONNECT AC POWER SUPPLY BEFORE SERVICING.
• Installation and servicing of this equipment should be performed by qualified service personnel only.
• Ensure that the electrical wiring conforms to the National Electrical Code NEC® and local regulations if applicable.
• Do not mount near gas or electric heaters.
• Equipment should be mounted in locations and at heights where it will not be readily subjected to tampering by
unauthorized personnel.
• The use of accessory equipment not recommended by the manufacturer may cause an unsafe condition.
• Any modification or use of non-original components will void the warranty and product liability.
• Do not use this equipment for other than intended use.
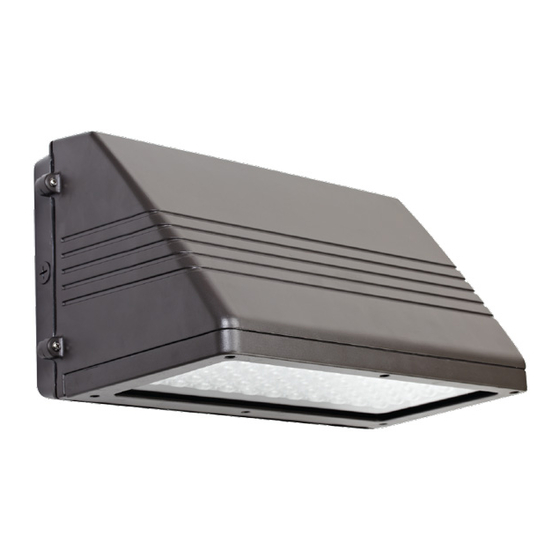
Junction box Mount
1. Loosen screws and remove the front housing carefully from the
backplate (Fig. 1).
2. Drill appropriate knockouts (B) for wiring. The fixture supports standard
3 1/4'' and 4''J-box. (Fig. 2)
Note: Do not rely solely on fasteners at the J-box.
3. Drill out the mounting holes (C) from the backplate and secure to the
wall with appropriate screws (hardware provided by others).
Note: Use the supplied gasket for a weather tight seal.
4. Connect the wires (See Wiring section)
5. Replace the housing onto the backplate hinges, make connections,
then close and tighten with screws.
Conduit Mount
1. Loosen screws and remove the front housing carefully from the
backplate.
2. Remove 1/2" plug (A) for conduit feed.
3. Drill out the mounting holes (C) from the backplate and secure to the
wall with appropriate screws (hardware provided by others).
Note: Use the supplied gasket for a weather tight seal.
4. Connect the wires (See Wiring section).
5. Replace the housing onto the hinges, make connections then close and
tighten with screws.
Note: Construction is suitable for downlight ONLY.
20070136 REV 2 - 02/19
IMPORTANT SAFEGUARDS
SAVE THESE INSTRUCTIONS!
Fig. 1
Fig. 2
A
1
1 1
INSTALLATION INSTRUCTIONS
Sealing ring
Housing
Driver location may
vary depending on
the model
Screw
A
C
B
C
A - 1/2" NPS tapped holes (surface conduit or photo control).
B - 3/4" dia. backplate access hole.
C - 5/16" Mounting holds
800.533.3948 • www.barronltg.com
E110
Leveling Bubble
Backplate
Gasket
A
C
Advertisement

Related Manuals for BARRON Trace-Lite E110


Summary of Contents for BARRON Trace-Lite E110
- Page 1 E110 INSTALLATION INSTRUCTIONS IMPORTANT SAFEGUARDS READ AND FOLLOW ALL SAFETY INSTRUCTIONS. When using electrical equipment, basic safety precautions should always be followed including the following: • DISCONNECT AC POWER SUPPLY BEFORE SERVICING. • Installation and servicing of this equipment should be performed by qualified service personnel only. •...
- Page 2 E110 INSTALLATION INSTRUCTIONS Wiring Make electrical connections as follows: Black - Line If Dimming is used: White - Neutral Purple - DIM+ Green/Yellow Green - Ground Gray - DIM- Note: This fixture auto adjusts for voltages from 120-277V. Cap all unused leads to prevent shorting. EM MODELS: Securely connect the battery before closing the unit.
Need help?
Do you have a question about the Trace-Lite E110 and is the answer not in the manual?
Questions and answers