Advertisement
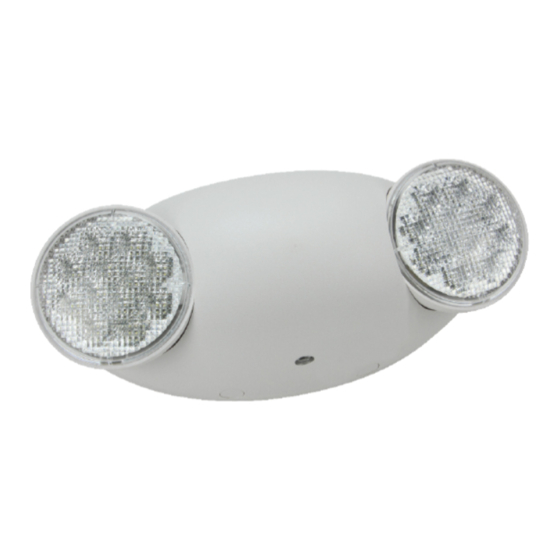
QMR Series
Installation Instructions
READ AND FOLLOW ALL SAFETY INSTRUCTIONS.
When using electrical equipment, basic safety precautions should always be followed including the following:
• DISCONNECT AC POWER SUPPLY BEFORE SERVICING.
• Installation and servicing of this equipment should be performed by qualified service personnel only.
• Ensure that the electrical wiring conforms to the National Electrical Code NEC® and local regulations
if applicable.
• Do not mount near gas or electrical heaters.
• Do not use outdoors.
• Equipment should be mounted in locations and at heights where it will not be readily subjected to tampering
by unauthorized personnel.
• The use of accessory equipment not recommended by the manufacturer may cause an unsafe condition.
• Any modification or use of non-original components will void the warranty and product liability.
• Do not use this equipment for other than intended use.
• Allow battery to charge for 24 hours before first use.
10070235 REV 1 - 01/21
IMPORTANT SAFEGUARDS
SAVE THESE INSTRUCTIONS!
Technical Support
■ (623) 580-8943 ■ technicalsupport@barronltg.com
1
800-533-3948 www.barronltg.com
Advertisement
Table of Contents

Related Manuals for BARRON EXITRONIX EQUITY QMR Series


Summary of Contents for BARRON EXITRONIX EQUITY QMR Series
- Page 1 QMR Series Installation Instructions IMPORTANT SAFEGUARDS READ AND FOLLOW ALL SAFETY INSTRUCTIONS. When using electrical equipment, basic safety precautions should always be followed including the following: • DISCONNECT AC POWER SUPPLY BEFORE SERVICING. • Installation and servicing of this equipment should be performed by qualified service personnel only. •...
- Page 2 QMR Series Installation Instructions Installation Using a J-Box Fig. 1 1. Feed fixture leads through backplate and make electrical connections; see Electrical Connections section. (Fig .1) 2. Connect wires through J-Box. Secure backplate on to J-box with screws. 3. Connect battery only after AC power can be provided to the unit. (Fig. 2) 4.
Need help?
Do you have a question about the EXITRONIX EQUITY QMR Series and is the answer not in the manual?
Questions and answers