Advertisement
Quick Links
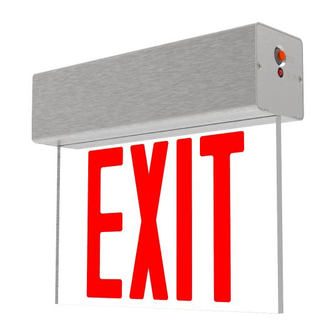
900EX Series
Installation Instructions
READ AND FOLLOW ALL SAFETY INSTRUCTIONS.
When using electrical equipment, basic safety precautions should always be followed including the following:
• DISCONNECT AC POWER SUPPLY BEFORE SERVICING.
• Installation and servicing of this equipment should be performed by qualified service personnel only.
• Ensure that the electrical wiring conforms to the National Electrical Code NEC® and local regulations
if applicable.
• For use with metal enclosure wiring systems.
• Do not mount near gas or electrical heaters.
• Do not use outdoors.
• Equipment should be mounted in locations and at heights where it will not be readily subjected to tampering
by unauthorized personnel.
• The use of accessory equipment not recommended by the manufacturer may cause an unsafe condition.
• Any modification or use of non-original components will void the warranty and product liability.
• Do not use this equipment for other than intended use.
• Allow battery to charge for 24 hours before first use.
10070339 REV1 - 03/24
IMPORTANT SAFEGUARDS
SAVE THESE INSTRUCTIONS!
Technical Support
■ (623) 580-8943 ■ technicalsupport@barronltg.com
1
800-533-3948 www.barronltg.com
Advertisement

Related Manuals for BARRON EXITRONIX 900EX Series


Summary of Contents for BARRON EXITRONIX 900EX Series
- Page 1 900EX Series Installation Instructions IMPORTANT SAFEGUARDS READ AND FOLLOW ALL SAFETY INSTRUCTIONS. When using electrical equipment, basic safety precautions should always be followed including the following: • DISCONNECT AC POWER SUPPLY BEFORE SERVICING. • Installation and servicing of this equipment should be performed by qualified service personnel only. •...
- Page 2 900EX Series Installation Instructions Surface Ceiling Installation Fig. 1 Homeplate assembly 1. Remove the end cap with the test button and LED indicator holes by loosening the (2) flat head screws and set aside. (Fig. 1) 2. Carefully slide out the homeplate assembly and panel End cap assembly from the inside of the housing and set aside.
- Page 3 900EX Series Installation Instructions Surface Wall Installation Fig. 5 1. Remove the end cap with the test button and LED indicator holes by loosening the (2) flat head screws Homeplate assembly and set aside. (Fig. 5) 2. Carefully slide out the homeplate assembly and panel End cap assembly from the inside of the housing and set aside.
-
Page 4: Side Mount Installation
900EX Series Installation Instructions Side Mount Installation Fig. 9 1. Remove the end cap with the test button and LED indicator holes by loosening the (2) flat head screws End cap and set aside. (Fig. 9) 2. Carefully slide out the homeplate assembly and panel assembly from the inside of the housing. - Page 5 900EX Series Installation Instructions Self-Test/Self-Diagnostics (G2) Operation The battery in this unit may not be fully charged. After electricity is connected to the unit for at least 24 hours, then normal operation of this unit should take effect. To check, press the “TEST” button. The EXIT sign should stay illuminated by battery backup and the LED indicator will be turned off.
Need help?
Do you have a question about the EXITRONIX 900EX Series and is the answer not in the manual?
Questions and answers