Table of Contents
Advertisement
Quick Links
Advertisement
Table of Contents

Subscribe to Our Youtube Channel
Related Manuals for Keysight Technologies E5072A


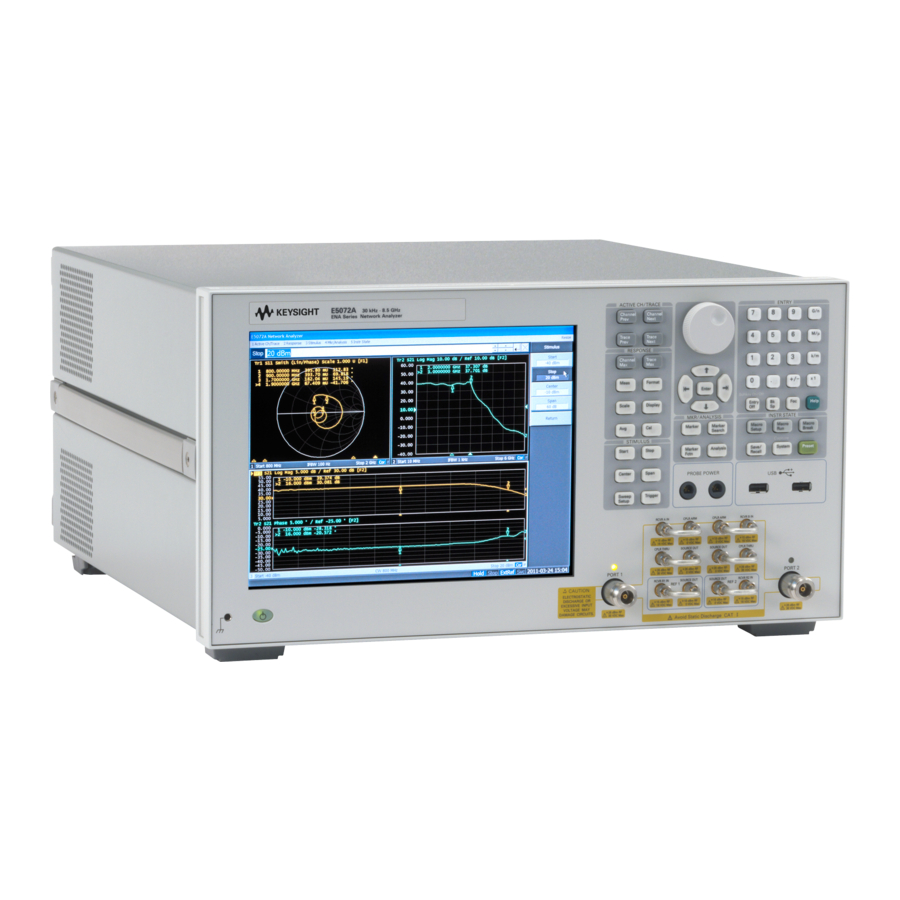
Summary of Contents for Keysight Technologies E5072A
- Page 1 Keysight E5072A Network Analyzer Installation Guide...
-
Page 2: Safety Notices
FAR and the DFARS agreement and written consent from used or copied only in accordance and are set forth specifically in Keysight Technologies, Inc. as with the terms of such license. writing elsewhere in the EULA. governed by United States and... -
Page 3: Caution
When you notice any of the unusual conditions listed below, immediately terminate operation and disconnect the power cable. Contact your local Keysight Technologies sales representative or authorized service company for repair of the instrument. If you continue to operate without repairing the instrument, there is a potential fire or shock hazard to the operator. -
Page 4: Manufacturer's Declaration
European Directives, and carries the CE marking accordingly: • The Low Voltage Directive 2006/95/EC • The EMC Directive 2004/108/EEC To obtain Declaration of Conformity, please contact your local Keysight Technologies sales office, agent or distributor. Keysight E5072A Network Analyzer... -
Page 5: Safety Notice Supplement
• This equipment is tested in stand-alone condition and in combination with the accessories supplied by Keysight Technologies against the requirement of the standards described in the Declaration of Conformity. If it is used as a system component, compliance of related regulations and safety requirements are to be confirmed by the builder of the system. -
Page 6: General Safety Precautions
The E5072A complies with INSTALLATION CATEGORY II as well as POLLUTION DEGREE 2 in IEC61010-1. The E5072A is an INDOOR USE product. The LEDs in the E5072A are Class 1 in accordance with IEC60825-1, CLASS 1 LED PRODUCT. • Ground the Instrument To avoid electric shock, the instrument chassis and cabinet must be grounded with the supplied power cable’s grounding prong. -
Page 7: Safety Symbols
Certification Keysight Technologies certifies that this product met its published specifications at the time of shipment from the factory. Keysight Technologies further certifies that its calibration measurements are traceable to the United States National Institute of Standards and Technology, to the extent allowed by the Institution’s calibration facility or by the calibration facilities of other... -
Page 8: Documentation Warranty
Exclusive Remedies The remedies provided herein are Buyer’s sole and exclusive remedies. Keysight Technologies shall not be liable for any direct, indirect, special, incidental, or consequential damages, whether based on contract, tort, or any other legal theory. -
Page 9: Manuals For E5072A
The online help provides the information about the quick start, measurement operation, programming, built-in VBA, I/O interface This is pre-installed in the E5072A. Press [Help] hard key on the front panel to open. Quick Start helps in understanding the E5072A operation quickly. - Page 10 Caution Manuals for E5072A Keysight E5072A Network Analyzer...
-
Page 11: Table Of Contents
Initial Registration of E5072A........ - Page 12 Procedure to execute the factory recovery ........31 Keysight E5072A Installation Guide...
-
Page 13: Installation
Keysight E5072A Network Analyzer Installation Guide Installation This chapter provides information on how to set up the Keysight E5072A microwave downconverter. Checking the Shipment After you receive the analyzer, carry out checks during unpacking according to the following procedure. When unpacking the analyzer, if the exterior of the analyzer (such as the cover, front/rear panel, LCD screen, power switch, and port connectors) appear to be damaged during transport, do not turn on the power switch. -
Page 14: Environmental Requirements
If an abnormality is detected in step 1, contact the company that transported the analyzer as well as your nearest Keysight Technologies sales and service office. For inspection by the transport company, save the packing box, shock- absorbing material, and packaged items as you received them. - Page 15 Requirements Back ≤ 180mm Sides ≤ 60 mm (both right and left) Figure 1-1 Ventilation space at the installation Place the E5072A in a proper position as show in Figure 1-1. Keysight E5072A Network Analyzer...
-
Page 16: Protection Against Electrostatic Discharge (Esd)
31, the power supply is disconnected by removing the power cable’s connector plug from either the AC outlet or the E5072A unit. When installing the E5072A, ensure that there is sufficient free space around the unit to permit quick disconnection of the plug (from AC outlet or E5072A unit) in case of emergency. -
Page 17: Installing Front Handles/Rack Mounting Flanges
Installing Front Handles/Rack Mounting Flanges Installing Front Handles/Rack Mounting Flanges The E5072A can be installed on a workbench or in a rack. This section describes how to install the front handles (Option 1CN) used for moving or transporting the instrument, and how to install the analyzer in an equipment rack as part of a measurement system (Option 1CM: without the handles, Option 1CP: with the handles). -
Page 18: How To Install The Handle Kit (Option 1Cn)
Installing Front Handles/Rack Mounting Flanges Figure 1-3 Installing front handle/rack-mount kits How to Install the Handle Kit (Option 1CN) The handle kit is used for transport and relocation of the E5072A. While referring to Figure 1-3 install the handle kit by following these steps. -
Page 19: How To Install The Rack-Mount Kit (Option 1Cm)
Step 2. Use the screws provided to mount a rack- mounting flange (4) on each side of the E5072A front panel frame. Step 3. Remove the four bottom feet of the E5072A (lift the bar marked TAB on the inner side of the foot and slide the foot toward the bar). -
Page 20: Connecting The Accessories
Figure 1-4 Connecting the BNC adaptor Connecting Mouse and Keyboard The E5072A allows you to connect mouse and/or keyboard through USB. USB mouse and keyboard can be connected with the USB ports on the front or rear panels. Initial registration of the E5072A requires the mouse and keyboard before turning on the power. -
Page 21: Power Supply
Step 2. Use the supplied cable to connect between the power cable receptacle (Figure 5 on page 30) on the rear panel of the E5072A and a three- wire power outlet with the grounding prong firmly connected in the ground slot. -
Page 22: Starting The E5072A
Normal operation is confirmed by the self- test if no error message appears. Turning the Power OFF Step 1. To turn off the power of the E5072A, first, press this standby switch or send a shutdown command from the external controller to activate the shutdown process (the process of software and hardware necessary to turn off the power supply). - Page 23 Line switch (Always ON) and power cable receptacle Disconnection from Supply Source The power supply of the E5072A is cut off by disconnecting the plug of the power cable (on either AC outlet side or E5072A side). When it is necessary to disconnect the power supply in order to avoid shock hazards, etc., pull out the...
- Page 24 “Ensuring Adequate Free Space around Analyzer for Immediate Disconnection of Power Cable in Case of Emergency” on page When turning the power OFF under normal circumstances, always follow the methods described in “Turning the Power OFF” on page Keysight E5072A Network Analyzer...
-
Page 25: Initial Registration Of E5072A
Initial Registration of E5072A Initial Registration of E5072A When you start up the E5072A for the first time, you need to perform the initial registration of the Windows OS operating system of the E5072A. You cannot use the front panel keys during the initial registration of the E5072A therefore connect the mouse and the keyboard before turning on the power. -
Page 26: Windows Xp
Installation Initial Registration of E5072A Windows XP Step 1. Turn on the E5072A. Do not touch any key on the front panel during boot up. Step 2. The screen as shown in the Figure 1-7 appears. Select Windows XP Professional and press [Enter]. - Page 27 Installation Initial Registration of E5072A Step 4. The windows start up screen as shown in Figure 1-9 appears. Figure 1-9 Windows start up screen Step 5. In the License agreement dialog box, select the I accept this agreement box and click the Next > button.
- Page 28 Date and Time Setting dialog box Step 7. After a while, the E5072A restarts automatically. Calibration of the Touch Screen When E5072A measurement screen appears, you have to calibrate the touch screen. Follow the procedure described below to calibrate the touch screen. Step 1. Press Step 2.
-
Page 29: Troubleshooting
Keysight E5072A Network Analyzer Installation Guide Troubleshooting This chapter describes the troubleshooting process during start up and the procedure of the operating system (OS) recovery when the Windows OS has been damaged. Troubleshooting during Startup When you encounter problems during start up, see Table 2-1. -
Page 30: System Recovery
However, Keysight recommends backing them up before executing system recovery for precautionary purposes. For more information on backup, refer to “Backing Up the Data” as described in E5072A Online Help. 1. The default setting of the hard disk is recovered during the system recovery. For the hard disk that had failed earlier and had been replaced (after purchase), its default setting may not be the same as the factory state. -
Page 31: Procedure To Execute The Factory Recovery
Step 2. Disconnect all of the USB device from the USB ports. Step 3. Connect the keyboard to the E5072A. Step 4. Press the standby switch of the E5072A to turn it on. Step 5. When the screen as shown in the figure below appears, select Keysight Recovery System and press [Enter]. - Page 32 Figure 2-3 System recovery confirmation screen Step 8. The progress of the system configuration is displayed on the screen. The recovery takes a few minutes depending on the amount of data. Figure 2-4 System configuration progress screen Keysight E5072A Network Analyzer...
- Page 33 Step 11. Execute the calibration of the touch screen. For information on the execution procedure, refer to “Calibration of the Touch Screen” on page Never turn off the power during the system recovery because doing so may cause serious damage to the E5072A. Keysight E5072A Network Analyzer...
- Page 34 Troubleshooting System Recovery Keysight E5072A Network Analyzer...
- Page 35 Option 1CM Option 1CN Option 1CP Option 1E5 Keysight E5072A Installation Guide...
- Page 36 Index Keysight E5072A Installation Guide...
- Page 37 This information is subject to change without notice. © Keysight Technologies 2011-2019 Edition 4, May 2019 E5072-90000 E5072-90000 www.keysight.com...
Need help?
Do you have a question about the E5072A and is the answer not in the manual?
Questions and answers