Advertisement
Quick Links
Moto
Package Contents
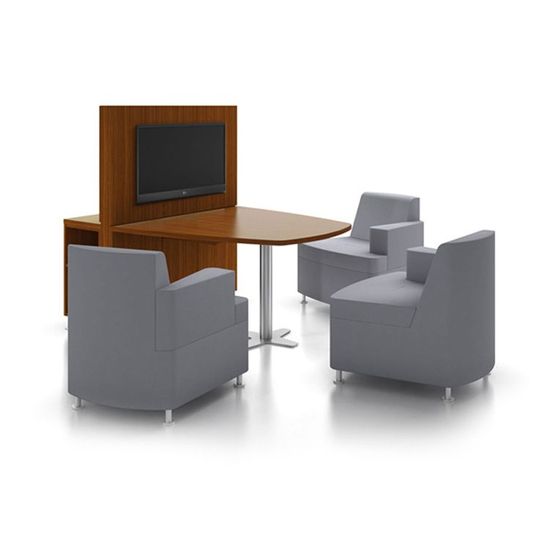
Wall Panel
Worksurface
Step 1
Attach Leg Post
to Worksurface
Step 1a
Flip top upside down and lay on a flat
smooth surface. Place post on bottom side of worksurface.
Align holes in post to pilot holes in worksurface. Use chart
and dimesions below for proper post placement for various
table sizes.
Model #
MTV4848-28MAW**
MTV4854-28MAW**
MTV4860-28MAW**
MTV4866-28MAW**
MTV4872-28MAW**
Notice To Installers: Failure to comply with installation instructions will compromise the safety, durability and performance of this product, which may risk injury to the user of this
product and/or diminish the product life cycle. Jasper Group assumes no liability in these instances.
Recommended Tools
Screw
Gun
Trough
Tape
Measure
Leg Post
Base Placement
Dimension " X "
11-1/4 "
14-1/4 "
14-1/4 "
14-1/4 "
17-1/4 "
jsifurniture.com
812.482.3204
800.457.4511
812.482.1548
#3 Phillips Head Bit
Socket
Wrench
1
" Socket
/
2
Level
Step 1b
Attach metal leg to bottom side of
worksurface with (8) #10x1 " pan head screws.
" X "
Metal Support Rail
*Note: Not required on models
MTV4848-39MAW** and MTV4854-39MAW**
225 Clay Street / PO Box 231
O
Jasper, Indiana 47546
F
Installation Instructions
Wall Dependent
Media Table Assembly
8 "
Page 1 of 3
20 "
Form No. INST-MT007
12/13/16
Advertisement

Subscribe to Our Youtube Channel
Related Manuals for JSI Moto Series


Summary of Contents for JSI Moto Series
-
Page 1: Installation Instructions
Installation Instructions Moto Page 1 of 3 Wall Dependent Package Contents Recommended Tools Media Table Assembly Screw Trough #3 Phillips Head Bit Socket Tape Measure Wrench Leg Post Wall Panel ” Socket Level Worksurface Step 1 Attach Leg Post to Worksurface Step 1a Step 1b Flip top upside down and lay on a flat... - Page 2 Installation Instructions Moto Page 2 of 3 Wall Dependent Media Step 3 Table Assembly Attach Worksurface to Wall Panel (continued) Step 3a Slide rear edge of top into the opening in the wall panel as- sembly. Outside corner of the worksurface should butt tight Step 3b against the vertical end panel...
- Page 3 Installation Instructions Moto Page 3 of 3 Wall Dependent Media Step 5 Table Assembly Attach Trough to Wall Panel (continued) Step 5a Slide trough into the Step 5b opening in the wall panel Attach the trough to the bottom side of the under the worksurface.
Need help?
Do you have a question about the Moto Series and is the answer not in the manual?
Questions and answers